Self Service
Documentation for the Self Service flow of the Campaign Manager UI.
Campaign overview
After logging in to your self service instance, you'll be greeted by a campaign overview page:
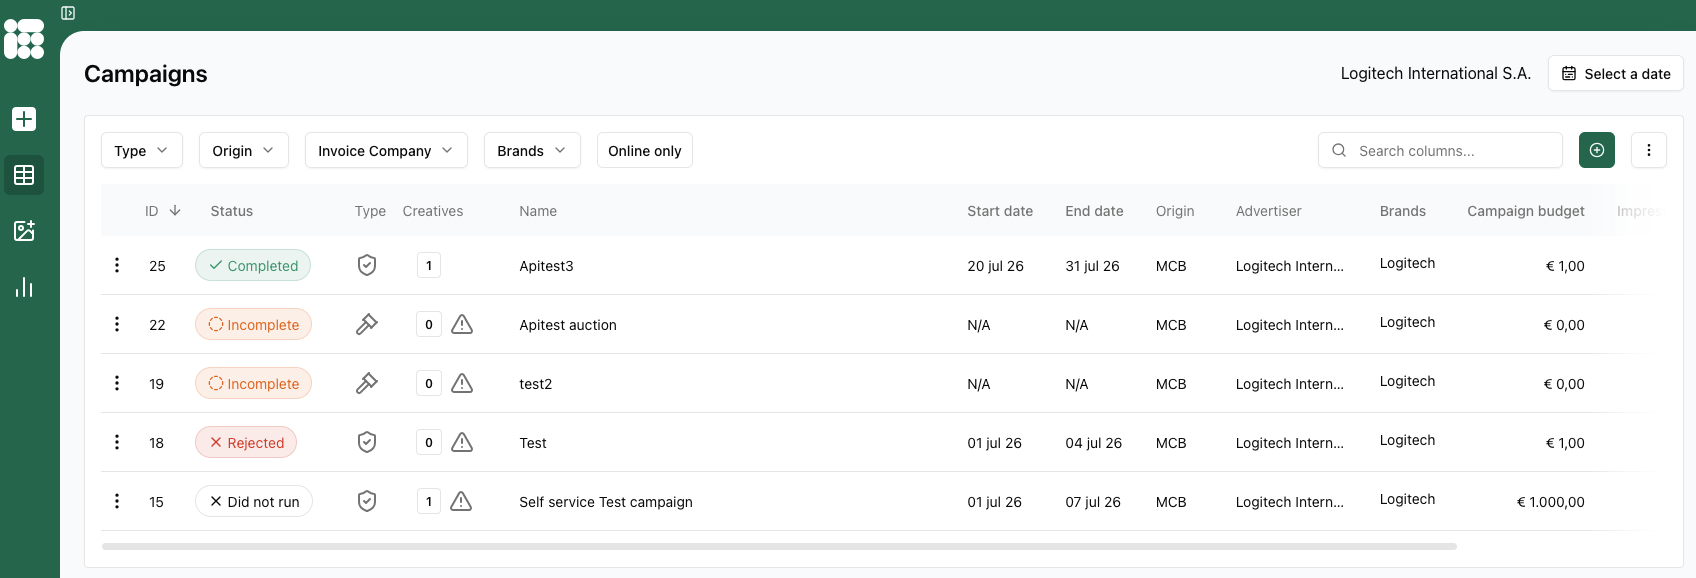
This page gives a list of all recent campaigns, their status, type, amount of creatives, start and end date and more.
Above the column headers on the left, you have filters based on campaign Type, campaign Origin, Invoice Company linked to the campaign, Brands and a quick filter to only show running campaigns under Online only
In the top right of the page you see the advertiser of your self service user. Next to the advertiser is a date picker where you can select a date to filter the campaigns in the overview.
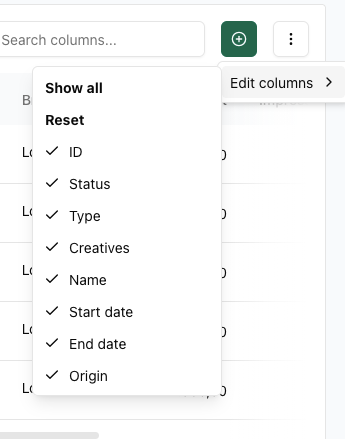
Under the advertiser and date picker there is a search column where you can search and filter on terms present within the campaign overview. To the right of the search box you can create a new campaign by clicking on  . To the right of the option to create a new campaign there is a dropdown
  where you can alter what columns are shown. All options are:
- ID
- Status
- Type
- Creatives
- Name
- Start date
- End date
- Origin
- Advertiser
- Brands
- Campaign budget
- Impressions
- Clicks
- CTR
- Creation date
- Last edited date
- Invoice company
- Spend
- Budget remaining
- eCPM
- Campaign objectives
- Delivery limit
- Viewable impressions
A checkmark will signify the column is active, with quick settings for enabling all columns or reset the columns to the defaults.
On the sidebar of the page you have the following options from top to bottom:
- Create a new campaign
- Go to the campaign overview page (current page)
- Review creatives (viewer only)
- Campaign reporting
Creating a self-service campaign
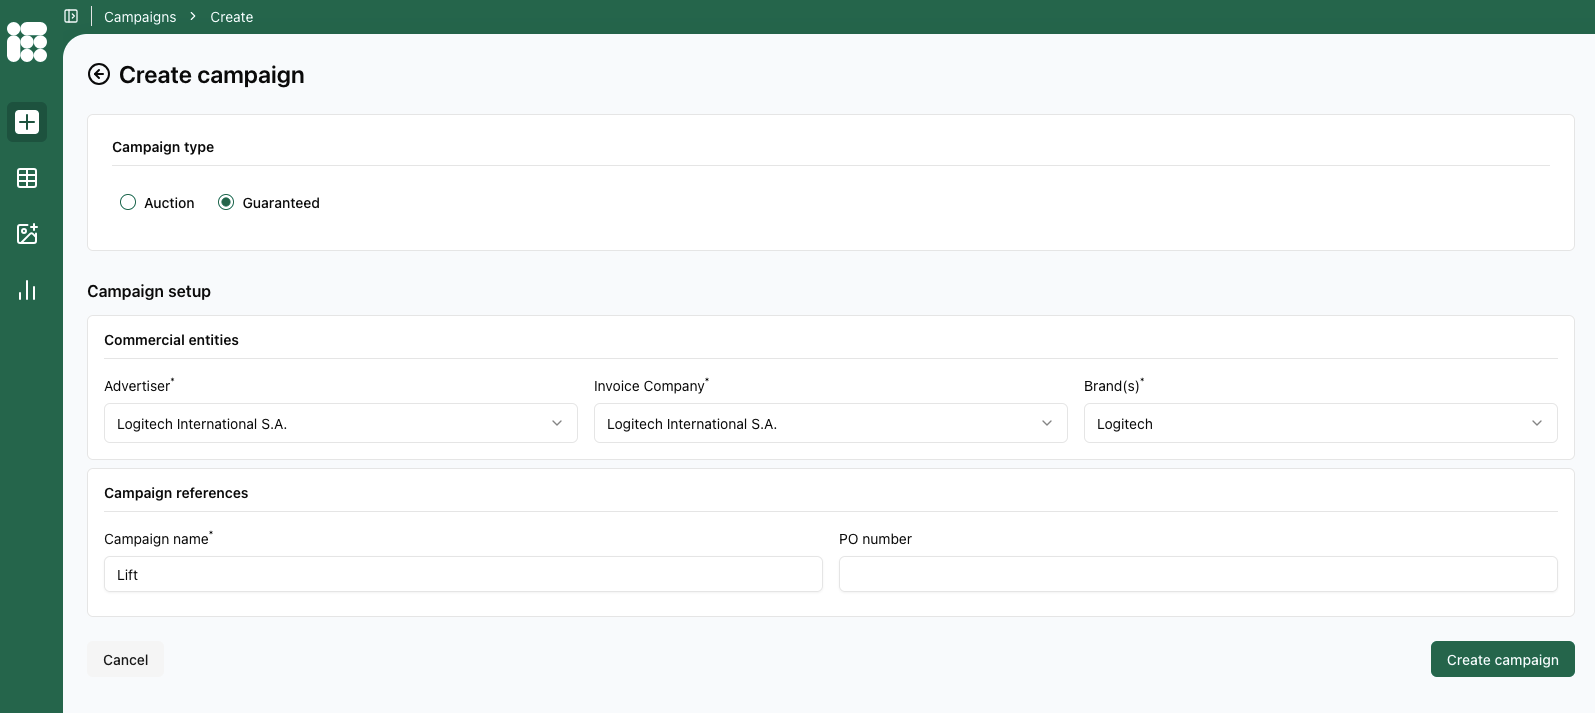
When creating a new campaign in the self service flow you'll start by filling in Advertiser, Invoice Company and Brand(s). Other then that, the campaign just needs a Name.
If the campaign is linked to a PO number, you can also fill it in here, but this field is otherwise optional.
When you're done, click Create campaign in the bottom right. You will arrive at the create booking screen:
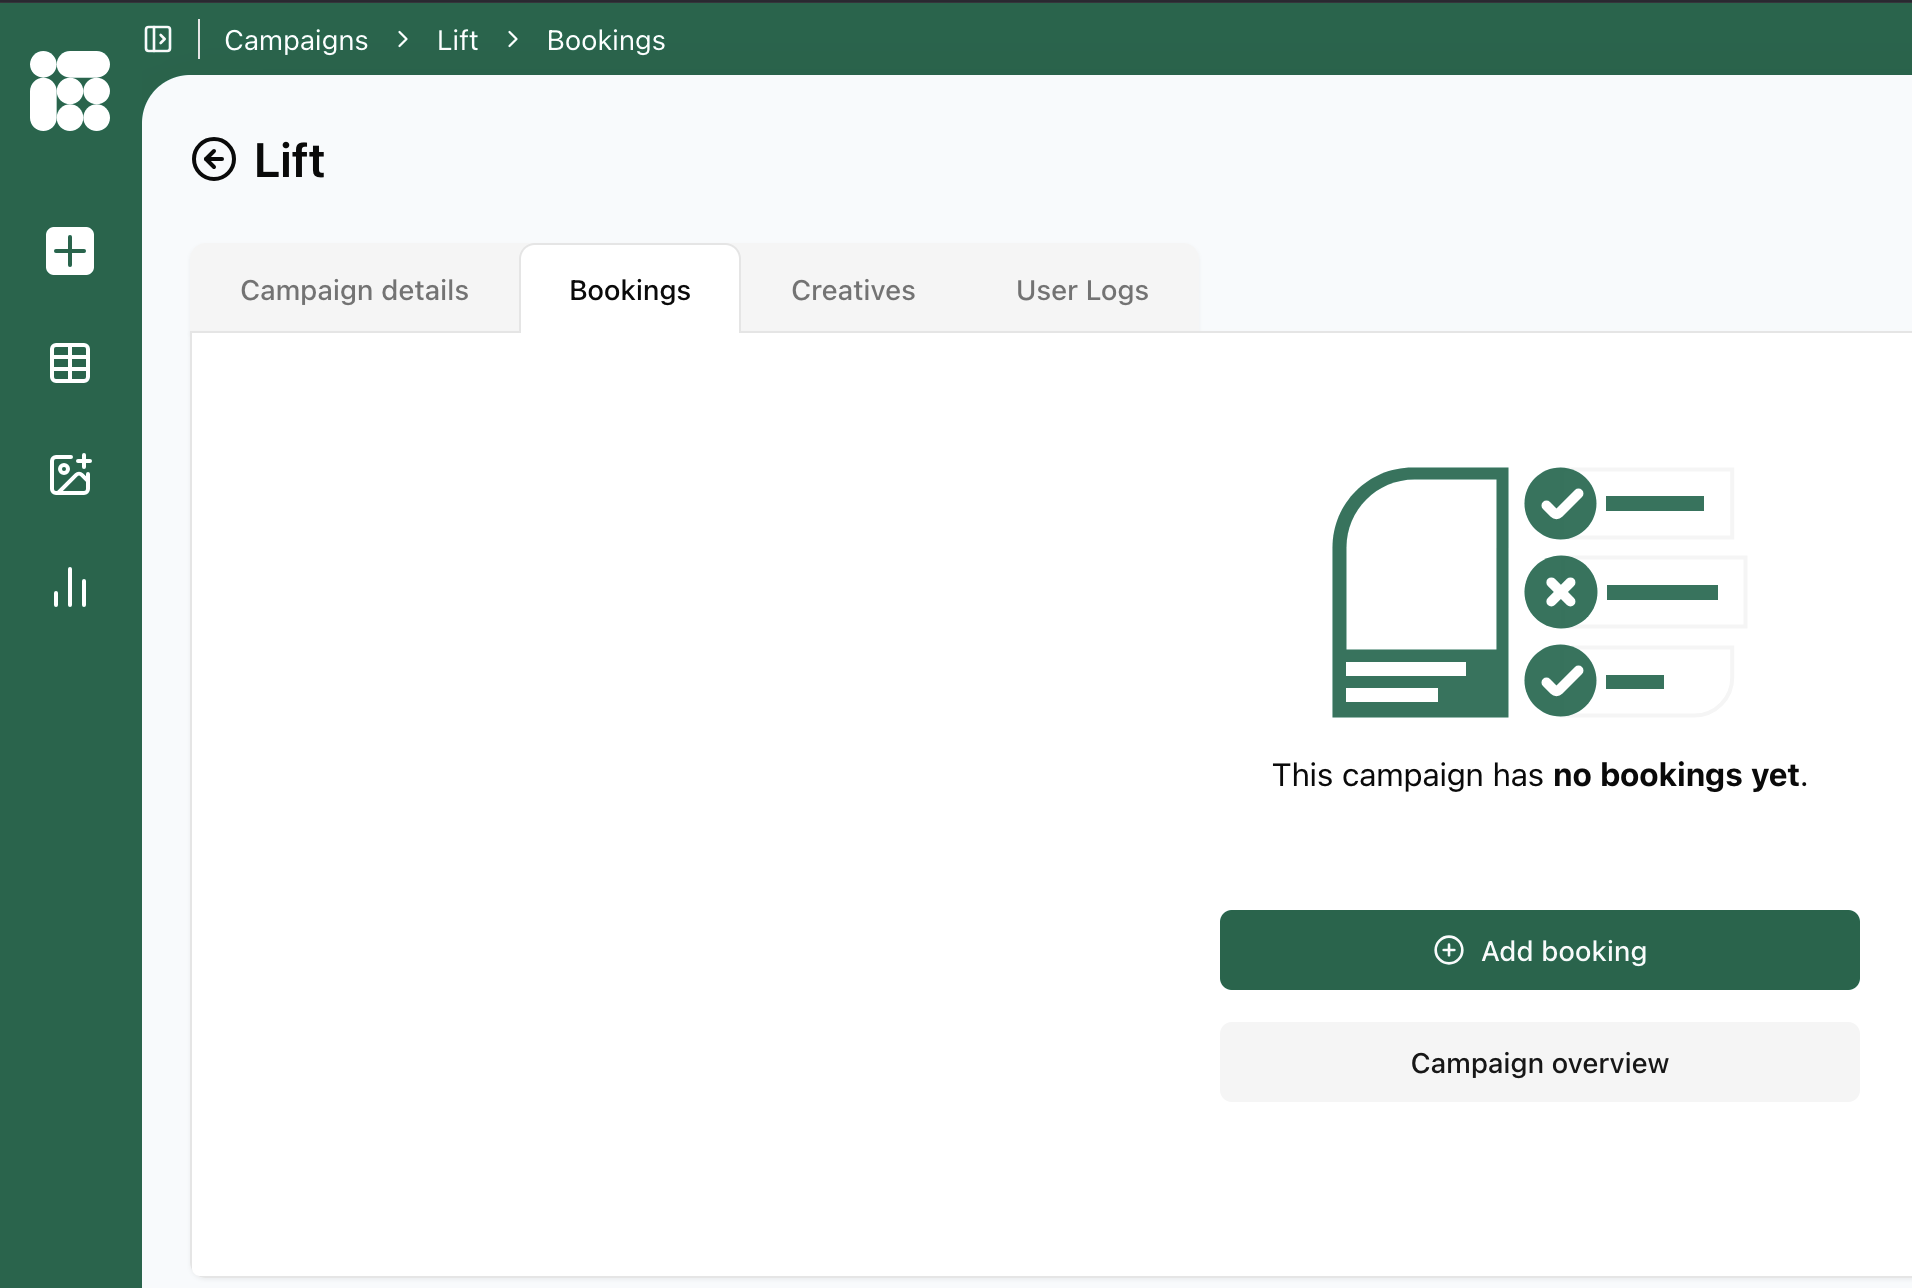
Here you can add a new booking via Add booking, go to the Campaign overview or see the details of the campaign you just created via the Campaign details option to the left of the Bookings tab.
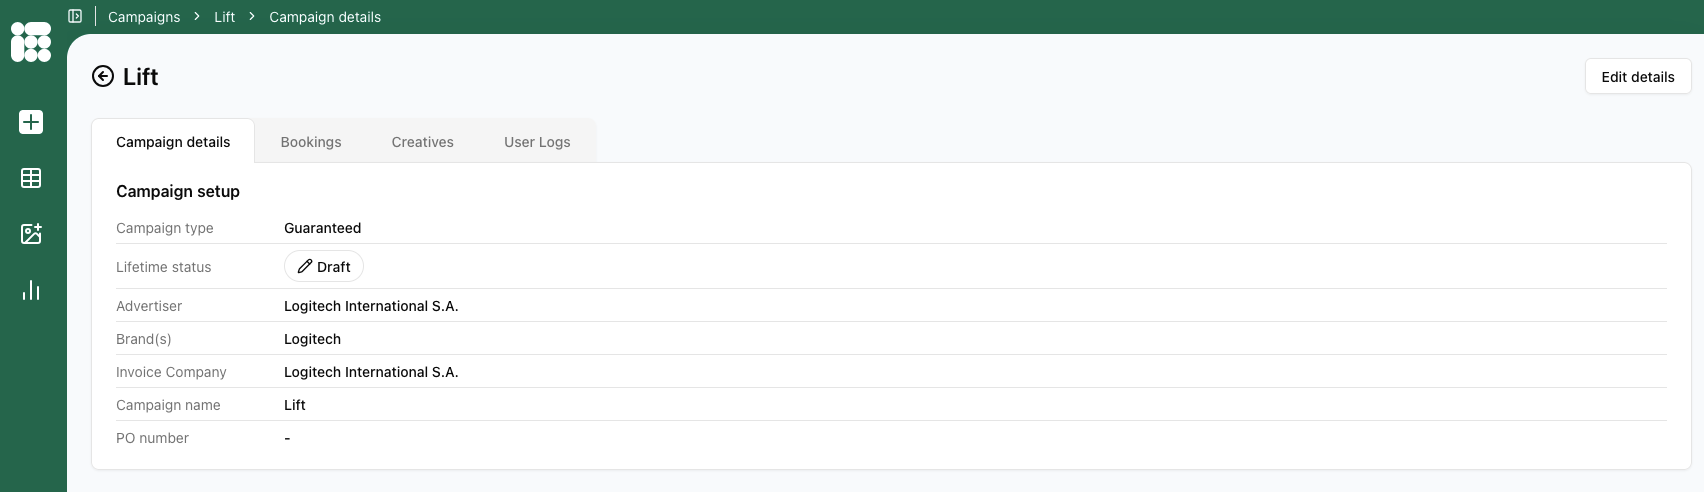
Here the campaign details can be updated by clicking on the Edit details tab in the top right.