Creating and managing campaigns in MCB
This page will take you through the process of creating a campaign from A to Z. We'll start with the basic layout and options of the MCB interface before moving on to creating a new campaign, lines/bookings and creatives.
Campaign screen
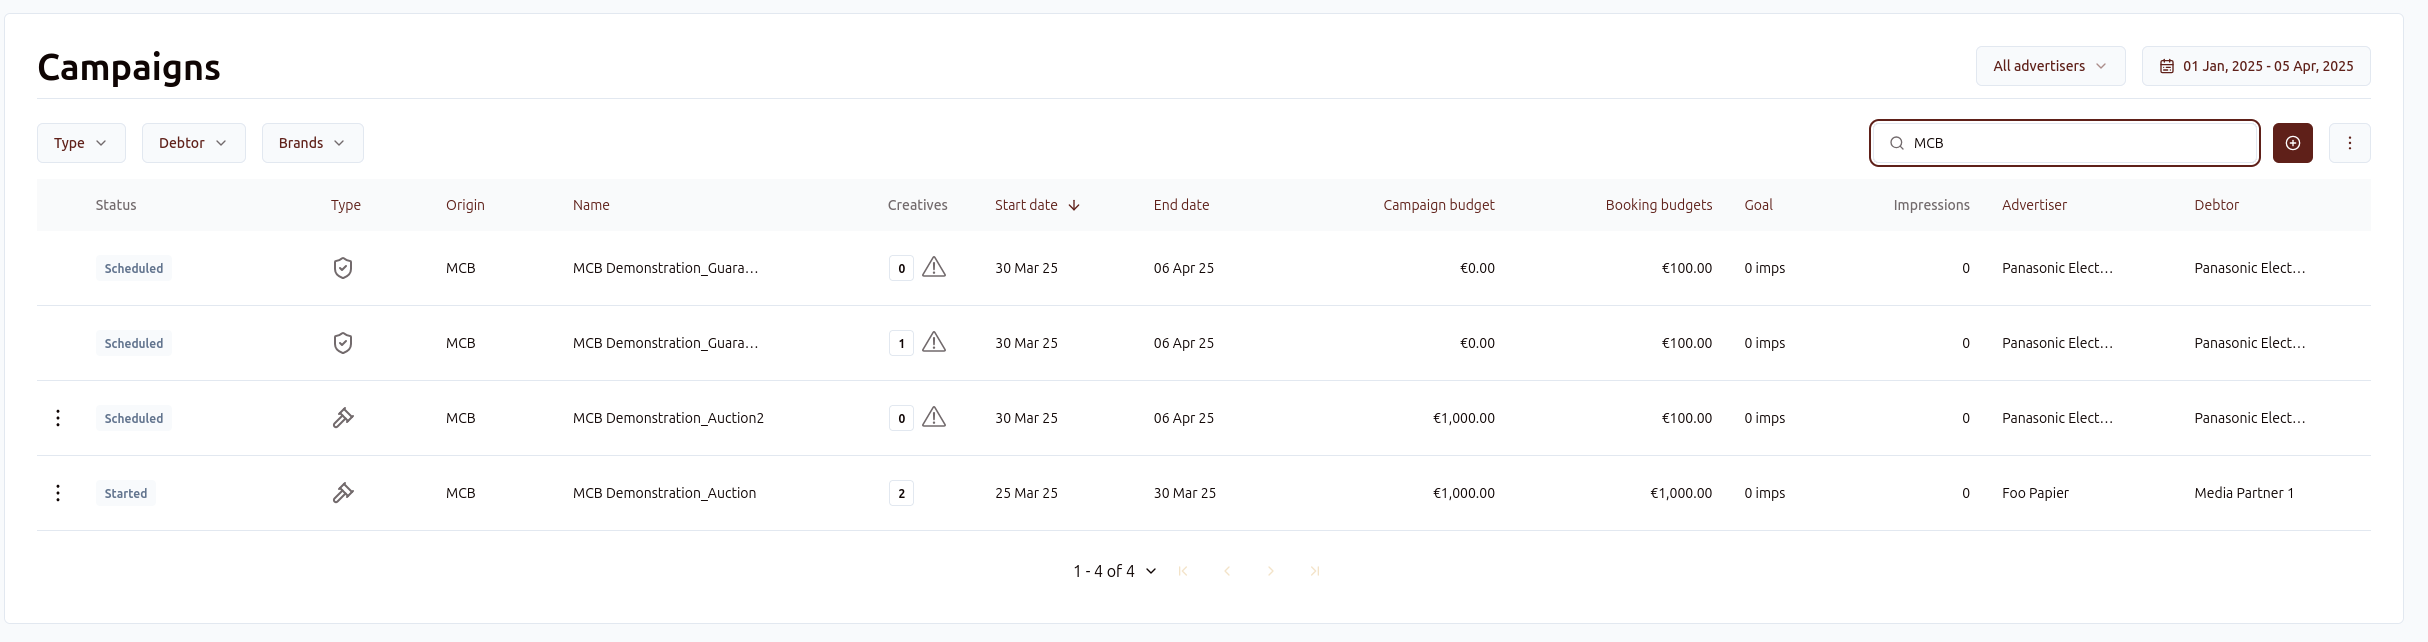
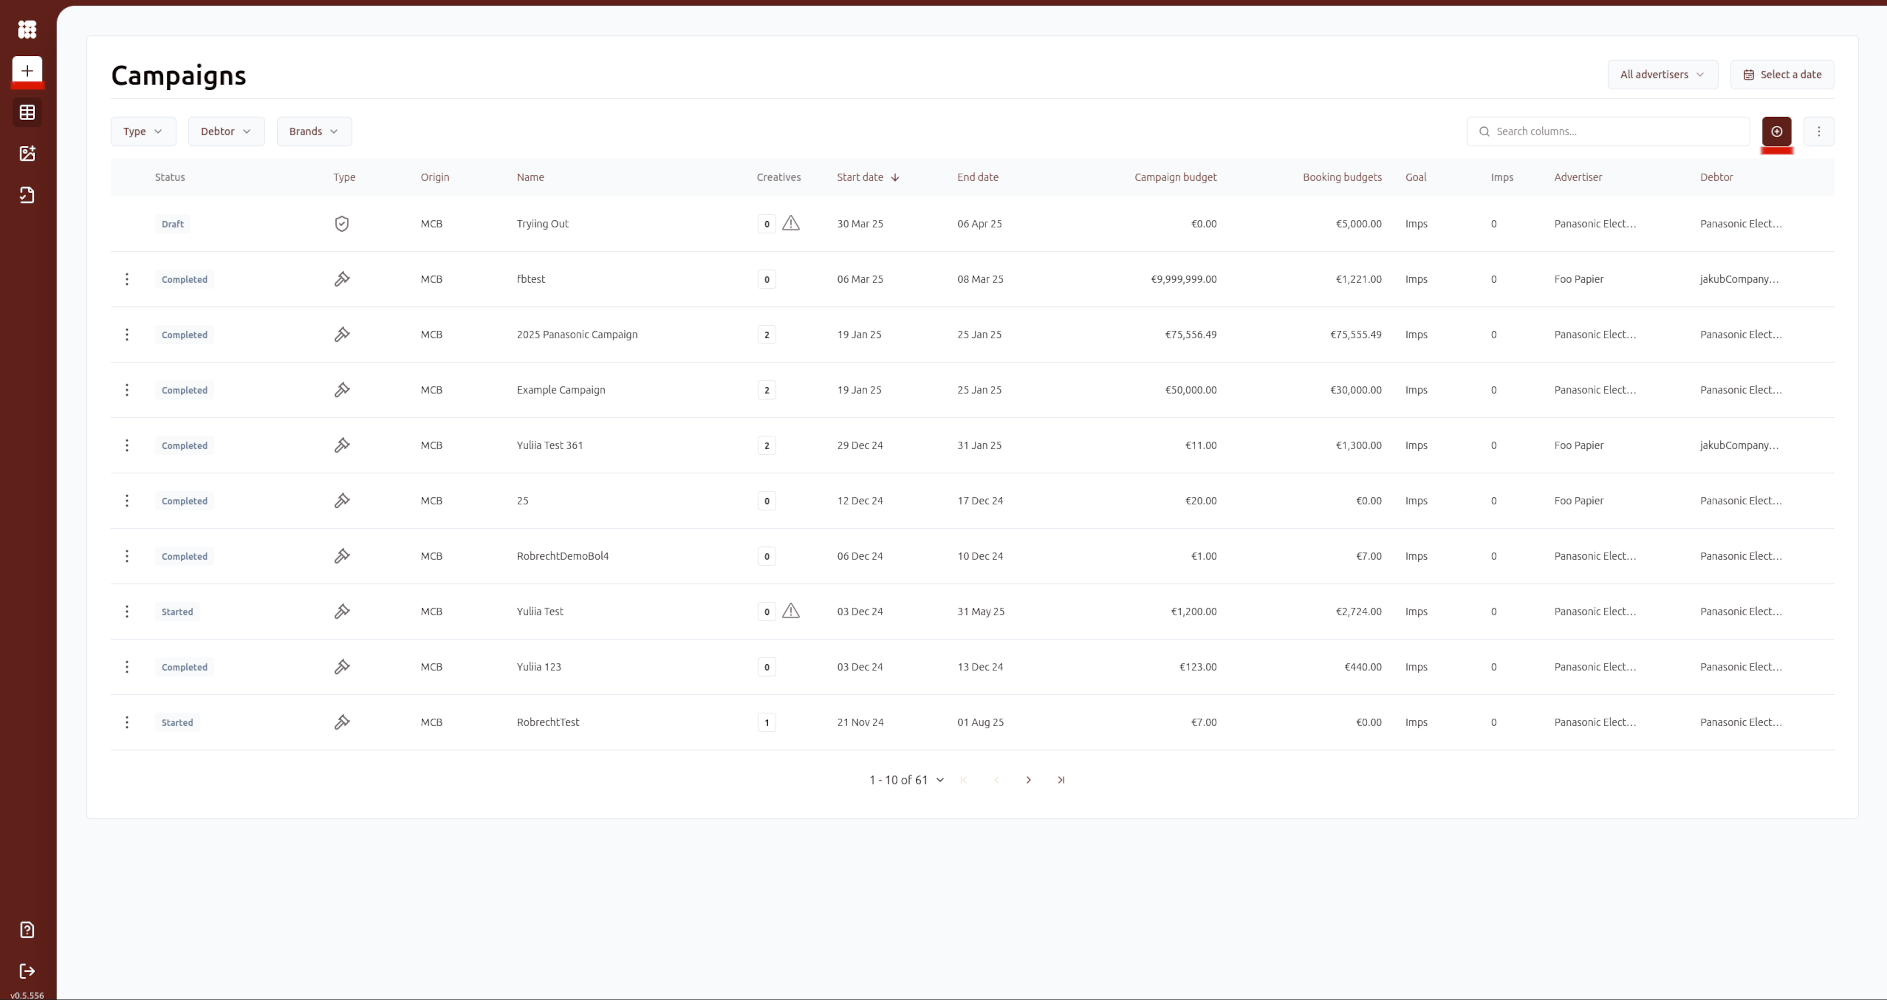
When you log into Adhese using the MCB interface, the first thing you will see is the Campaigns screen:
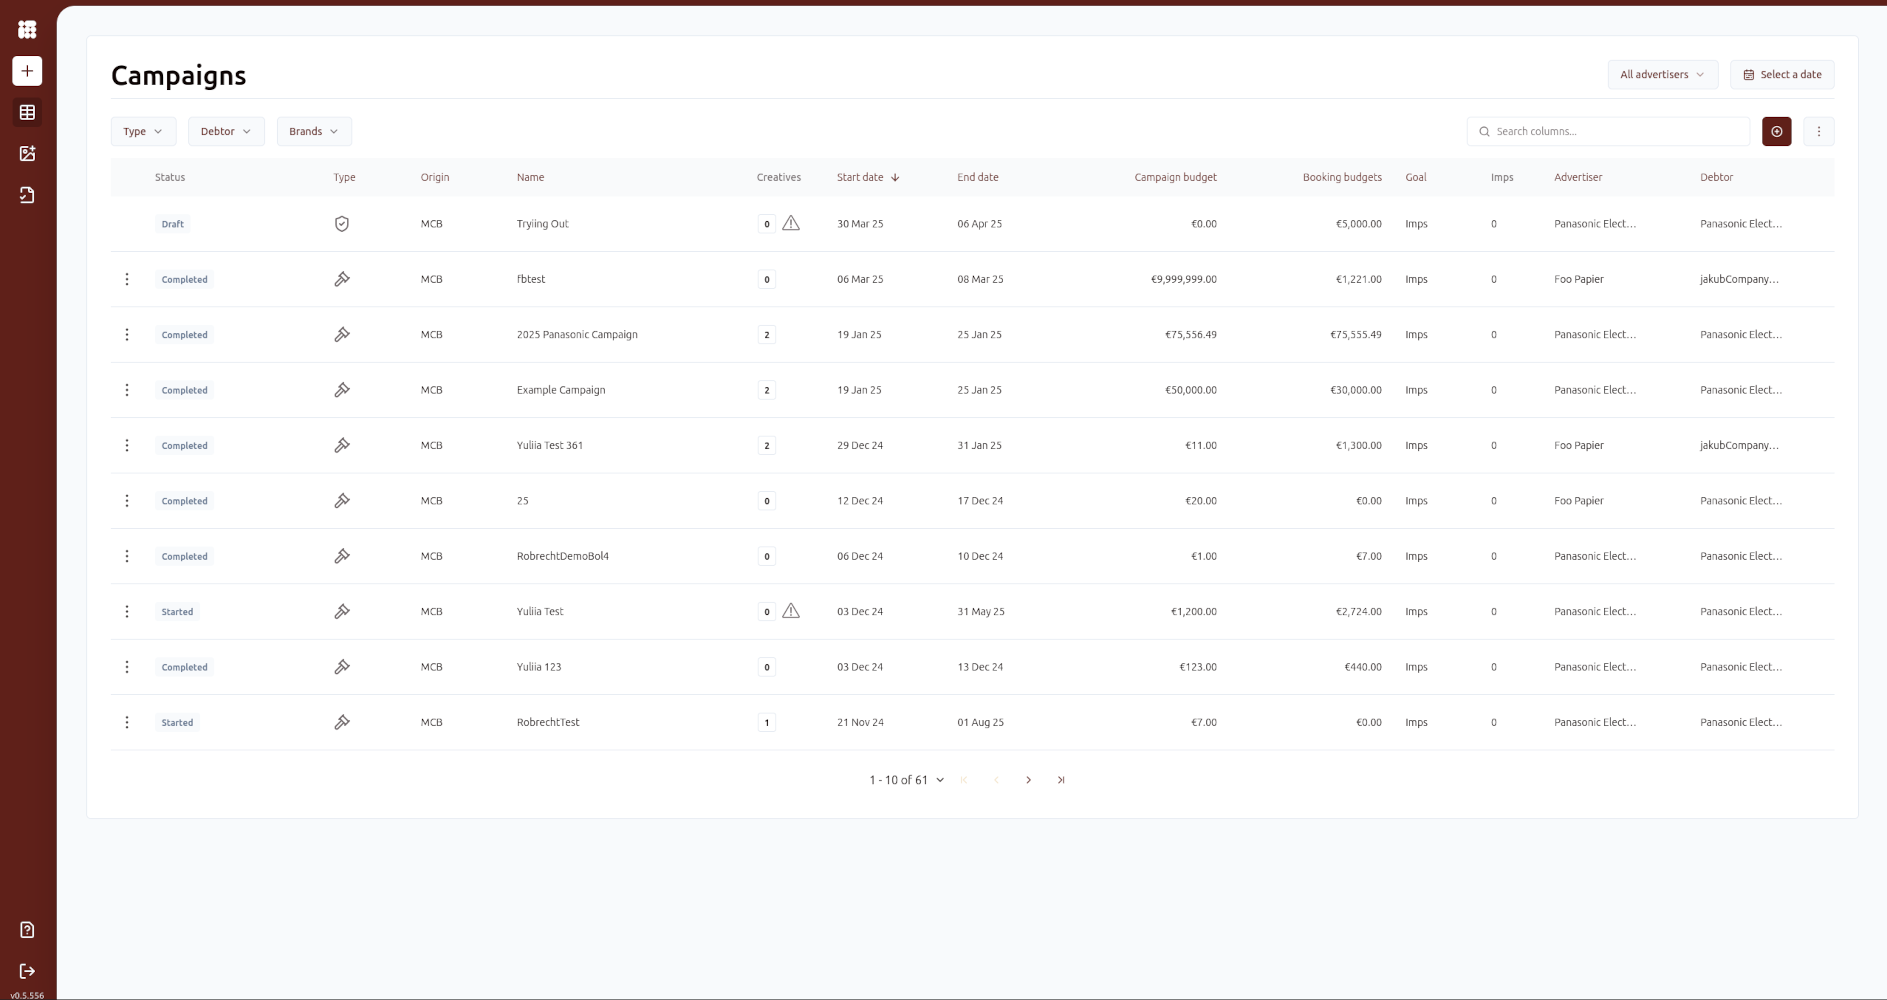
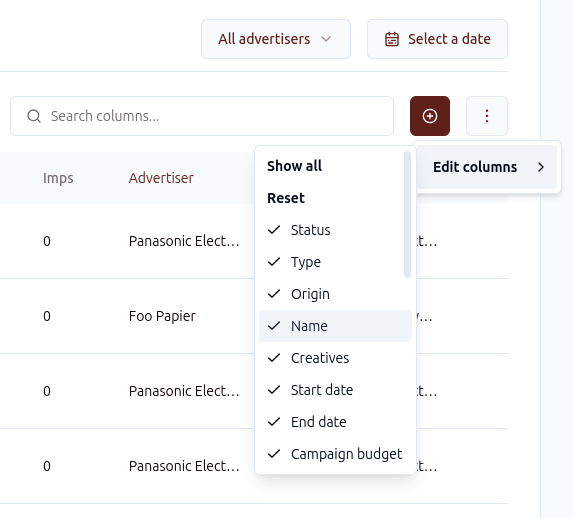
The Campaigns screen lists campaigns and several columns of information about those campaigns. The columns can be customised, and columns can be selected and deselected:
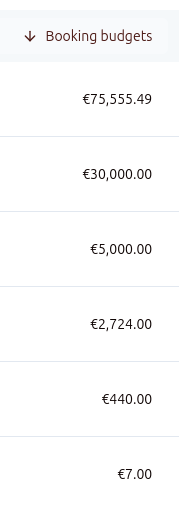
Columns with names can be sorted alphabetically. Columns with numbers can be sorted from smallest to largest or vice versa:
On the left, you can see the status of the campaigns:
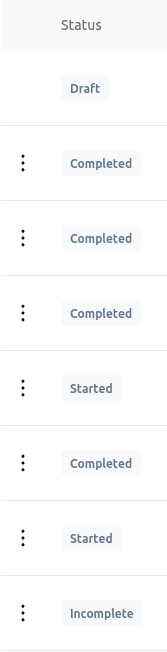
A campaign can have several statuses, depending on the type of campaign:
- Draft: Guaranteed campaign that has not yet been approved
- Completed: Campaign has finished running
- Incomplete: Auction Campaign doesn't have any bookings or creatives
- Scheduled: Campaign is set to start in the future
- Started: The Campaign has started and is running
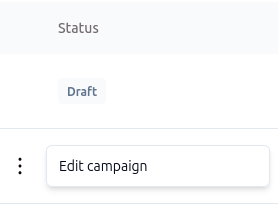
To the left of the campaign status, there are three dots. Here you can click through to edit existing campaigns:
The icons to the right of the campaign status indicate the type of campaign:
![]()
A shield indicates a guaranteed campaign, and a hammer indicates an auction campaign. In the next chapter, we'll review the differences between these campaigns.
Filters in the campaign screen
There are several ways to filter campaigns in the campaign screen. Let's start with the advertiser filter:
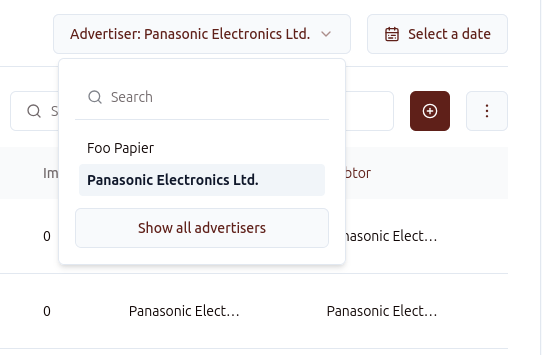
At the top right, you can select the advertiser whose campaigns you want to see exclusively. At the bottom, you can select Show all advertisers to undo previous selections.
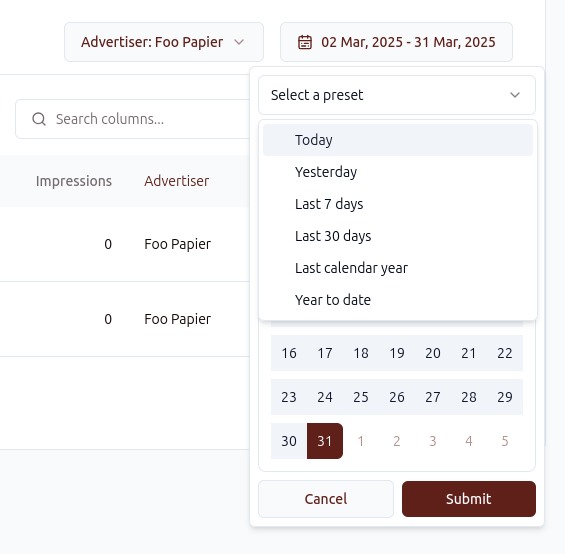
Alongside the advertiser filter, you can also select campaigns by date:
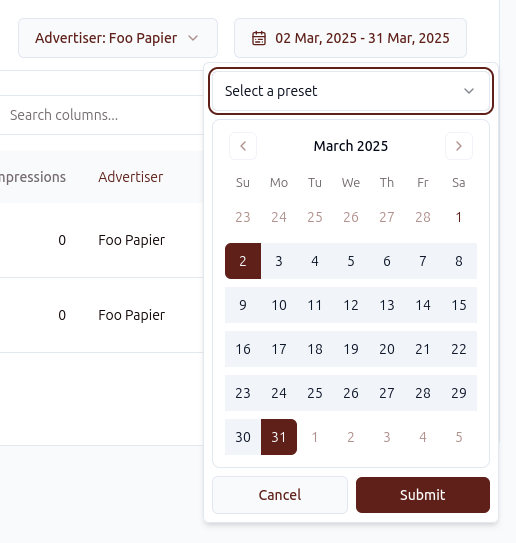
All campaigns running sometime during the selected period will be shown. You can also select preset periods for filtering campaigns:
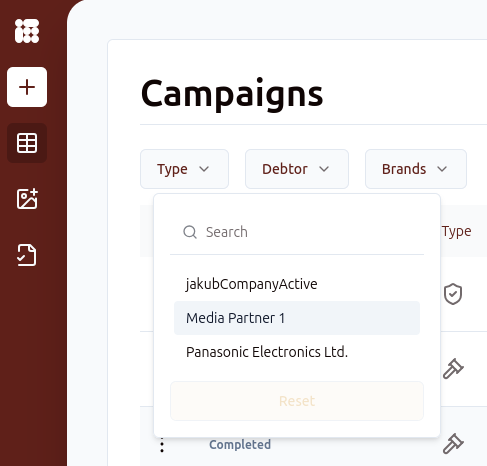
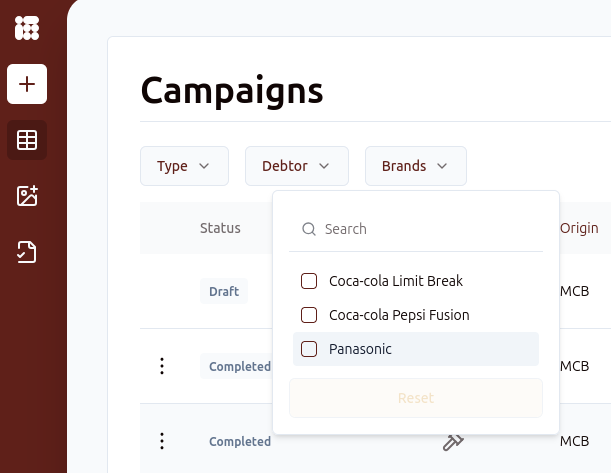
At the top left you can filter based on campaign type, debtor or brand:

On the top left, you can find a search bar where you can search on campaign name:
Creating campaigns
To create a campaign, click on the + symbol on the sidebar or the + symbol next to the search bar:
When you click on the create a campaign buttom you get two options for creating a new campaign: auction and guaranteed.

Depending on the option selected, you will see different fields that need to be filled in.
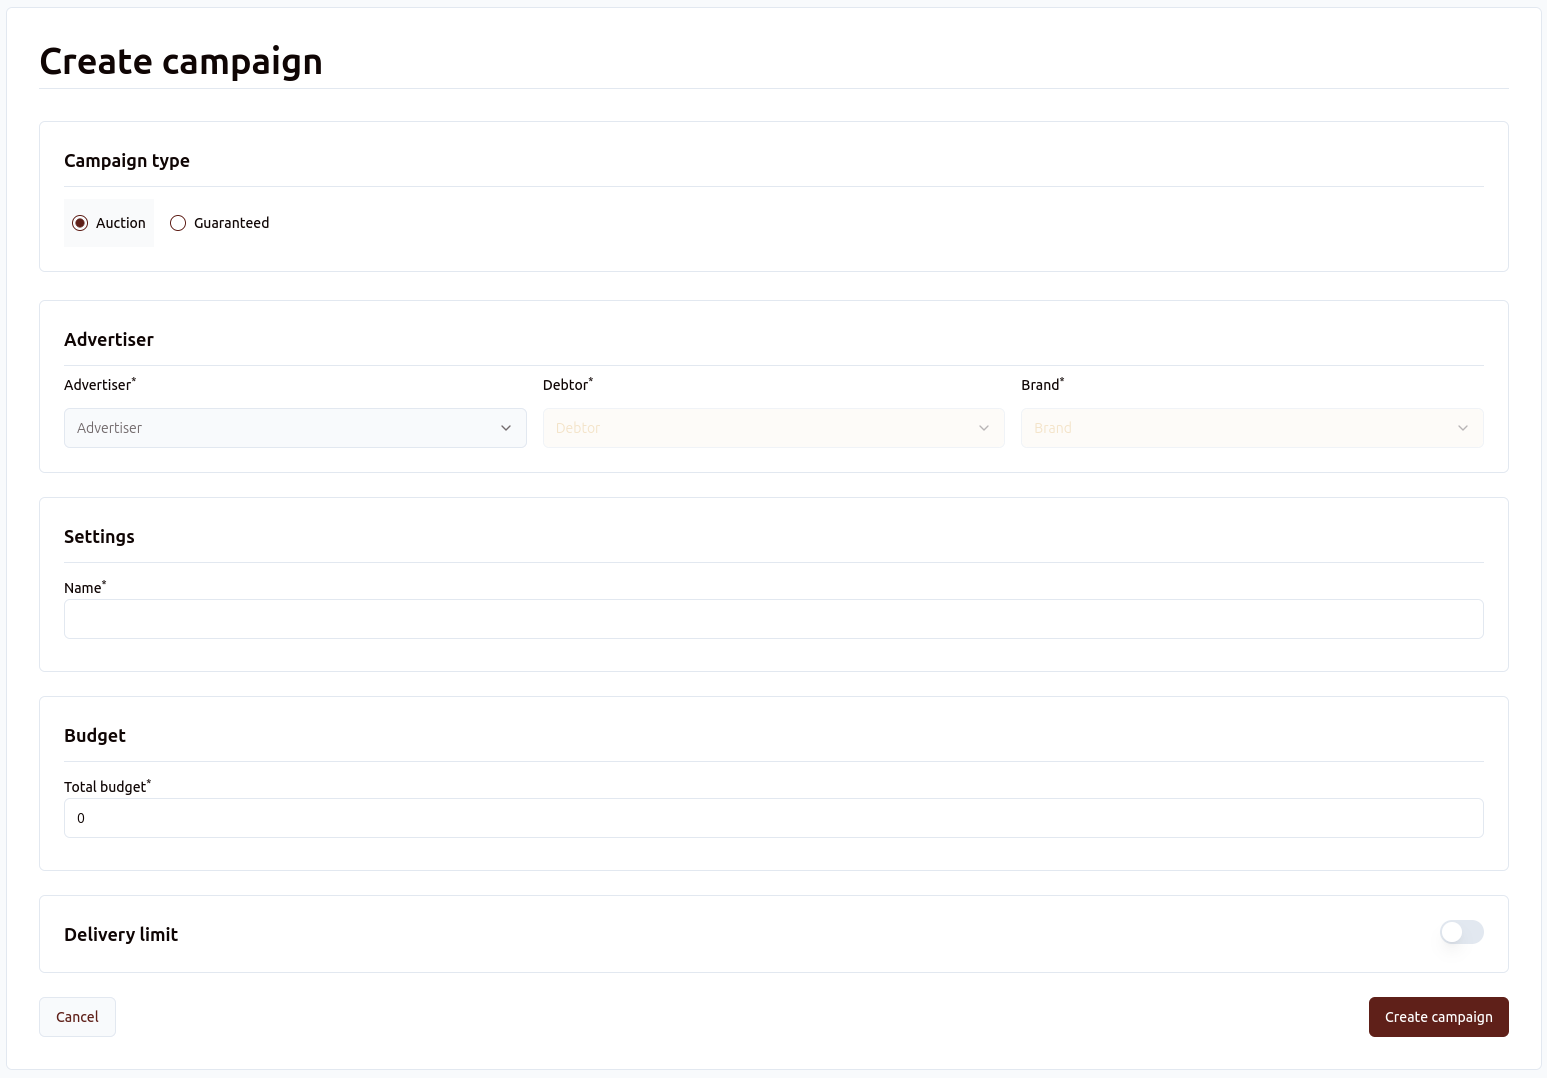
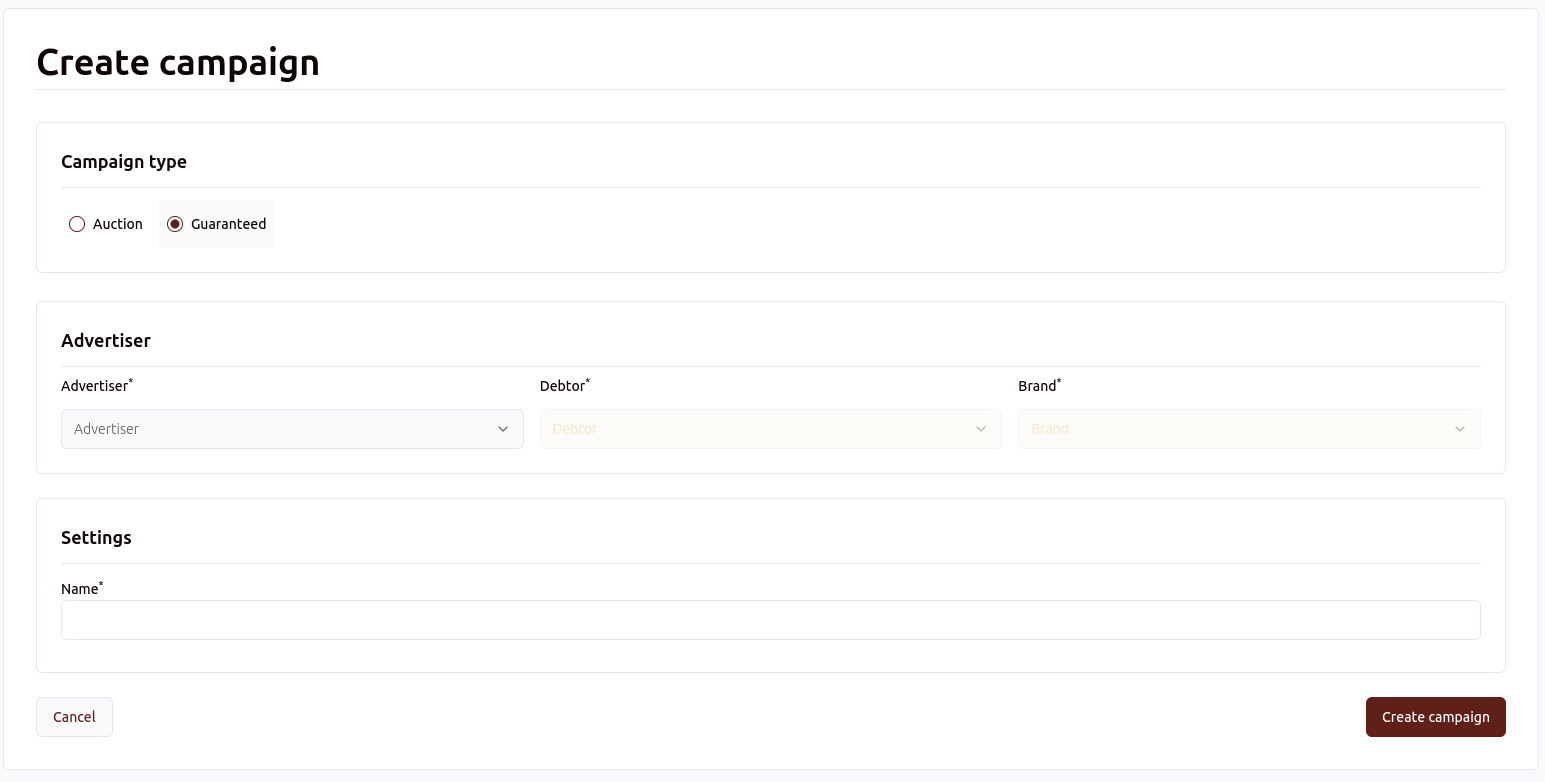
Both campaign types need to have an Advertiser, Debtor and Brand filled in. Both campaigns also need a campaign name.
Auction campaigns need to have a budget filled in, while guaranteed campaigns do not.
For auction campaigns, you can set a campaign wide delivery limit:
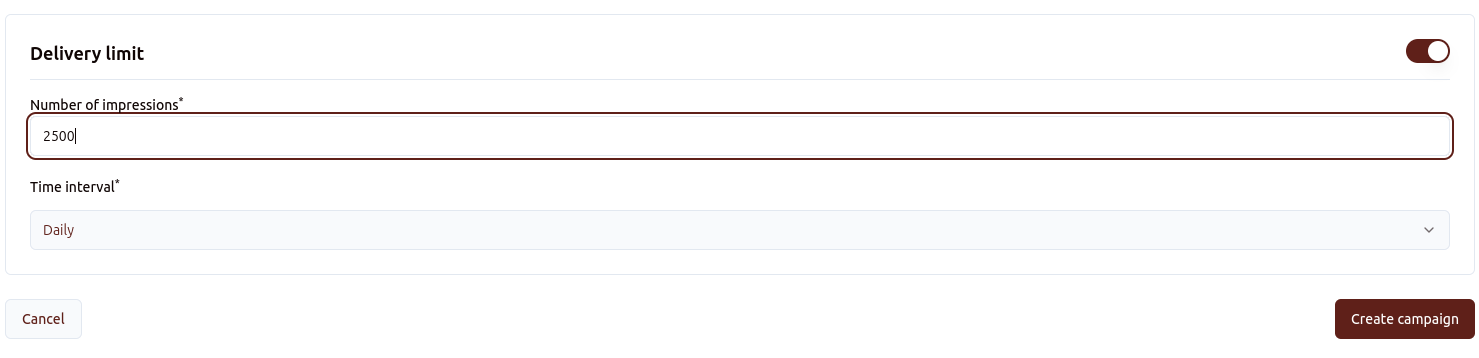
The delivery limit can be set either daily or hourly.
Creating bookings/line items
When you created the campaign, you will arrive at the booking screen. Depending on your account, this will either be called the Bookings or the Line Items screen:
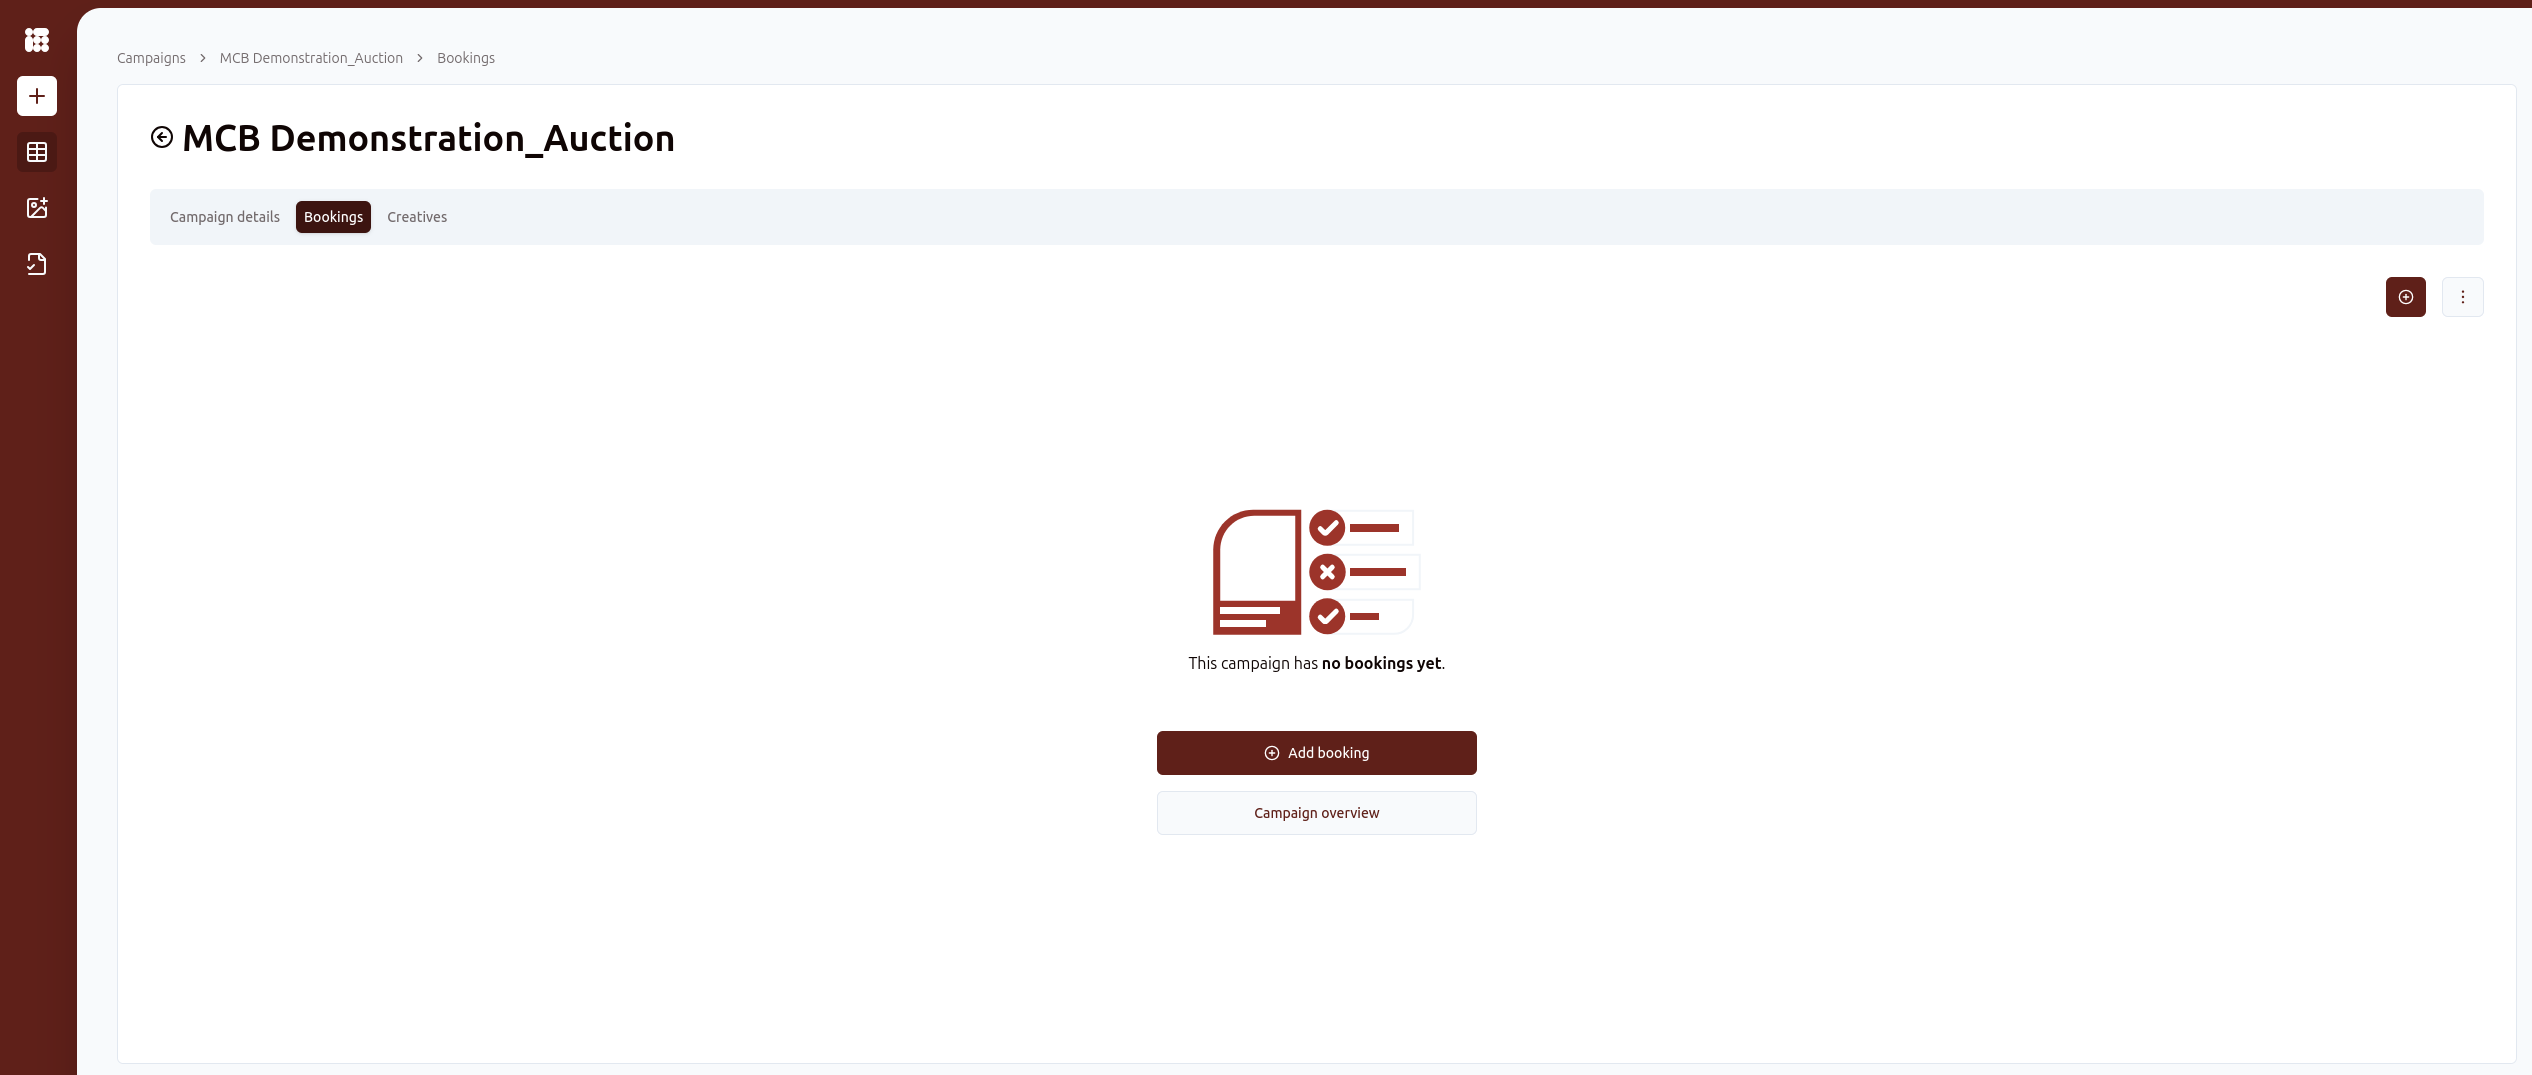
Here, you can either create a new booking by clicking on Add booking or on the + symbol:
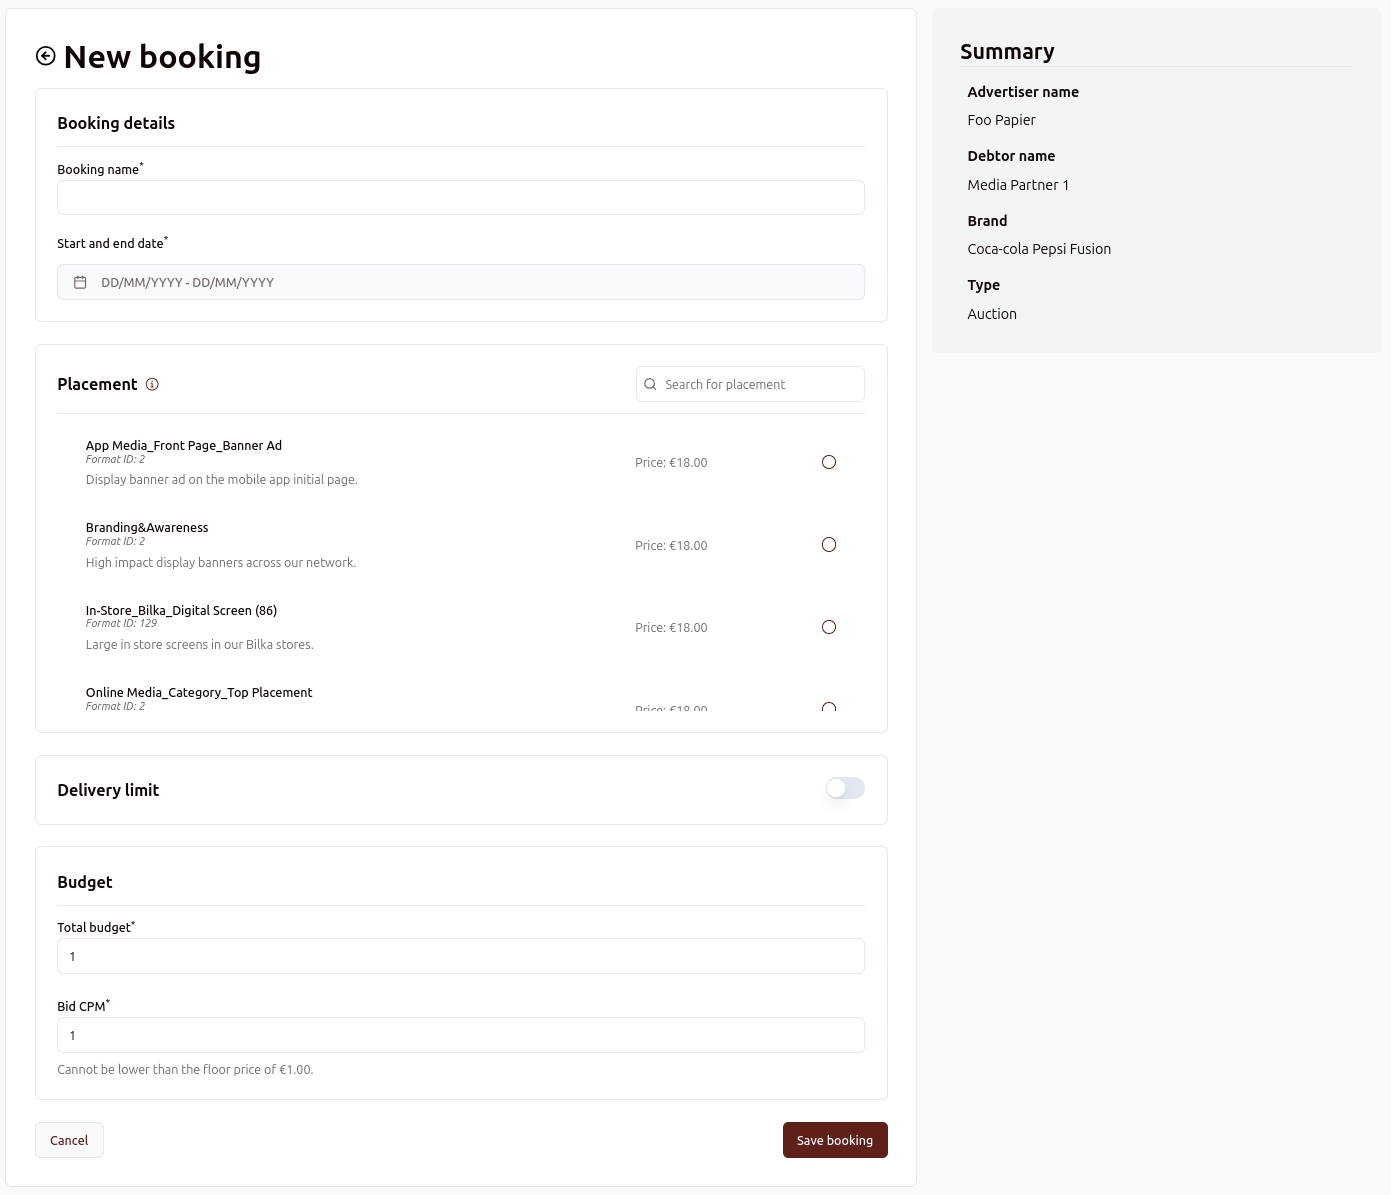
In the New booking screen, you fill out the details of the new booking. These being name, date, placement (position or channel), delivery limit if desired and budget.
Note that your Bid CPM needs to be equal to or higher than the floor price of the selected position, as indicated in the placement. You will not be able to save the booking otherwise.
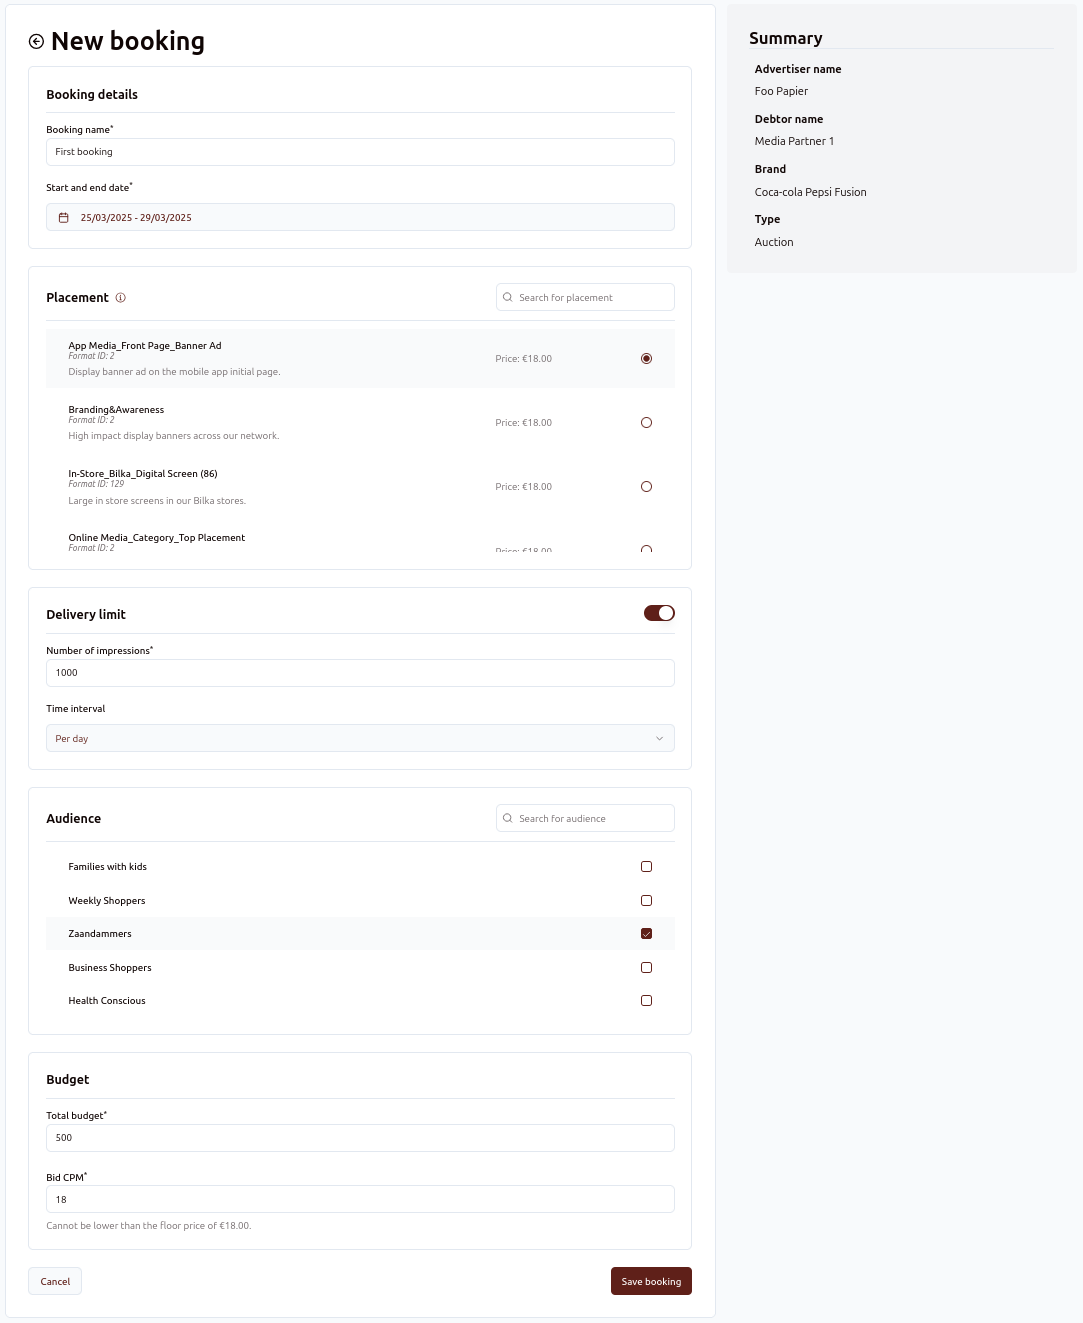
After selecting a placement, you will be able to select one or multiple audiences to target delivery to
When your booking has the required settings, you can click Save booking in the bottom right. You will return to the bookings screen
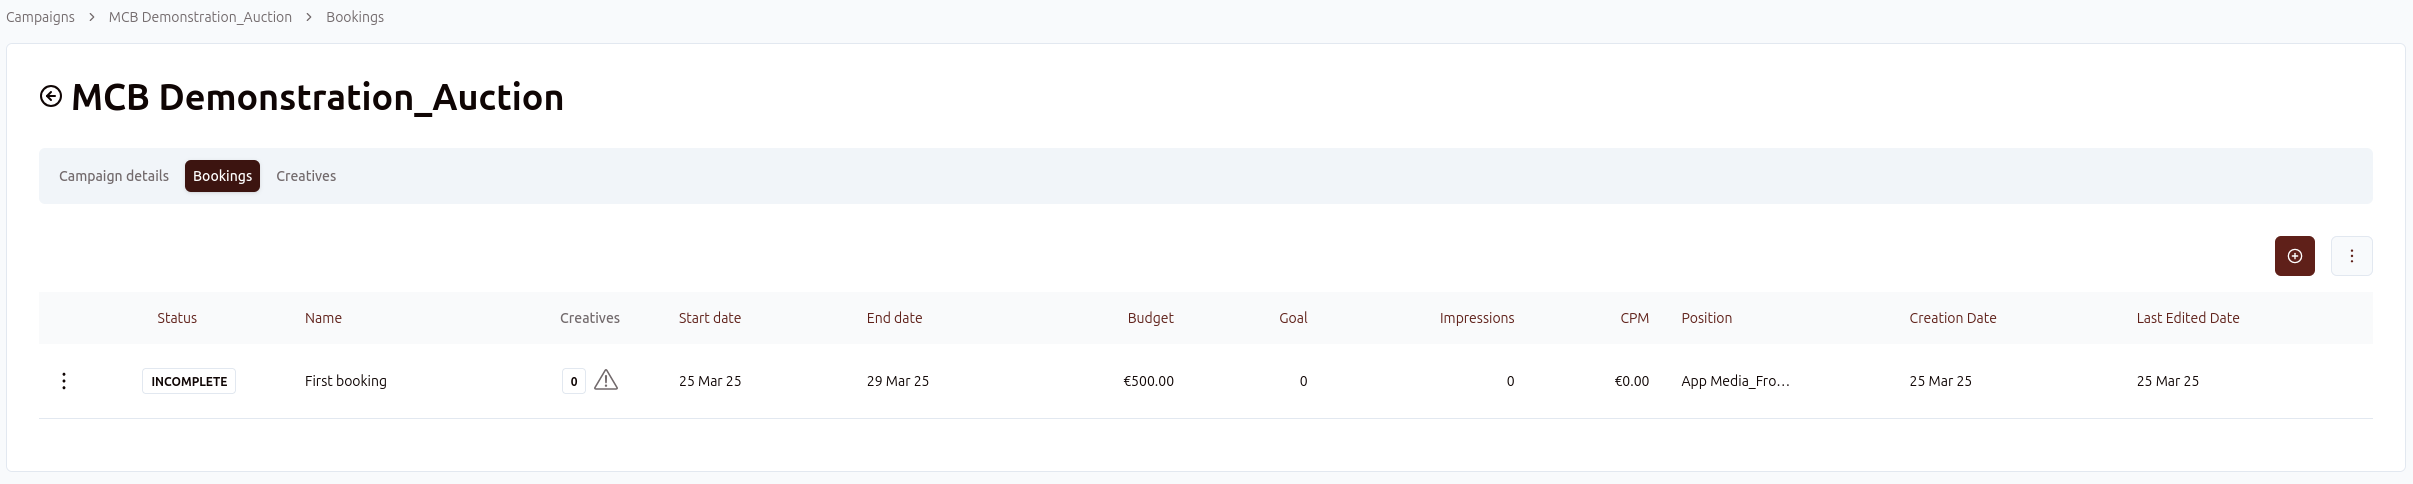
Here you have an overview of all the bookings you created. You can create additional bookings via the + symbol:

When you are ready with bookings, you can click on the Creatives tab to the right of Bookings to add creatives to our campaign.
Creating creatives & trafficking bookings and creatives
When you click on the Creatives tab, you will end up at the creatives screen:
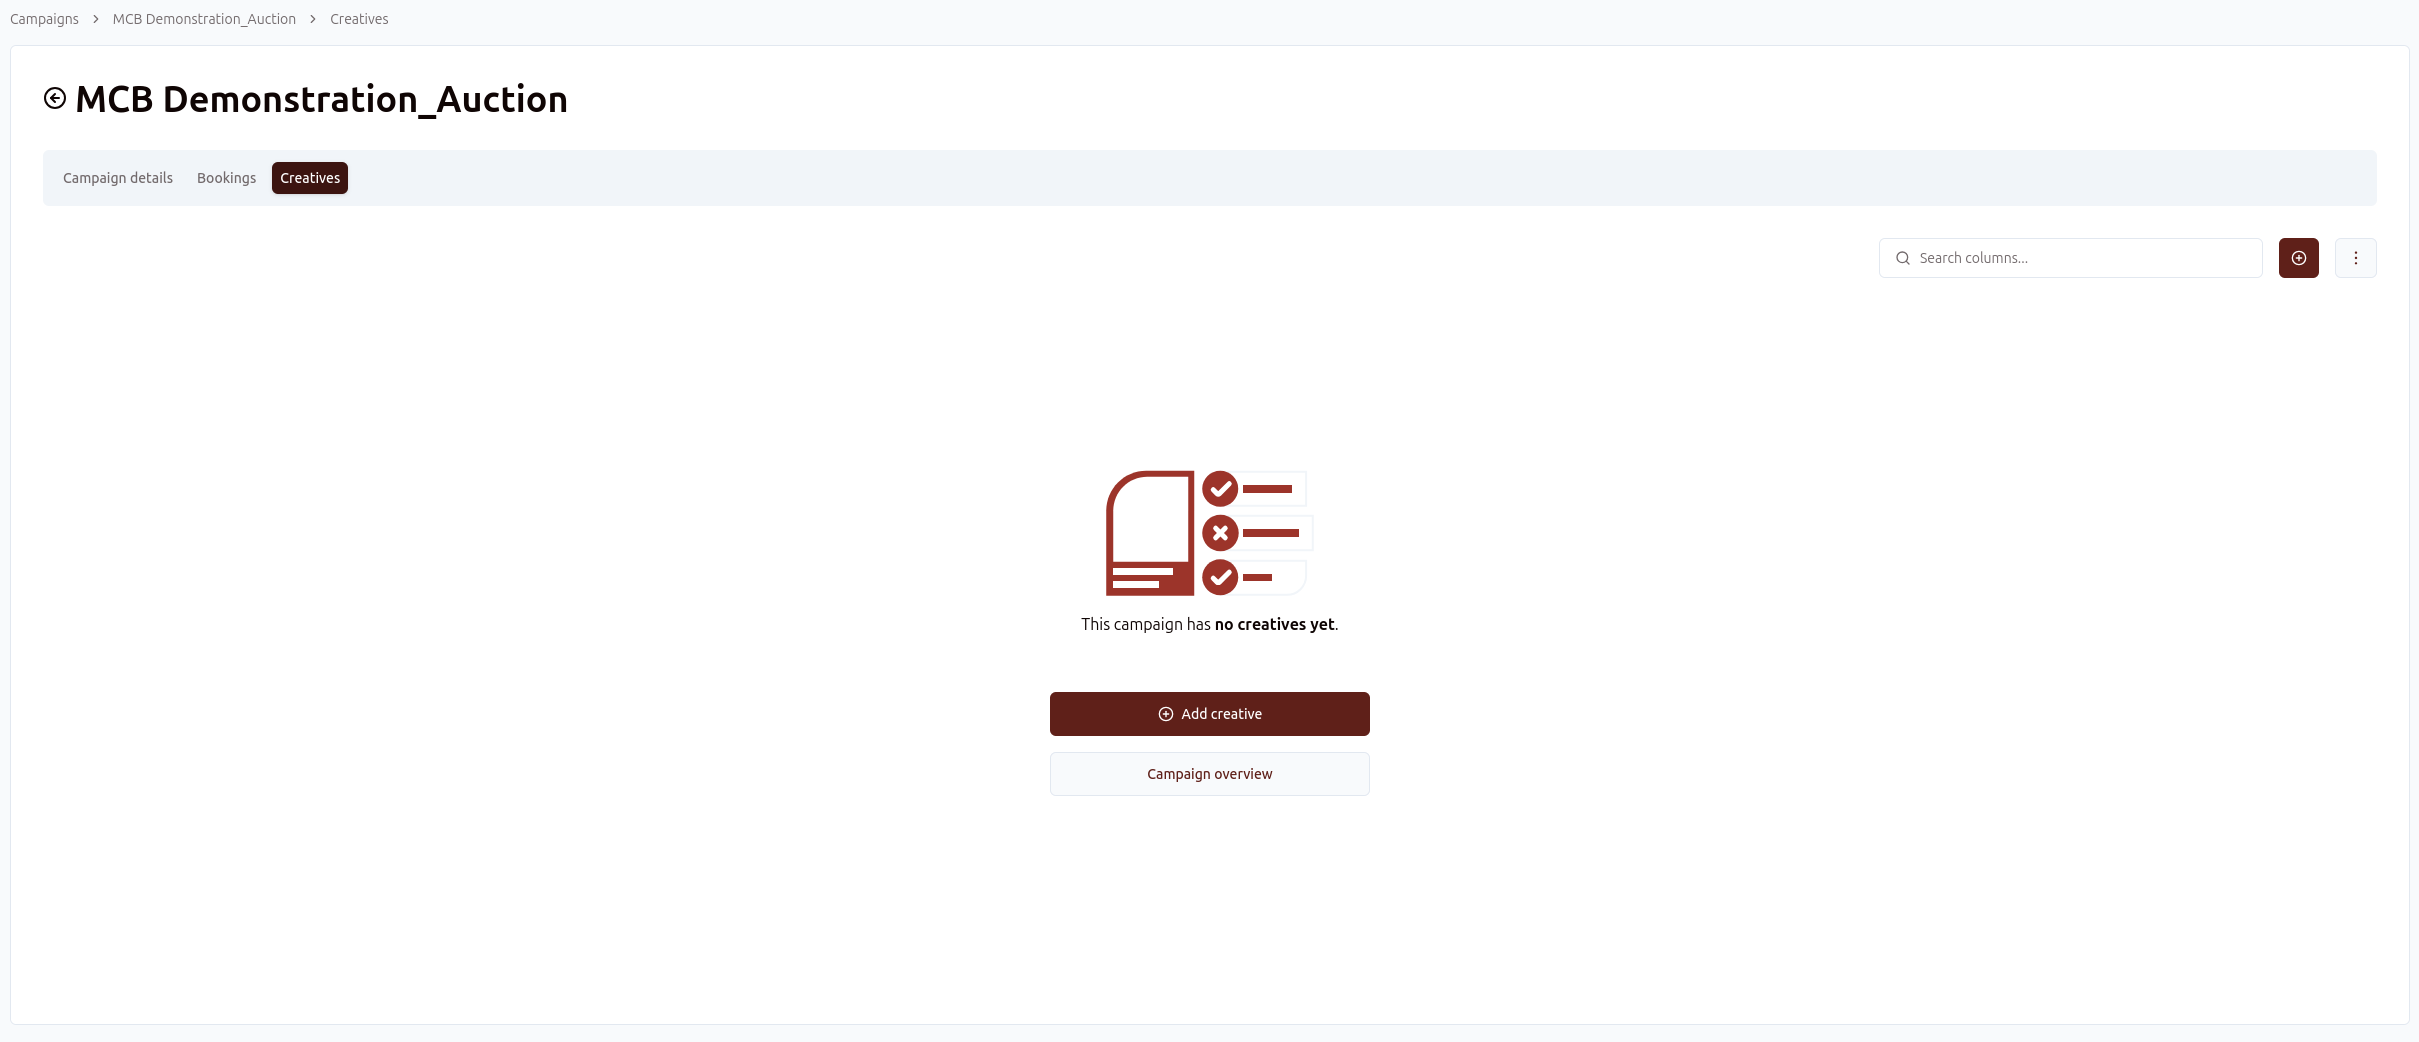
You can add a creative by clicking either on Add creative or on the + sign. In the next step you will be able to select the creative type, fill out the details and traffic the creative with a booking:
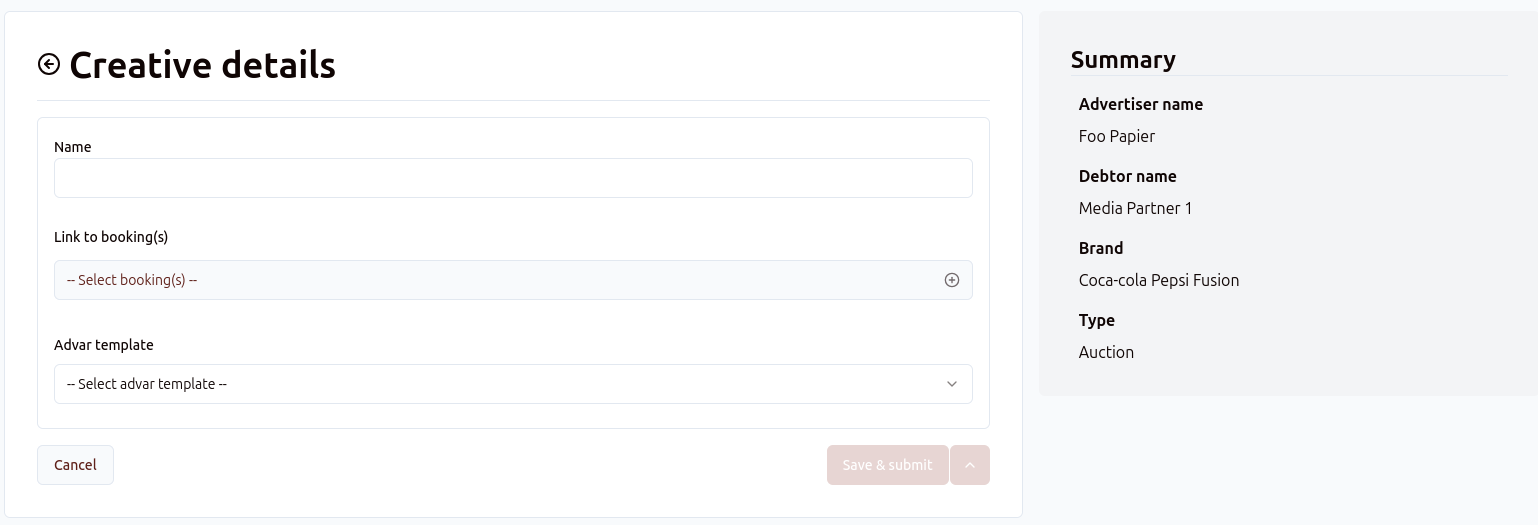
The fields you need to fill in are determined by the advar template selected:
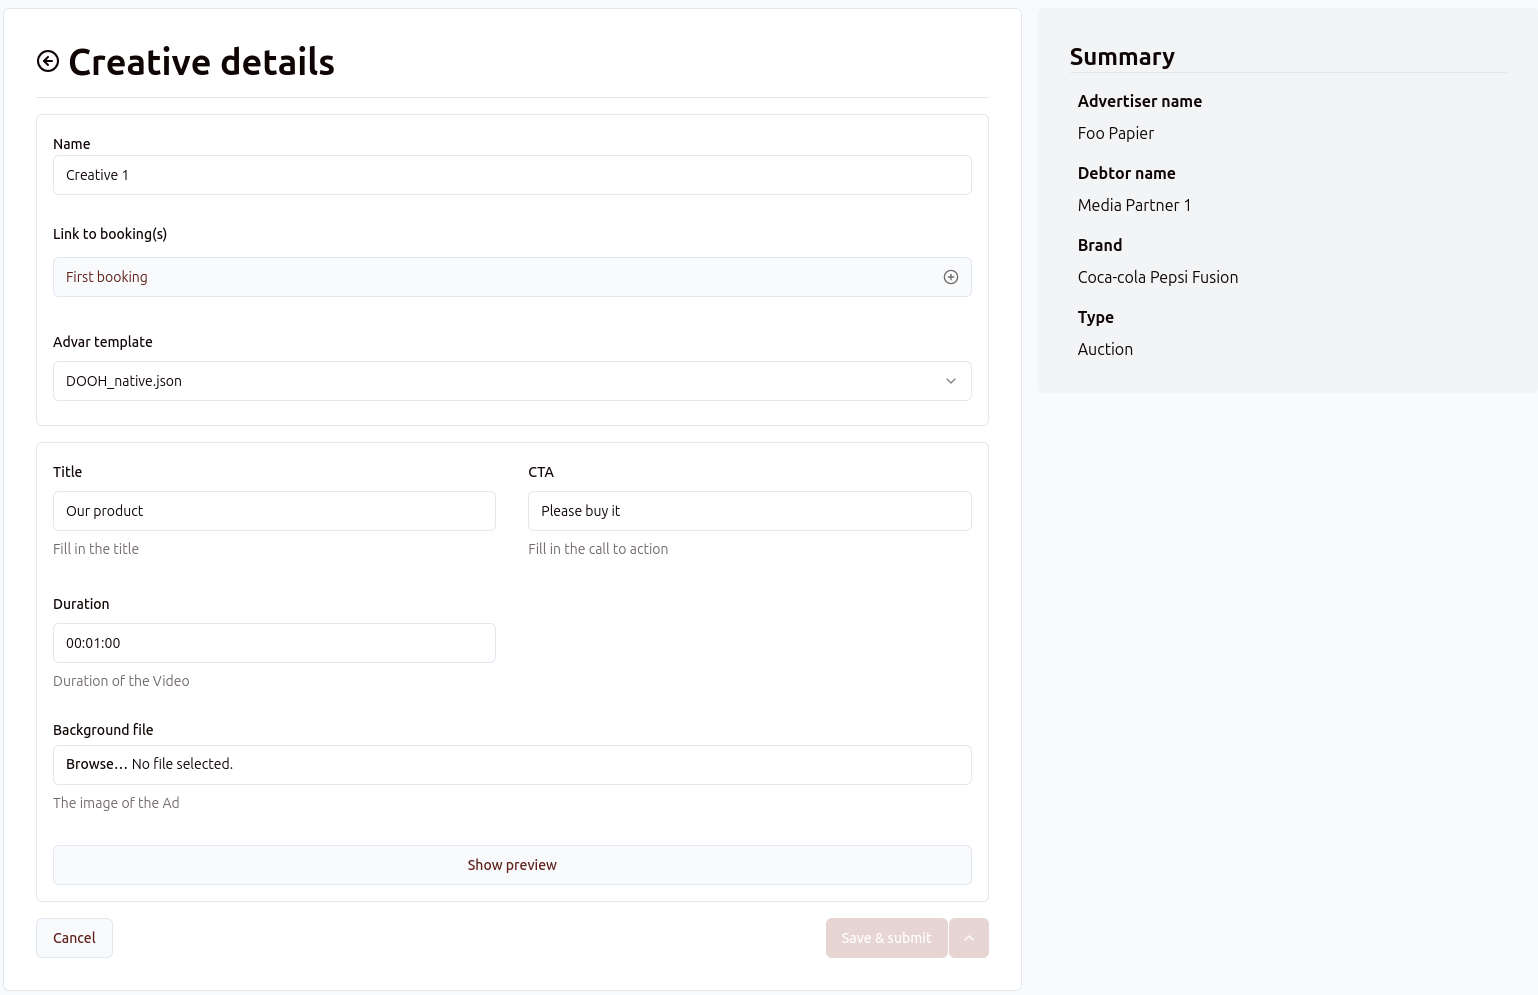
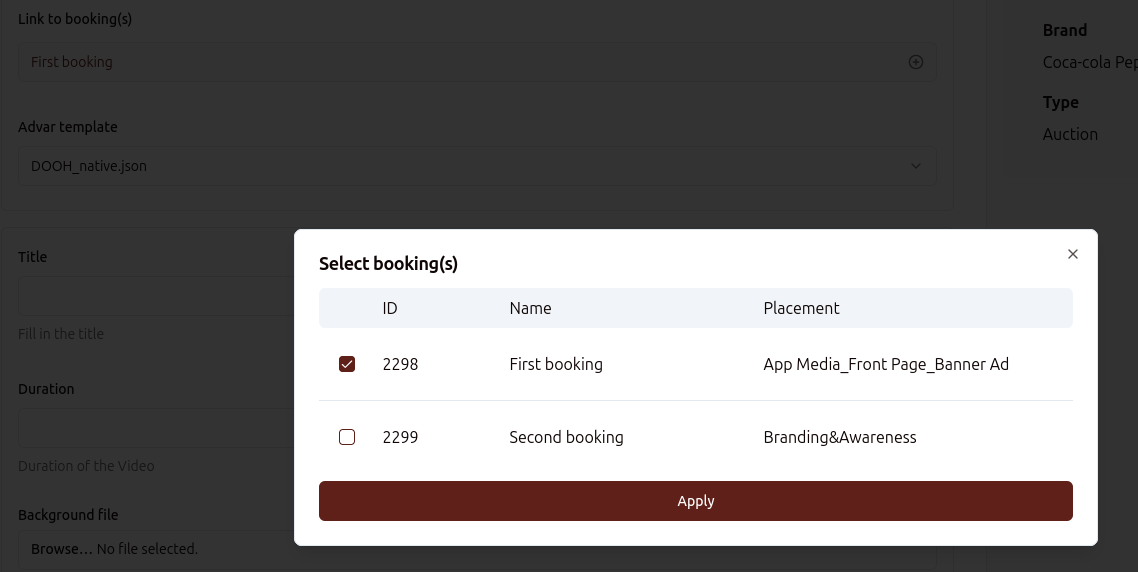
In the Link to booking(s) dropdown you can choose to which bookings you want to traffic the creative to.
If you choose to preview the creative via Show preview you will be asked to save the creative first.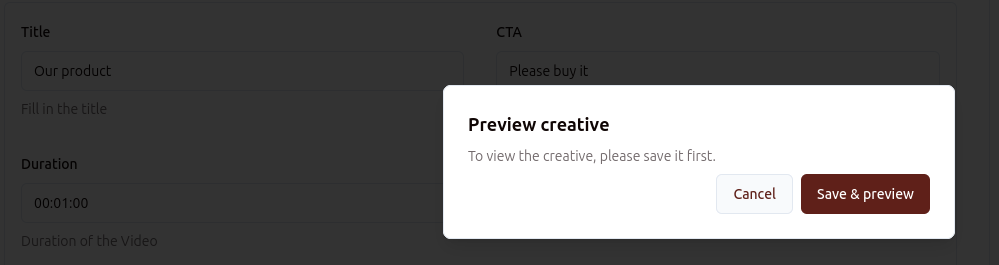
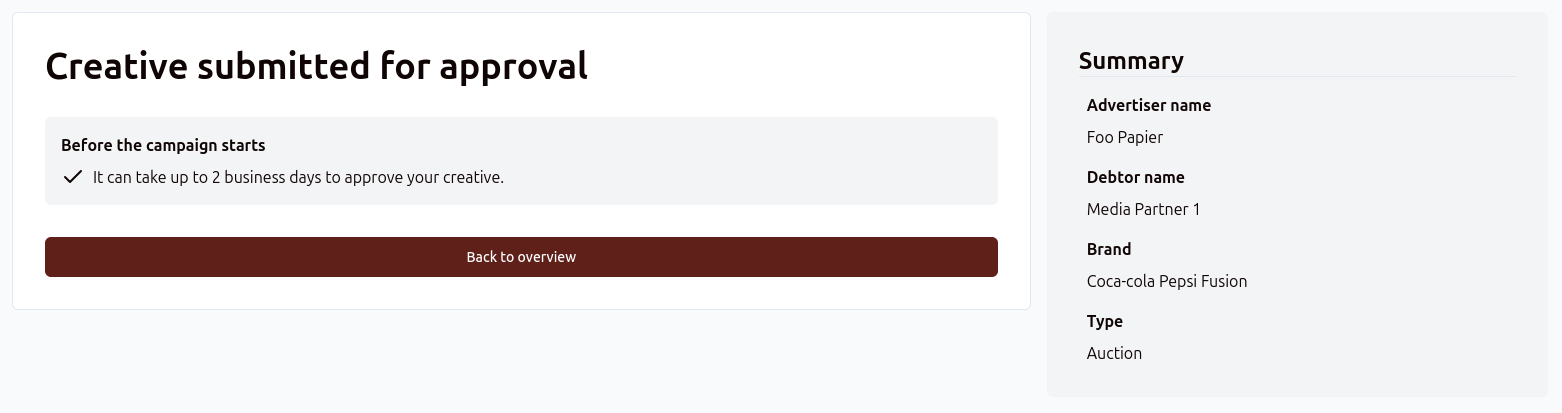
Once everything is filled in, you can click the Save Submit button or click on the arrow next to it to click Save if you want to submit the creatives for approval at a later date.
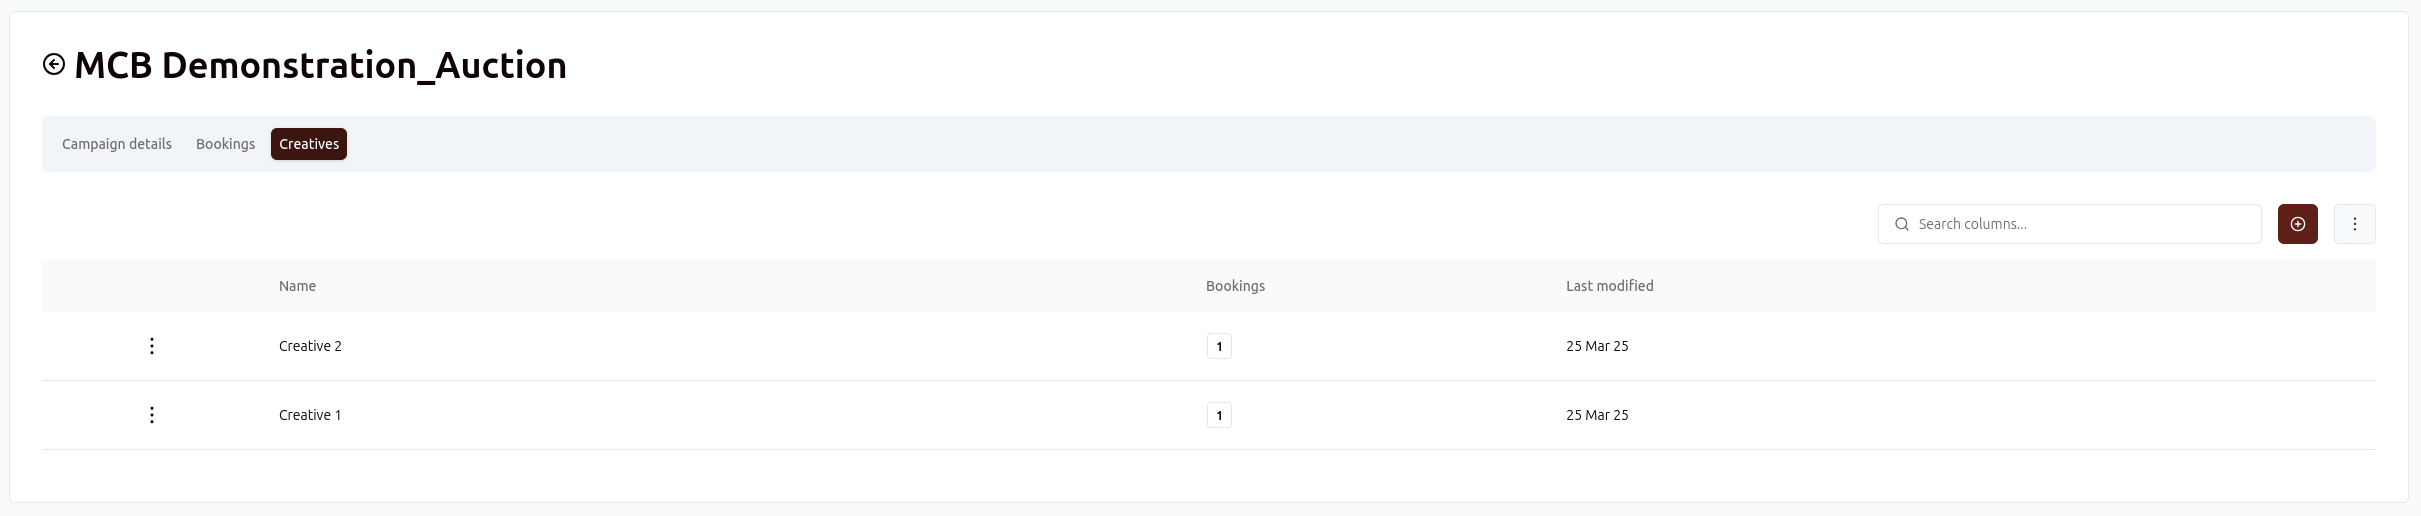
When you create creatives, they will be listed in the Creatives tab:
Back on the campaign screen, you have an overview of the campaign at a glance.

If there is a problem with the bookings or creatives, a warning sign will be displayed:

When clicking on the warning sign, you will go to the booking screen, where you can check the creative's approval state:

Creative approval
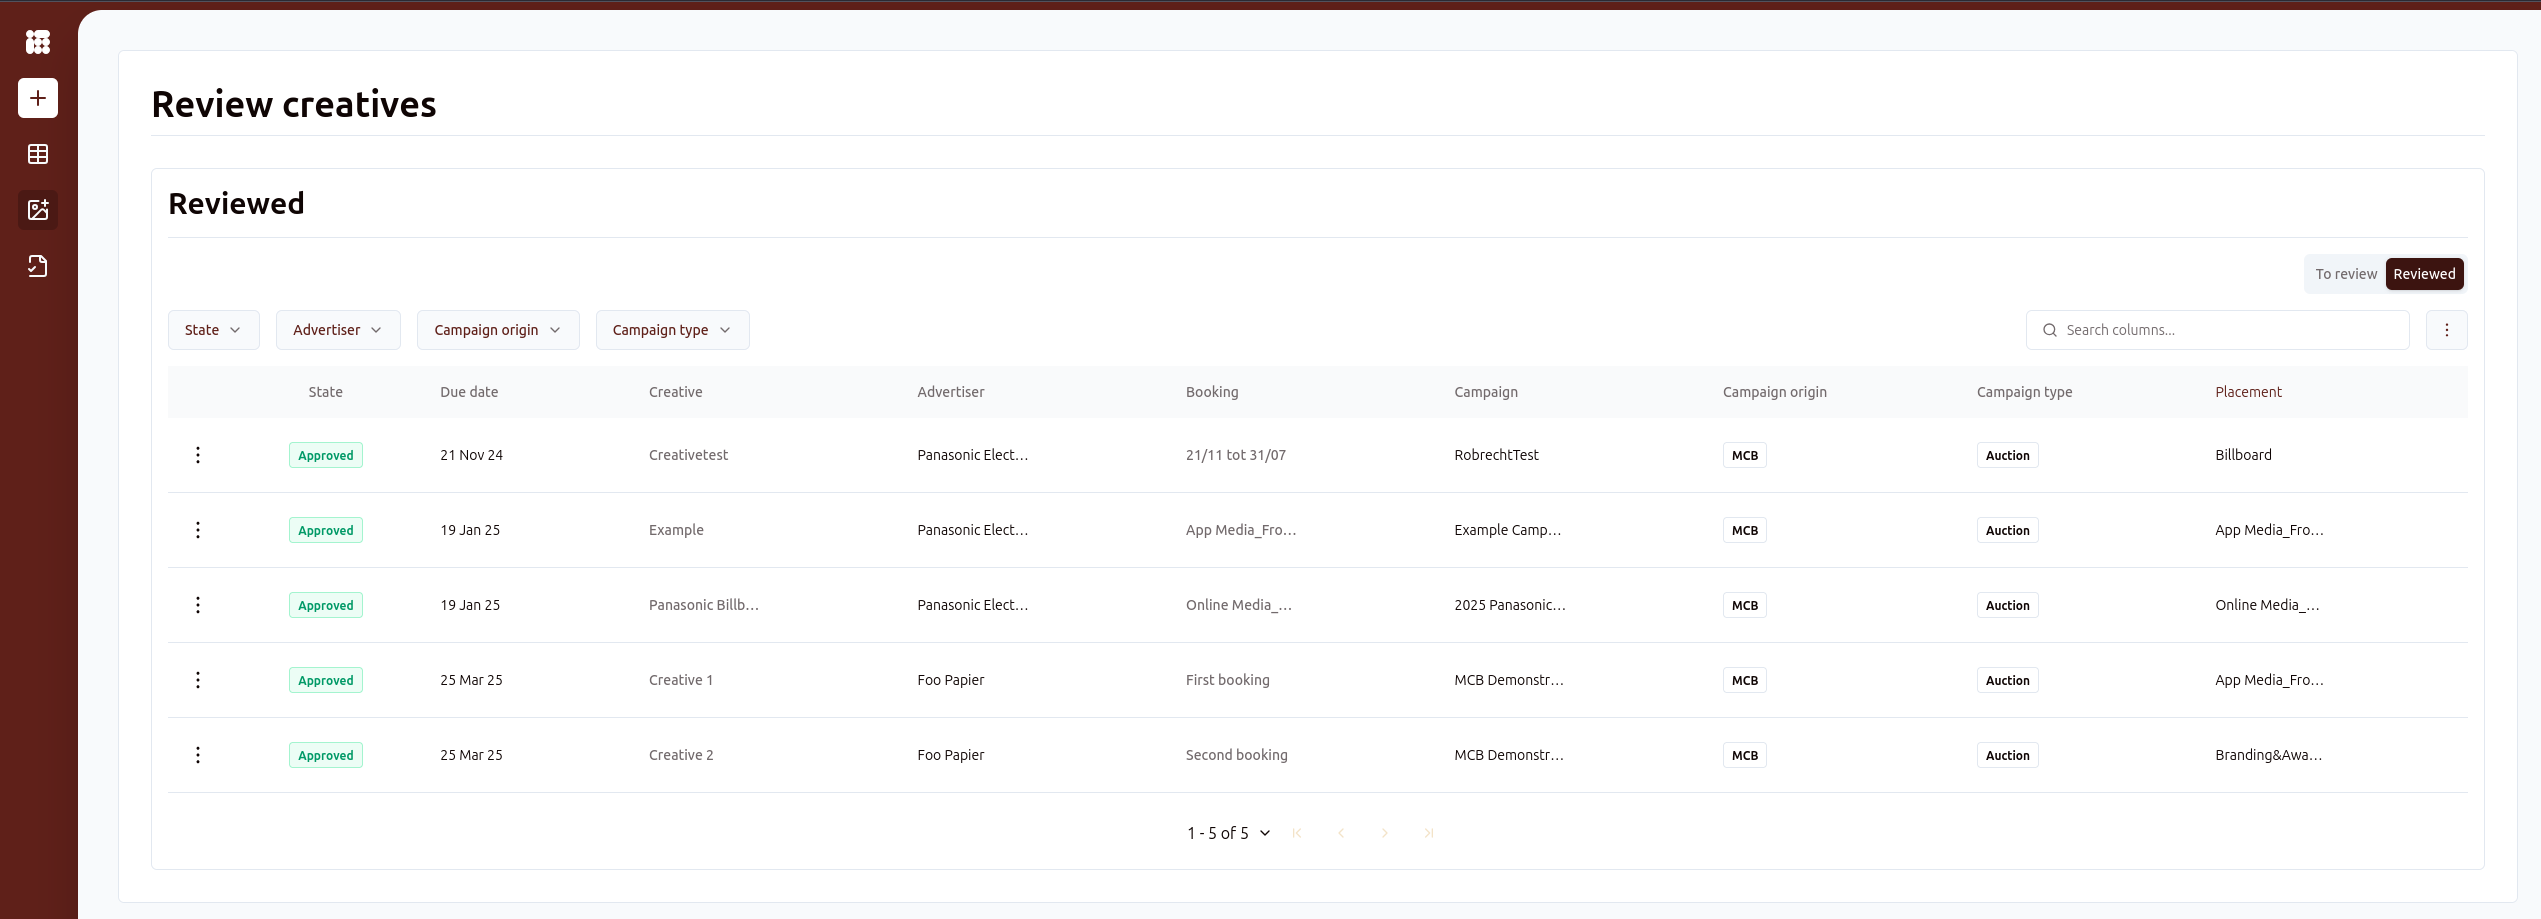
To check on the approval of all creatives, you can go to the Review creatives menu on the sidebar:
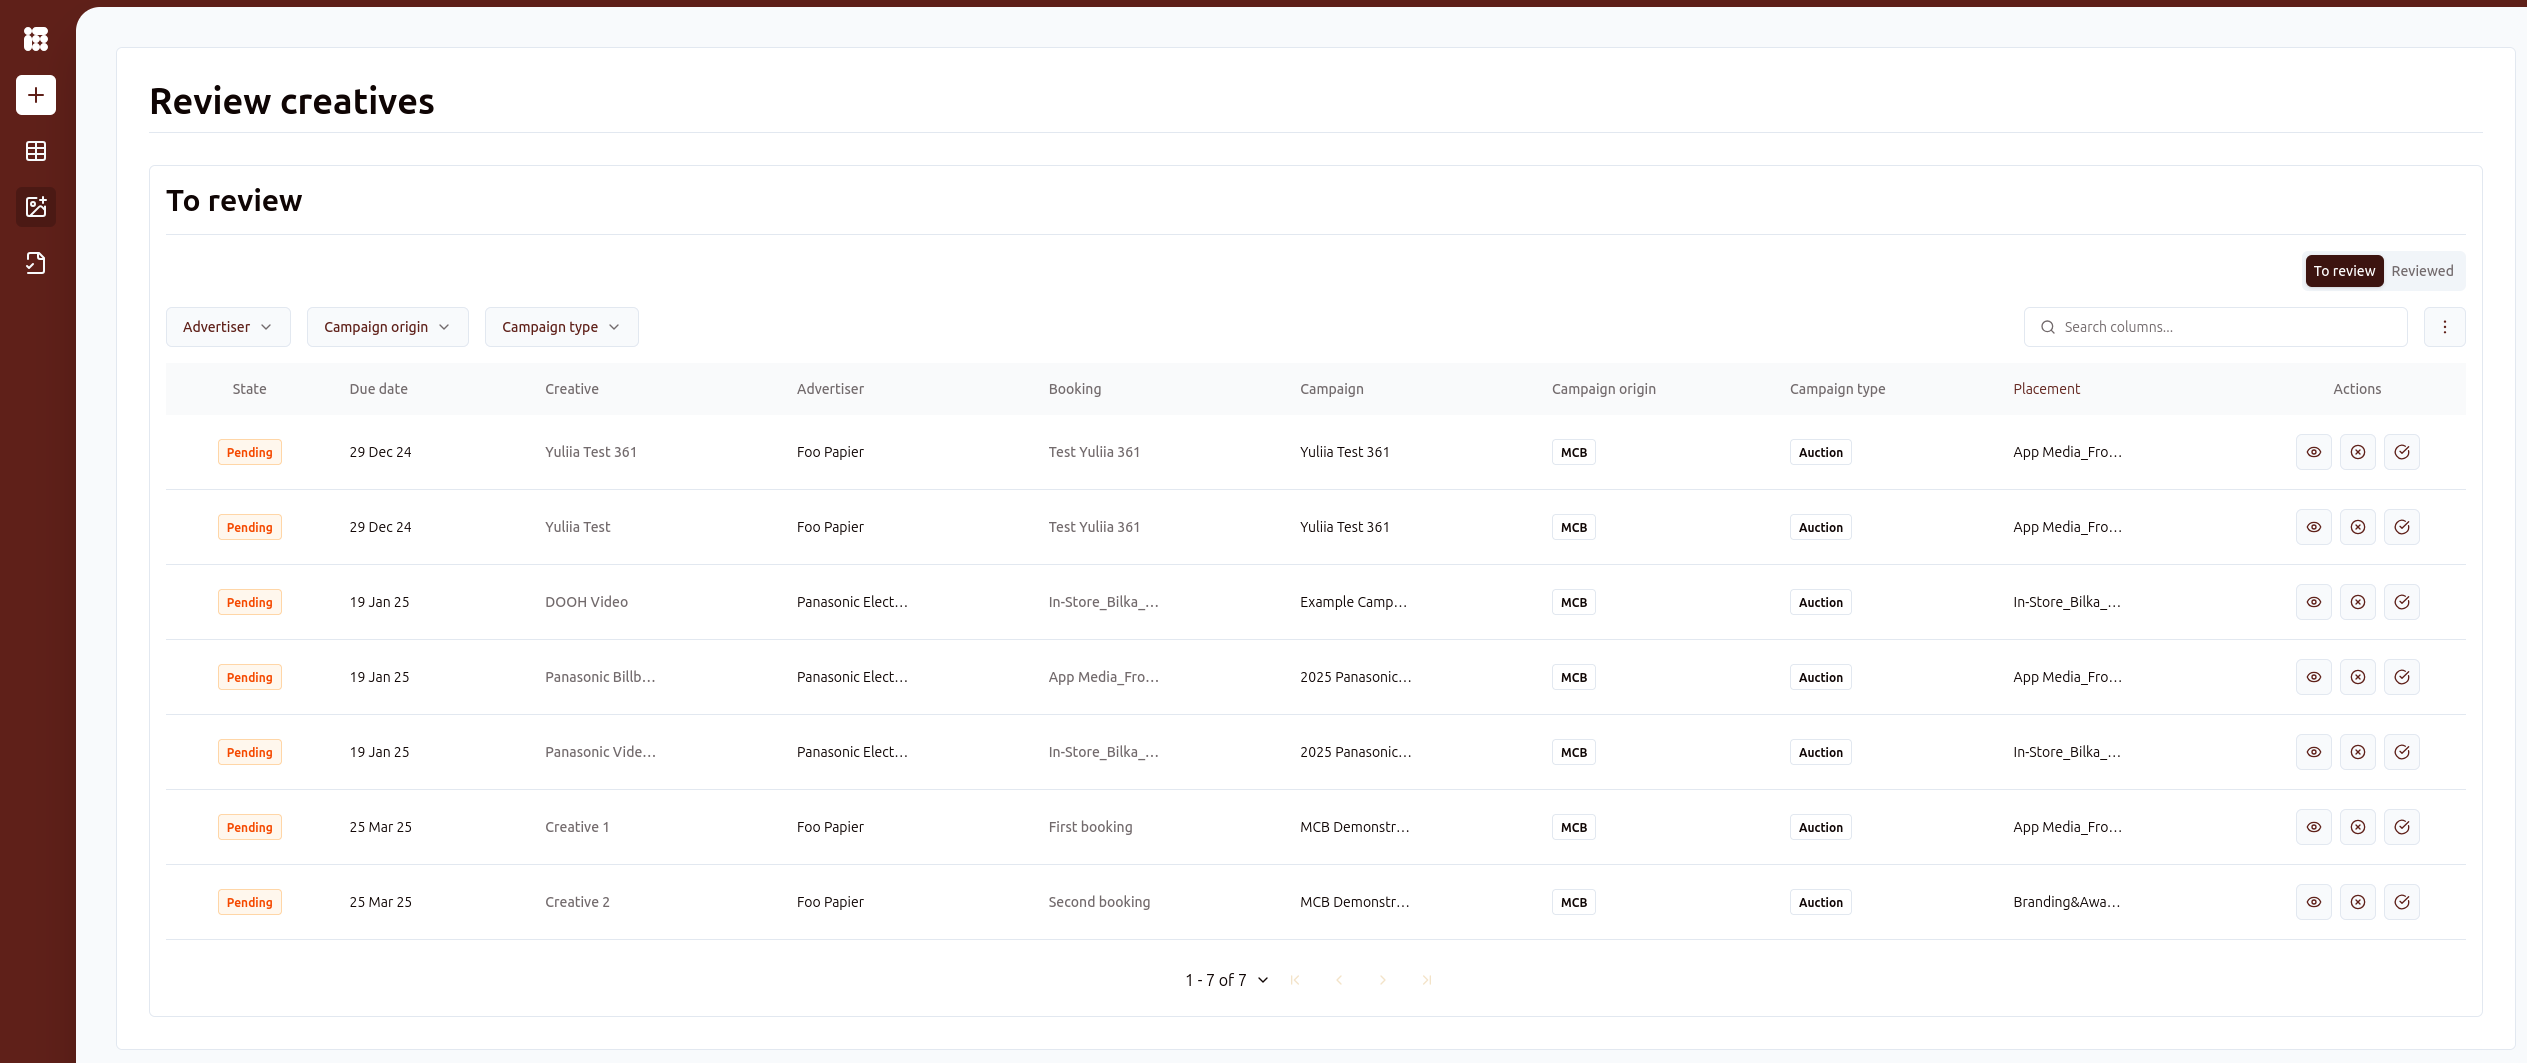
Here you will have an overview of all creatives pending approval. If you have admin rights, you can approve creatives. If not, you can check on the creatives pending approval or on the creatives that have been approved by going to the Reviewed tab on the top right:
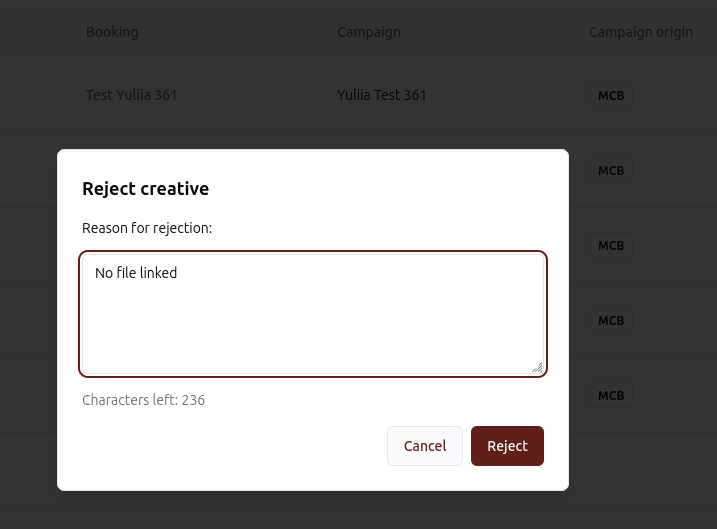
If you have admin rights, and you want to reject a creative, you will have to fill out a reason for rejecting the creative in the popup that appears after clicking on ![]() :
:
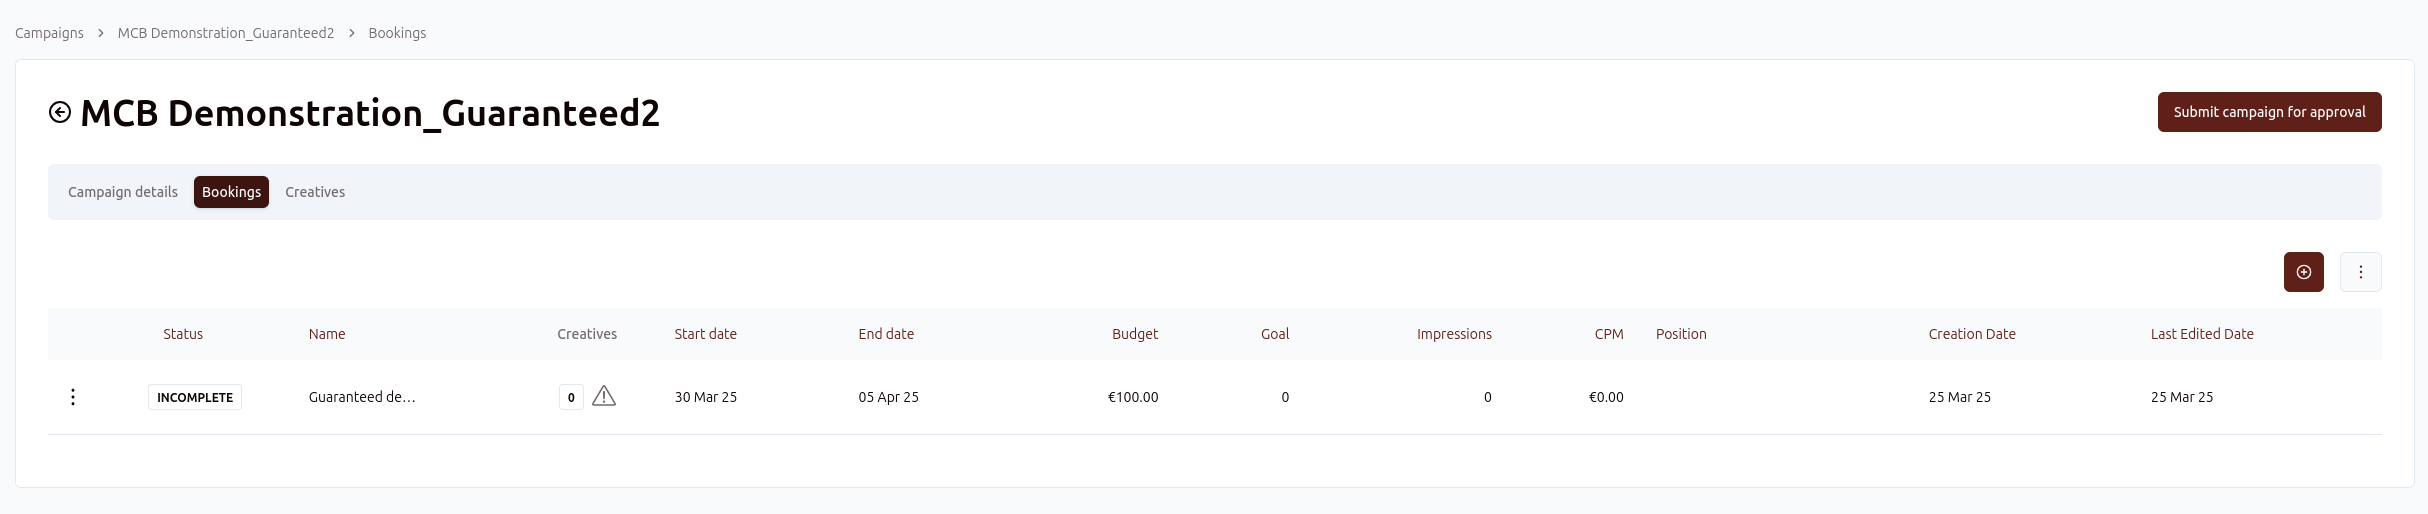
Guaranteed Campaigns
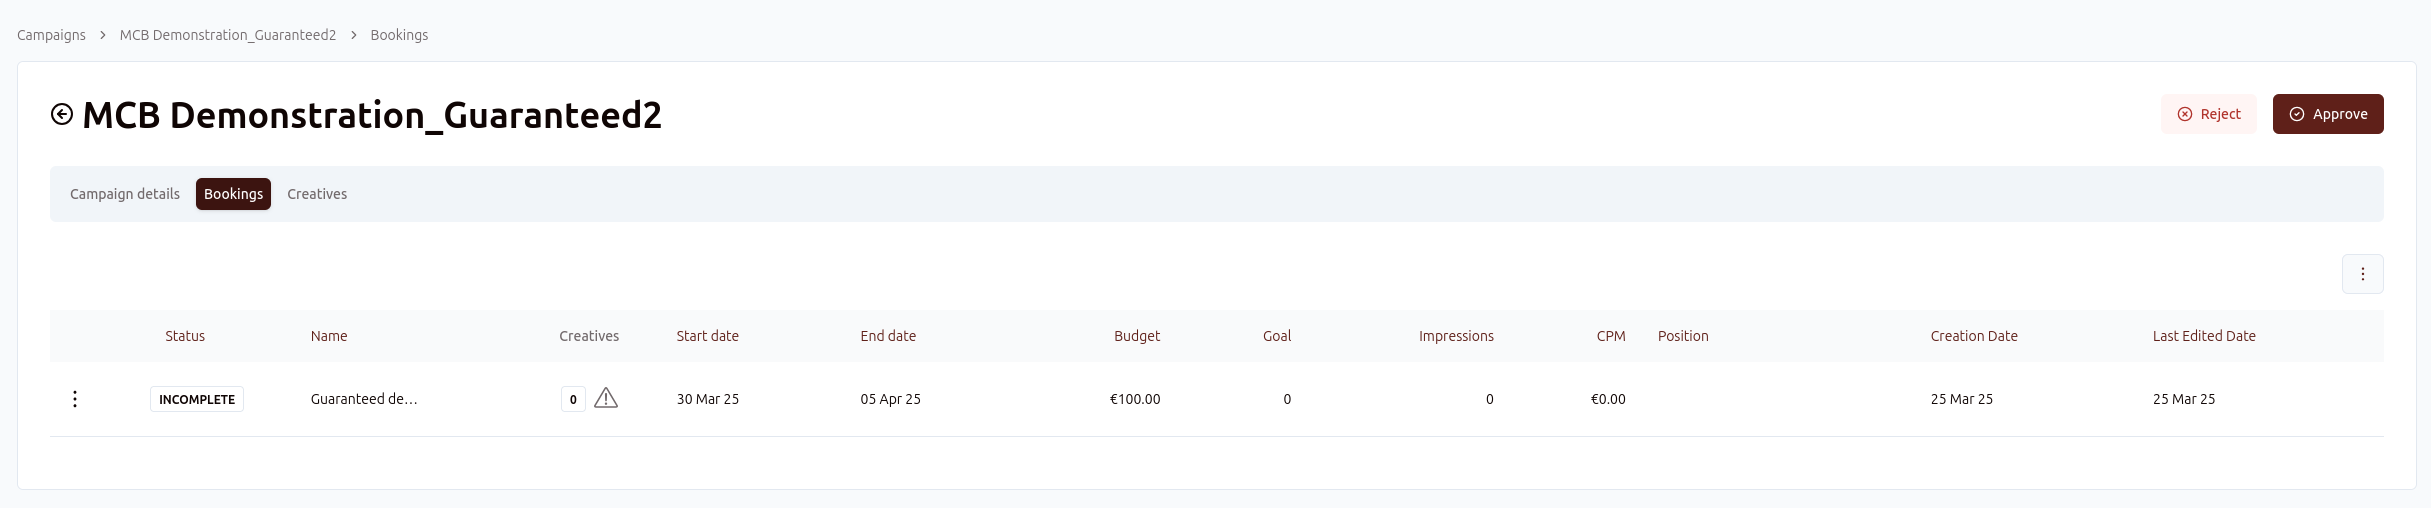
The guaranteed campaign workflow differs slightly from the auction campaign workflow. While only creatives need to be approved for auction campaigns, guaranteed campaigns themselves need to be submitted for approval. In the booking screen of a guaranteed campaign, you can submit the campaign for approval:
You can check on the status of campaign offers that have been sent for review in the Review Campaign Offers menu in the sidebar:
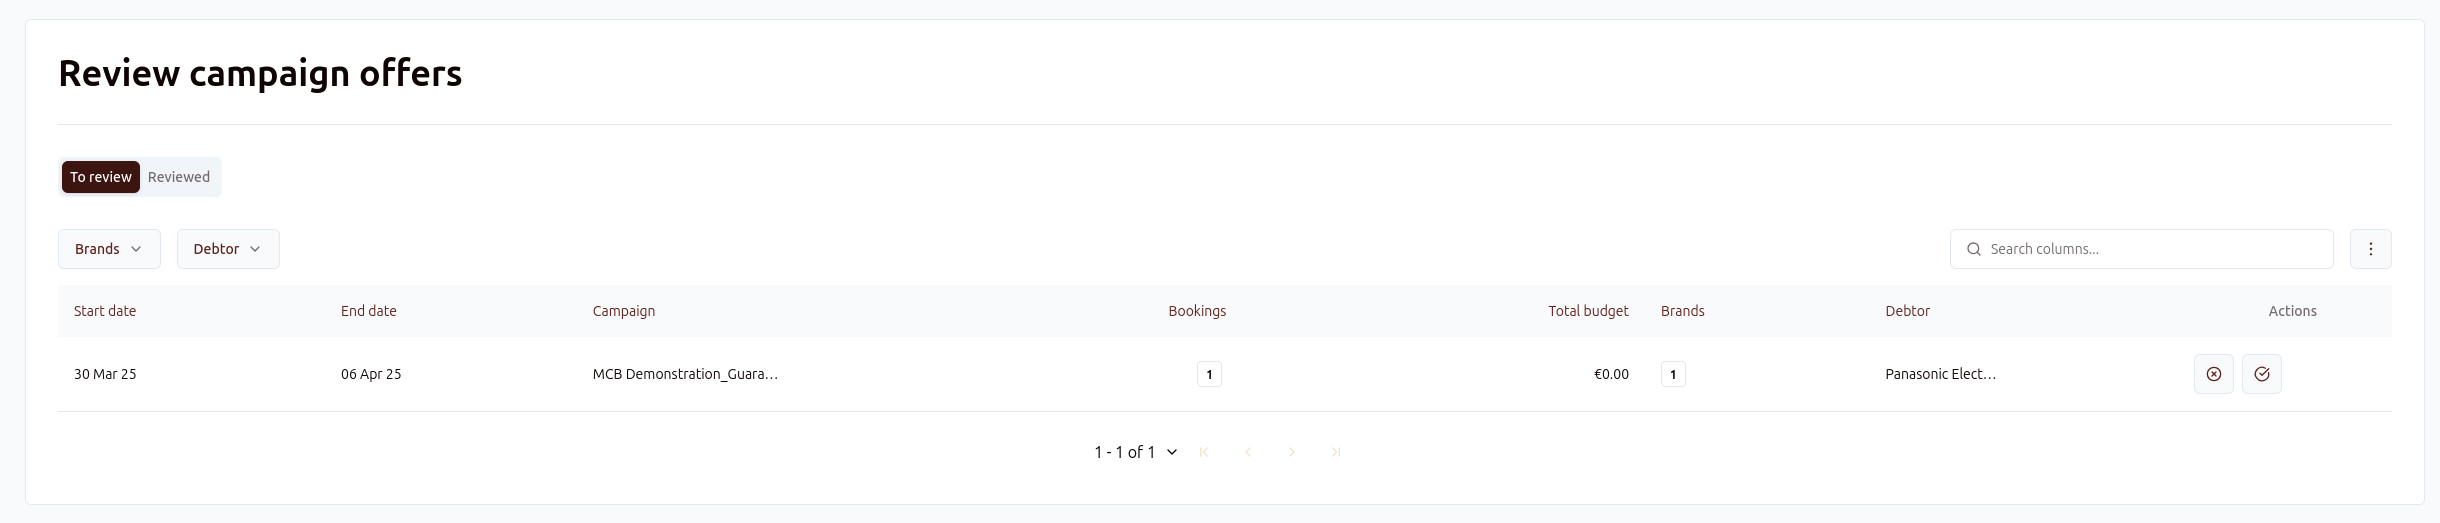
If you have the proper rights, you can approve a campaign from this menu or from the Bookings tab in the campaign in question. Otherwise you can only view the campaigns that have yet to be reviewed and the campaigns that have been reviewed: