
Targeting
To manage targets in Adhese, click the Targets - Manage targets link in the administration screen. The following screen is then displayed:
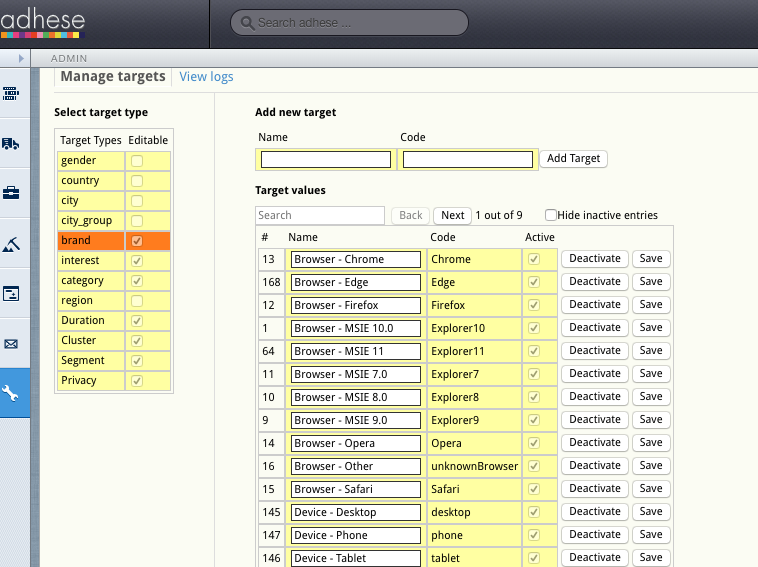
The screen is divided into two parts:
- Select target types on the left side
-
Add new target and Target values on the right side
The Select target types part shows all the available target types and indicates if they are editable or not. Ticked boxes are editable. Empty boxes are not editable. When you select a target type, the colour changes from yellow to orange, and your selection is displayed in the Add new target/target values part of the screen.
Click Add new target if you want to add a new target. To add a new target, fill in a name, give it a code and hit the Add Target button.
The code has to be unique to be accepted by the application.
The code cannot contain any punctuation. The only exceptions allowed are an underscore (_), an ampersand (&) (to add two or more codes in one target), and an exclamation mark (!) (for negative targets).
Targets have a character limit of 40. If a single target would exceed 40 characters, consider using advanced targeting.
- a search box
-
a back and next button showing the number of pages for this particular target
-
a checkbox to hide or show inactive entries.
The list can be sorted by clicking the #, name or code.
You can edit the name of each target. After editing, you can save your changes by clicking the save button.
To deactivate a target, simply click on the deactivate button. Once deactivated, the button's label will change to activate.
To find out more about what targeting does and how you can use it, see the Targeting section of the Bookings page