
Gateway configuration
Wikan
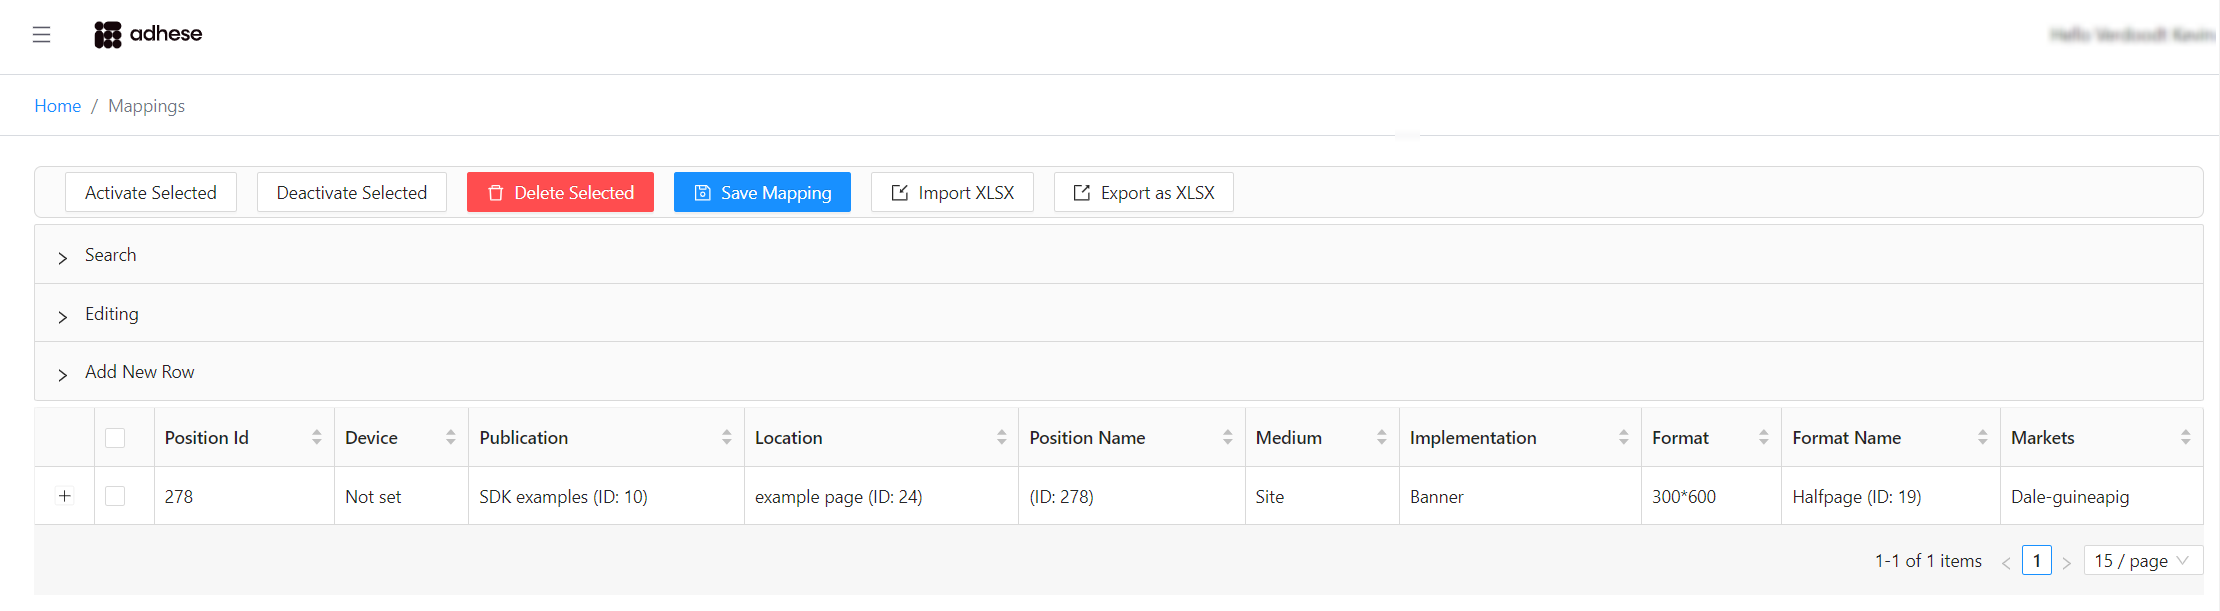
Wikan is a web-based application that is used to modify the configuration of the Adhese Gateway.
AccessYou tocan wikanaccess isWikan available through at:https://[customer].adhese.org/tools/cubeui/mappings
Searching and filtering
Clicking onClick the light grey bar labelledlabeled ‘Search’Search willto expand it and display the search form:
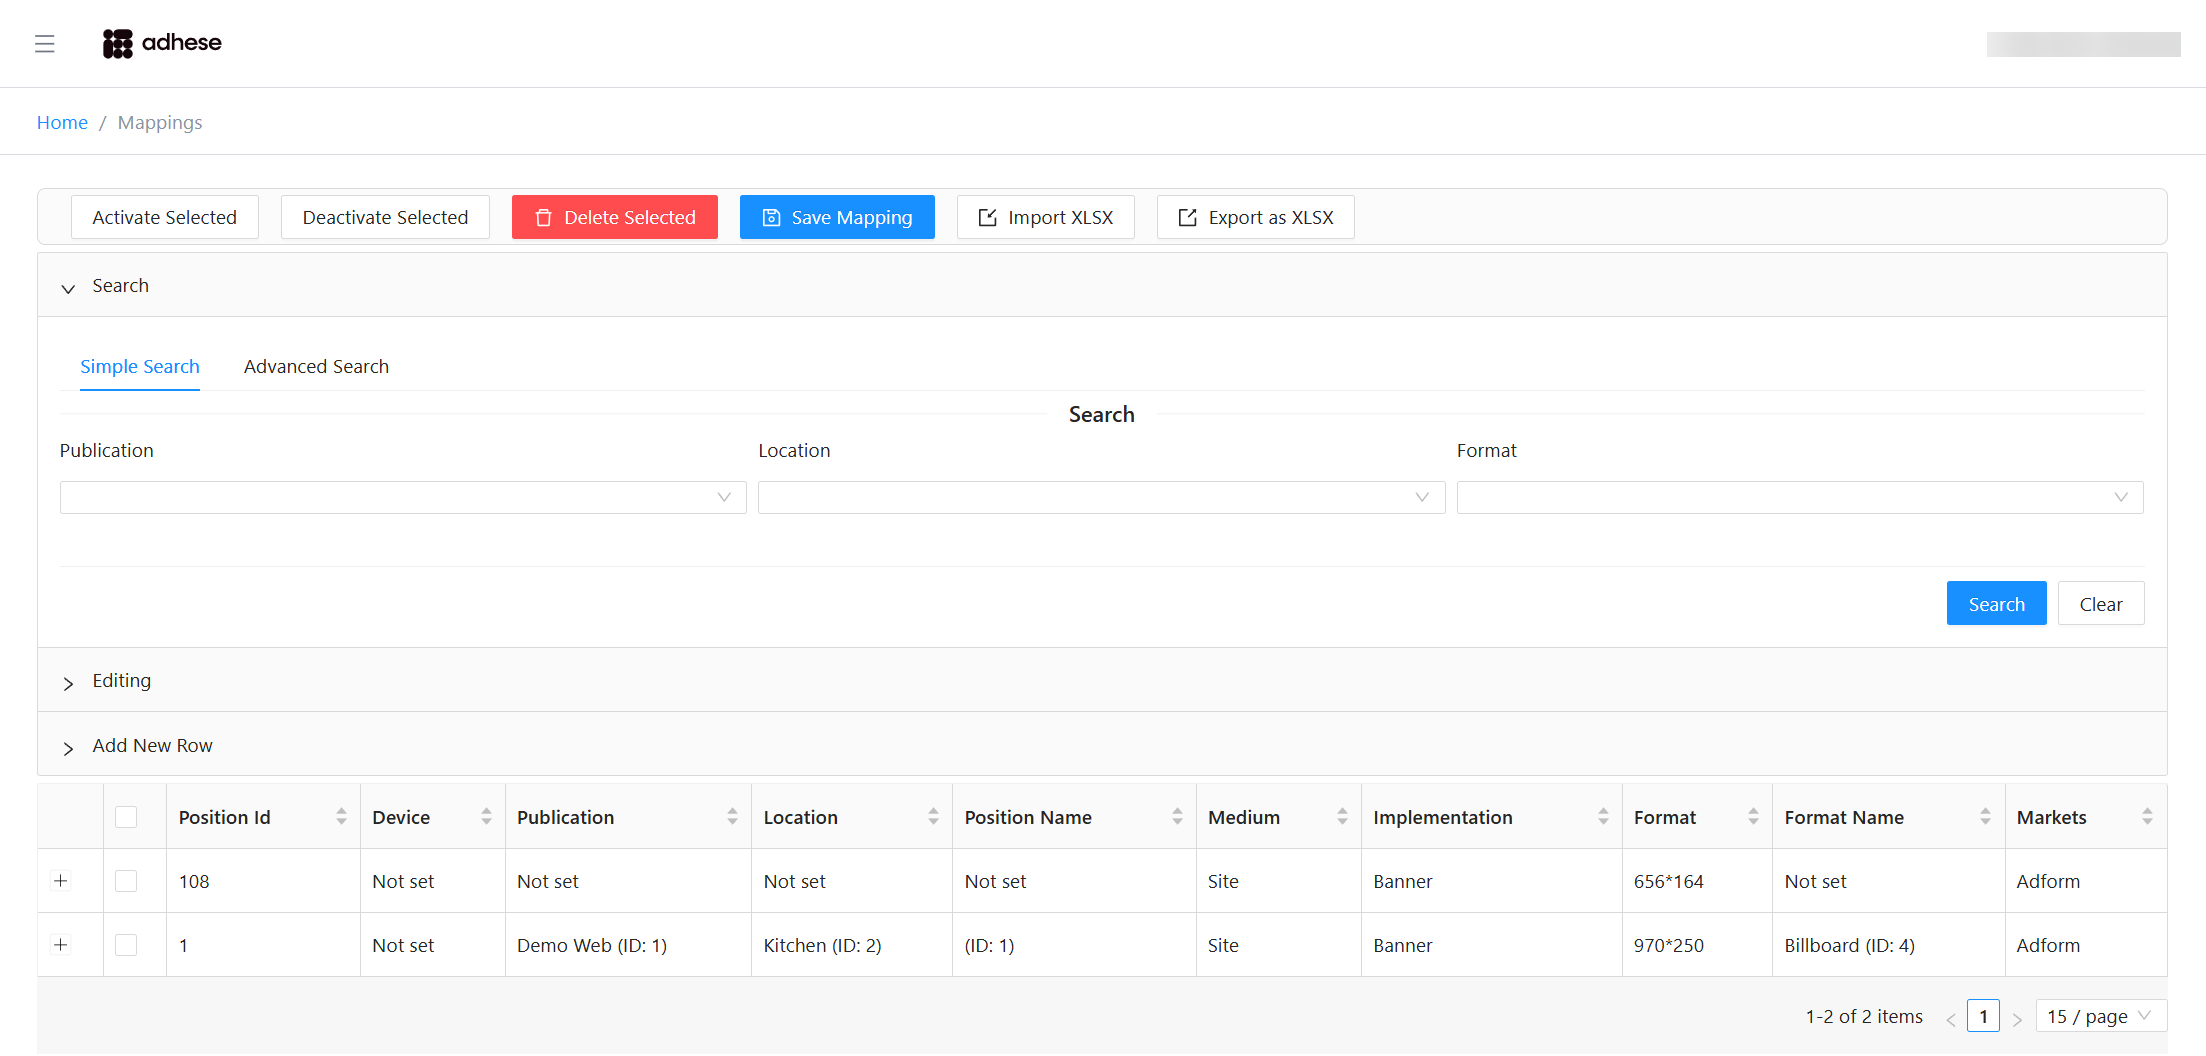
Here youYou can perform a *Simple Search*Search on *Publication,Publication, Location, or Format*Format.
You also have the option to perform anAn Advanced Search. is also available.
To filter outthe rows that don't meet your query requirements,table, fill in any of the fields and click Search. Empty fields are ignored.
In Advanced Search, the left and right forms initially have their radio buttons set to Either, meaning the filter will not check for medium (Site/App) or content type (Banner/Video) unless you change these options.
Selecting any checkbox under Market Search will reveal additional fields relevant to that market.
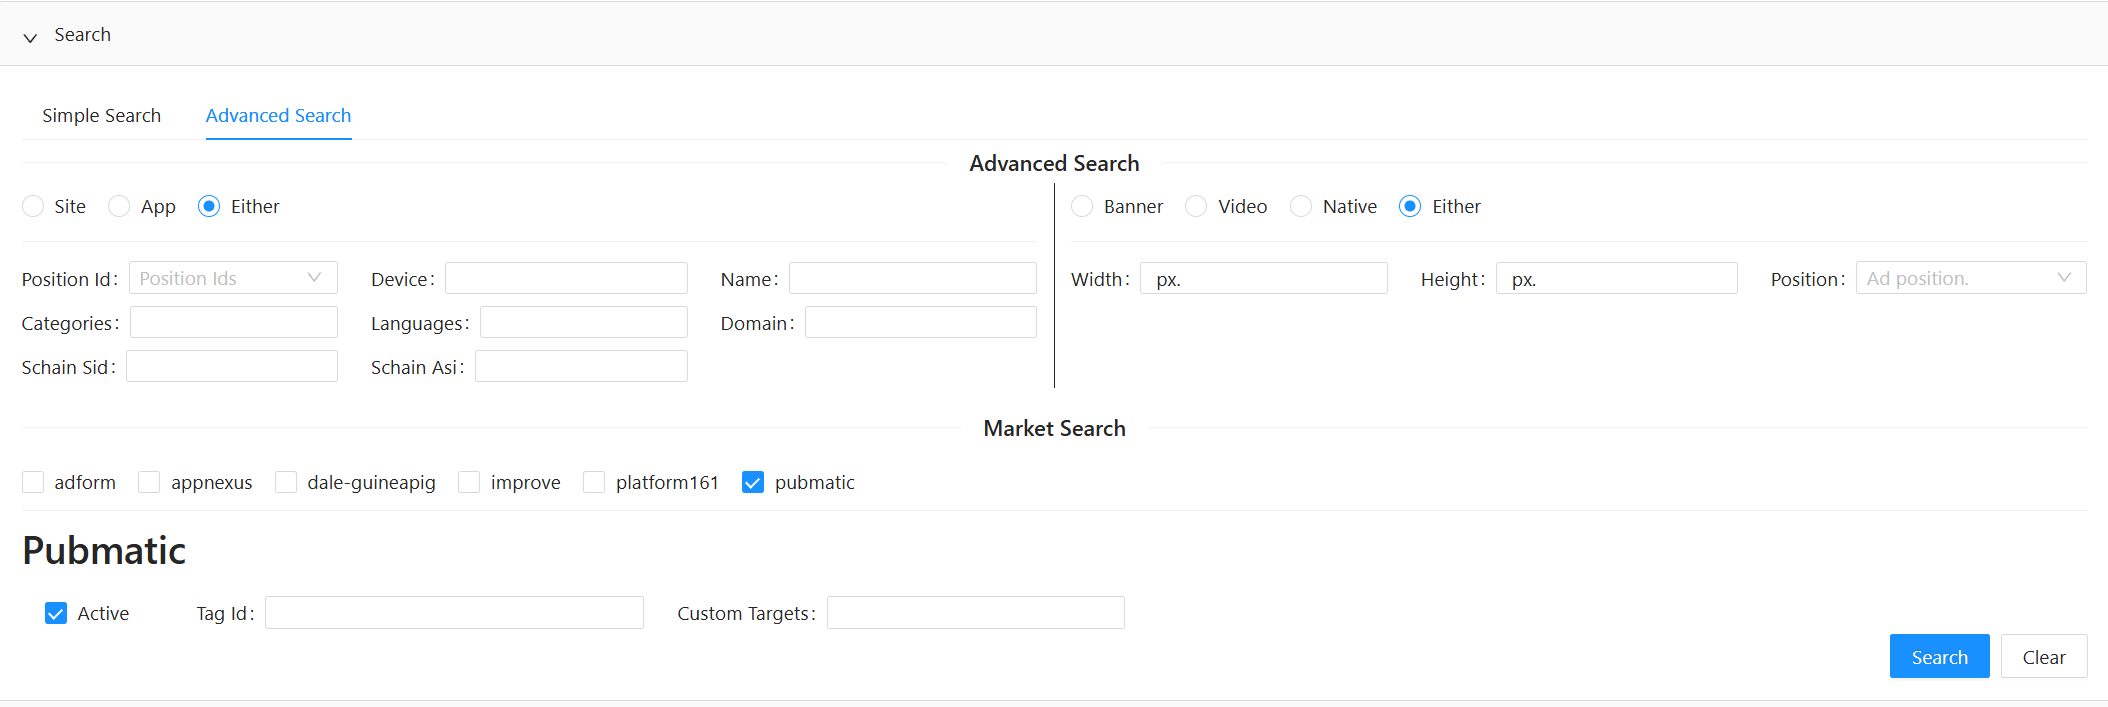
Click Search to apply your filters.
Click Clear to reset all fields and remove the current filter.
Editing rows
Click the grey bar labeled Editing to open the Editing form
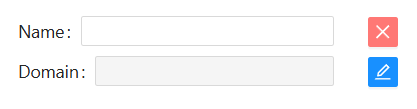
All fields are disabled by default (shown in grey). Click the blue toggle button on the Searchright button.to If you leaveenable a field.
A disabled field is ignored during editing. This means:
Initially, the left and right form of the Advanced Search will have their radio select fields set to Either. This means it won't check for either the medium (Site/App) or the content type (Banner/Video) when filtering on their shared fields.
Clicking on the checkboxes under Market Search will display new forms with fields appropriate to those market instances.
Clicking the Search button will filter the table according to your query.To undo the current filter and empty all search fields, click the Clear button.
Editing rows
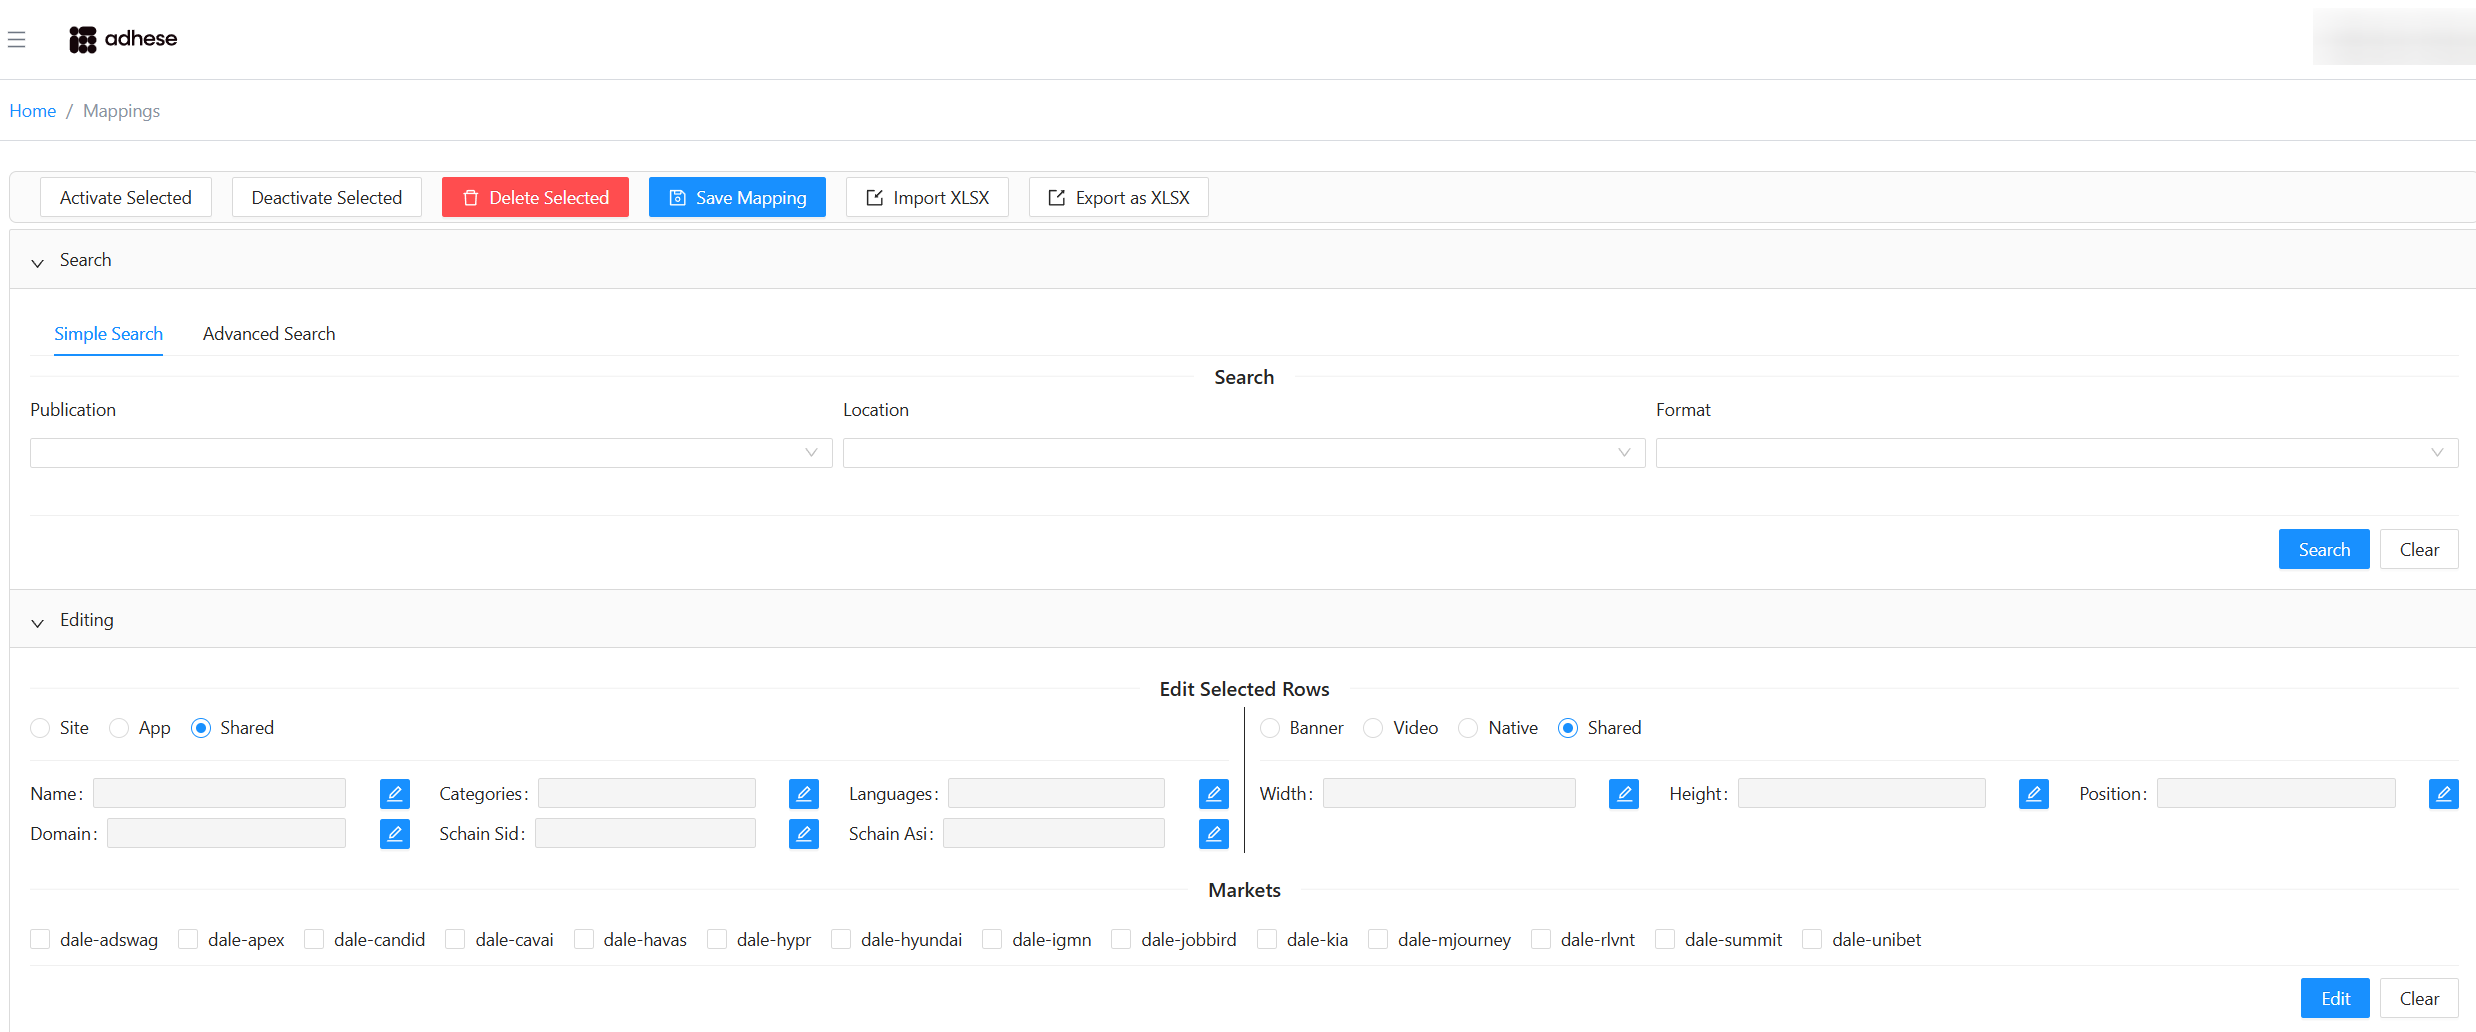
Clicking the black bar labelled Editing opens the Editing form.
By default, all fields are disabled, indicated by their grey appearance. Click the blue button to the right to enable them:
If a field is disabled, it will not be considered during the editing process. This means that if a field already exists, it will remain unchanged, and if it does not exist, it will not be filledoverwritten with an empty entry.
This isdistinction toprevents distinguishaccidental betweenclearing notof touching a field and setting it to an empty value.
data.
You can add forms for market‑specific market instancesforms by etogglingnabling thetheir checkboxes for each:checkboxes.

YouSelect canone selector any number ofmore rows in the table belowand andclick clickEdit the Edit button to apply theseyour changes.
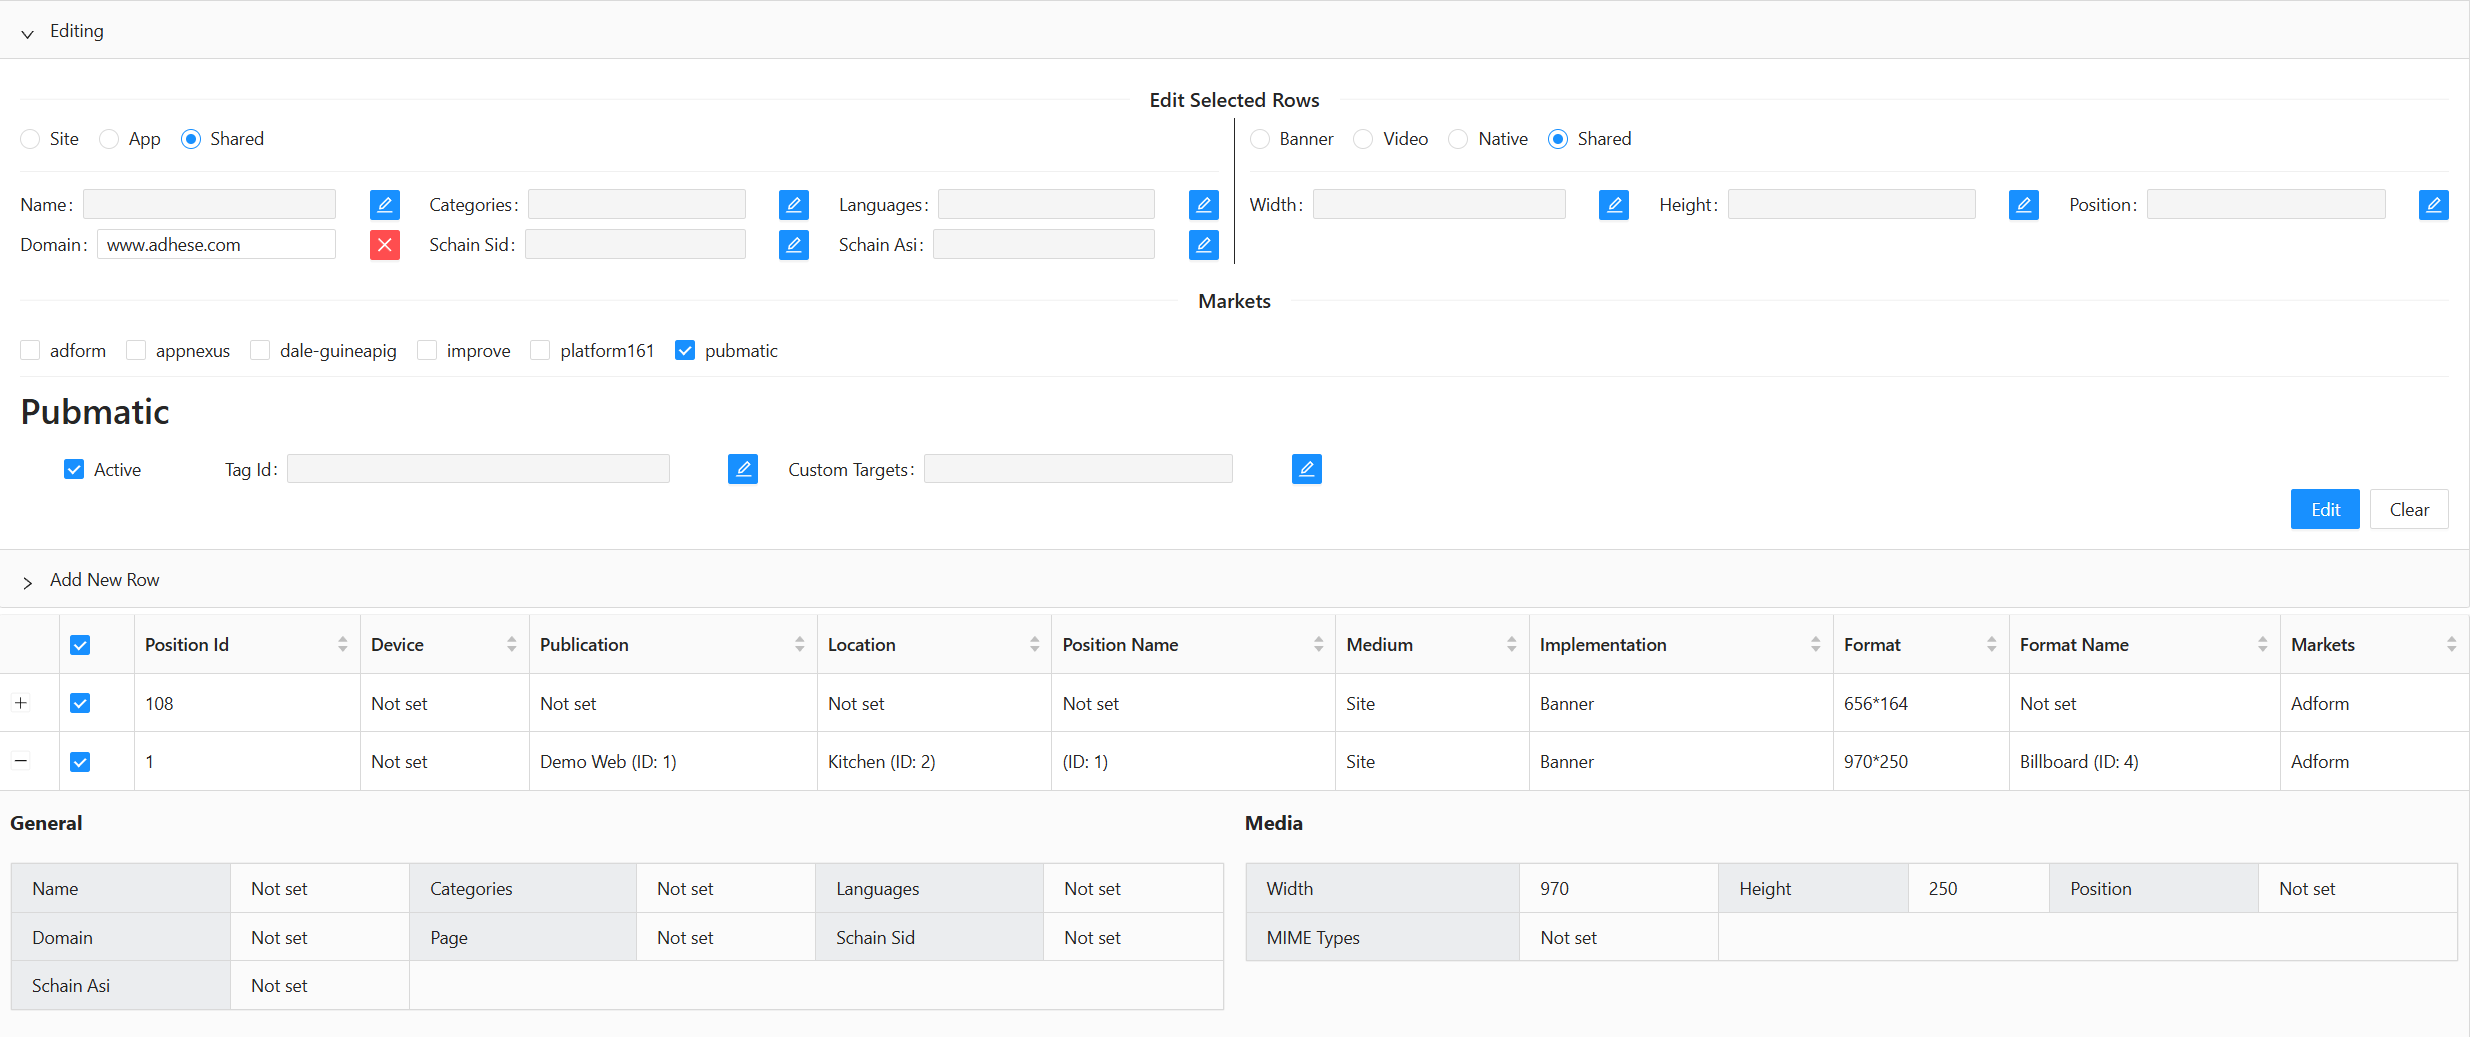
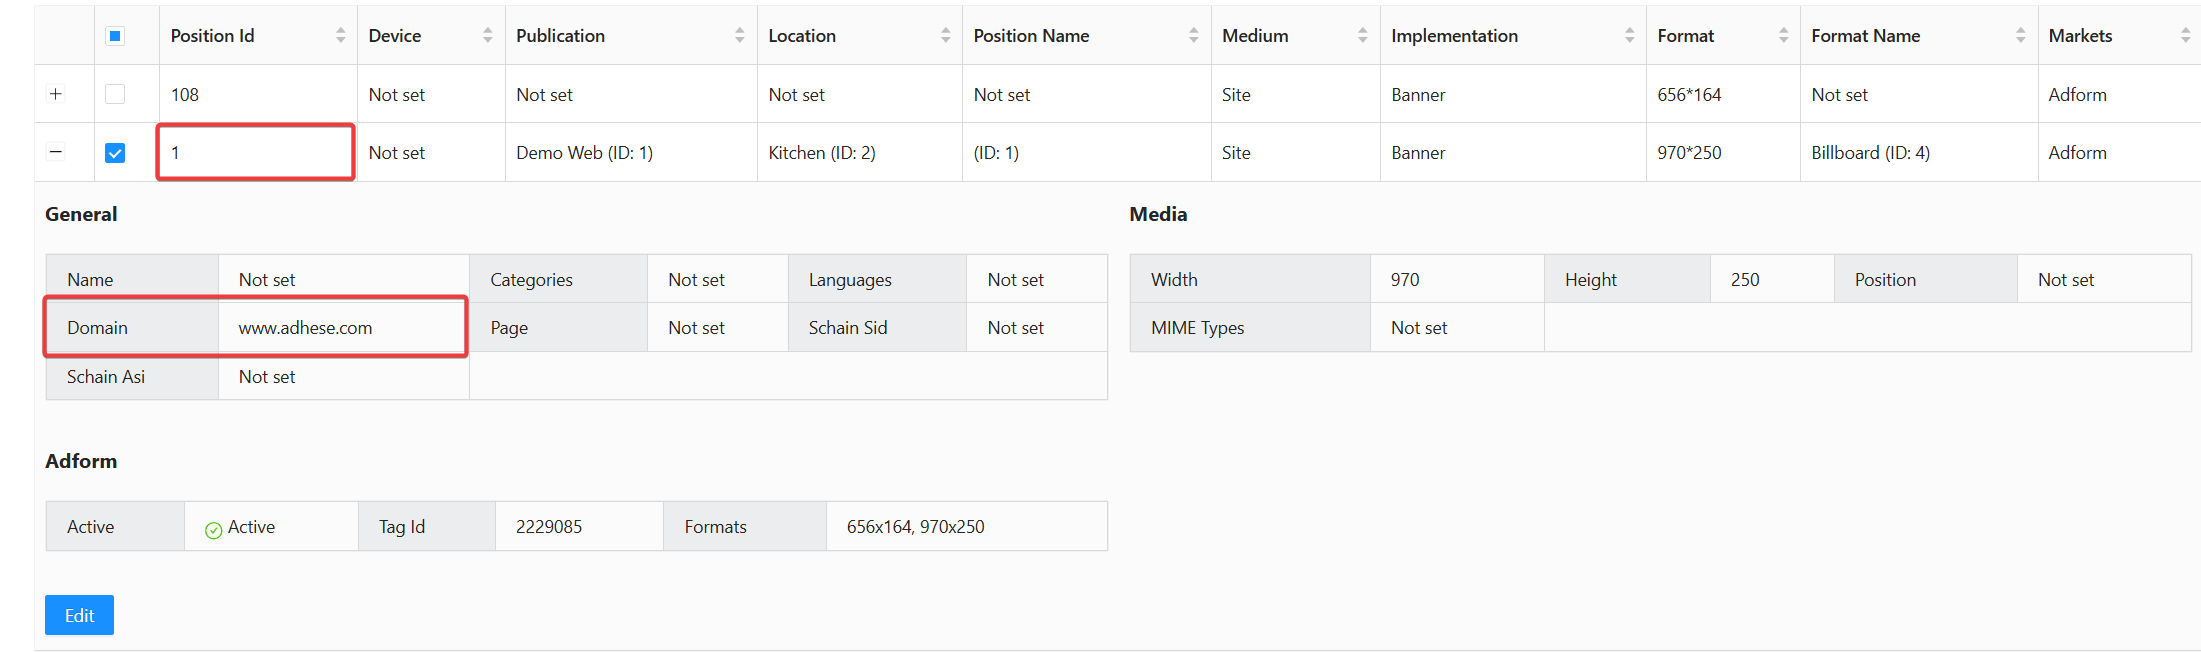
Result now both slots have the domain www.adhese.com

You can also can edit a single row inby expanding it, clicking Edit, modifying the table belowfields, and clickclicking the Apply button to see the changes in the app..
Expand the row you want to edit
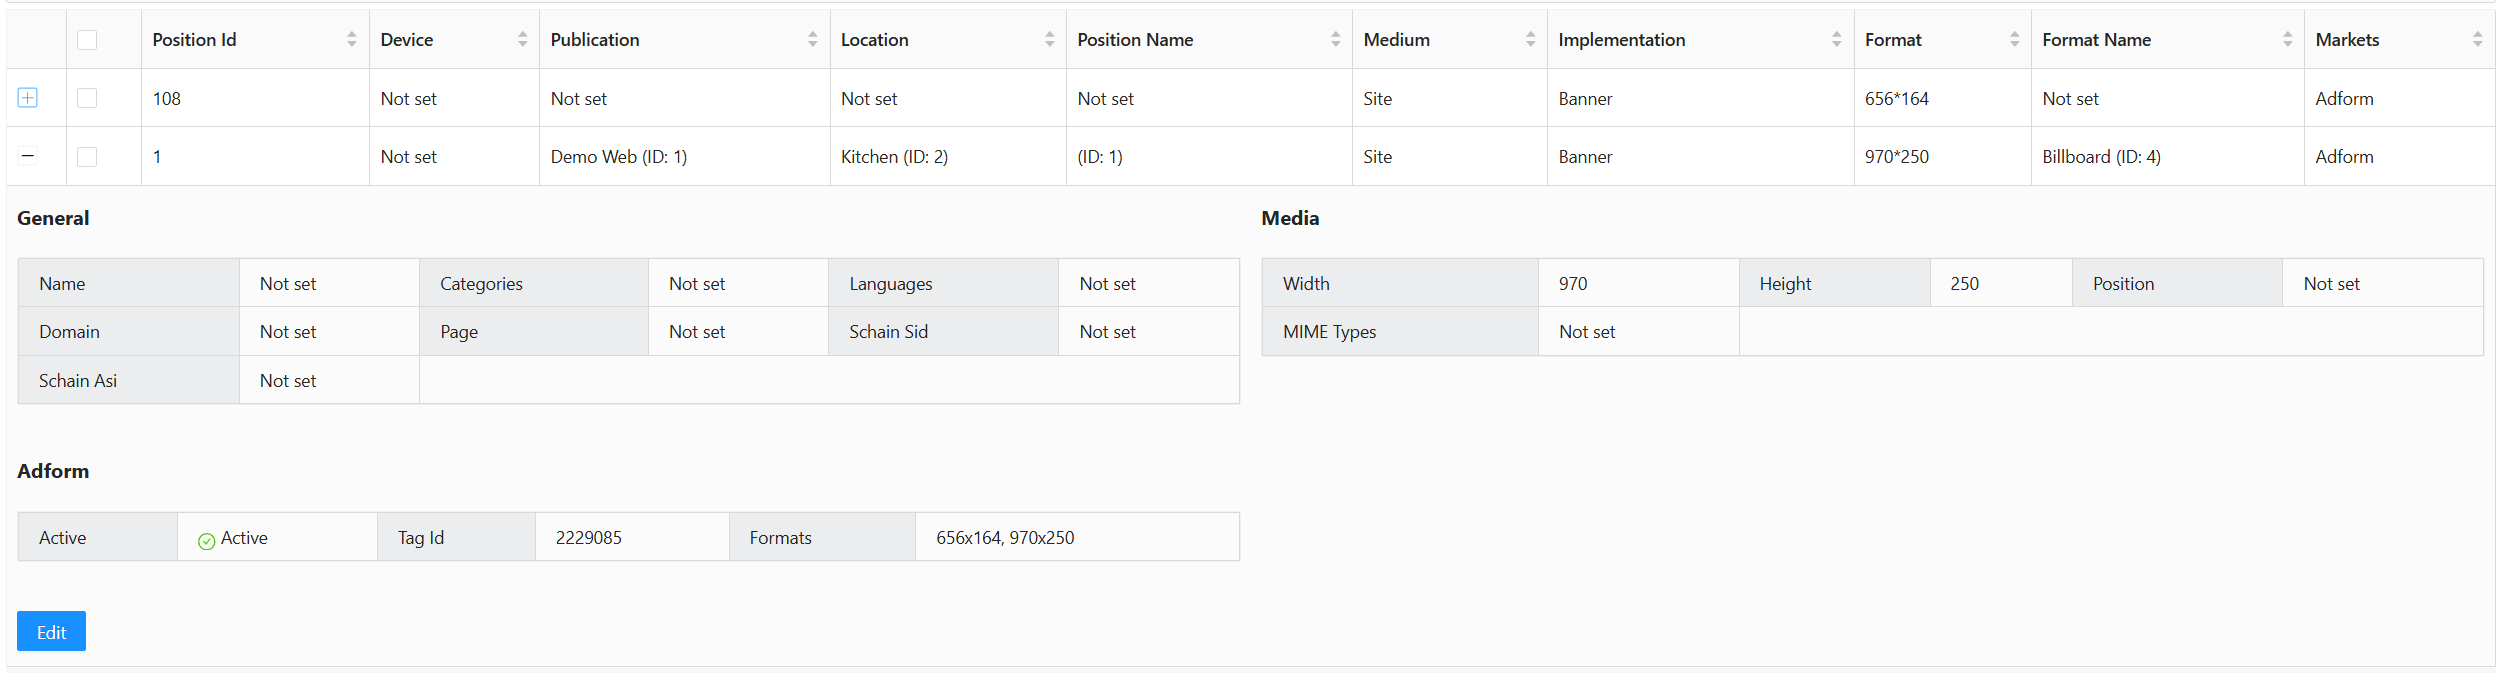
Click the Edit button and for instance now change the name field
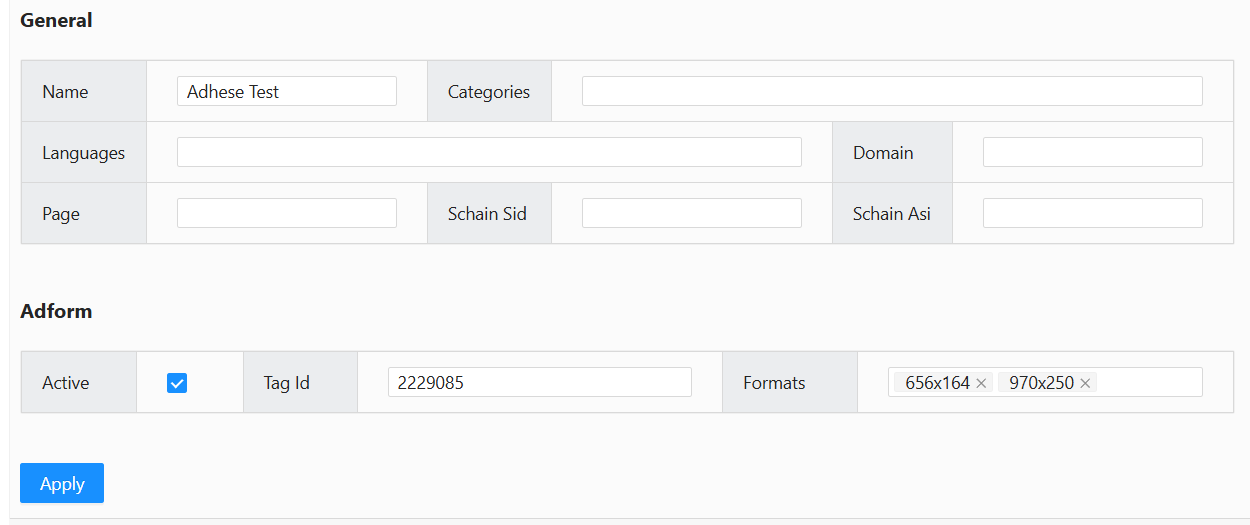
Once you click apply the changes will take effect
Please note that applying an edit only changes the information loaded into the app currently. To permanently save the edited information to the mapping files used in production, click the Save Mapping button located on the top right.

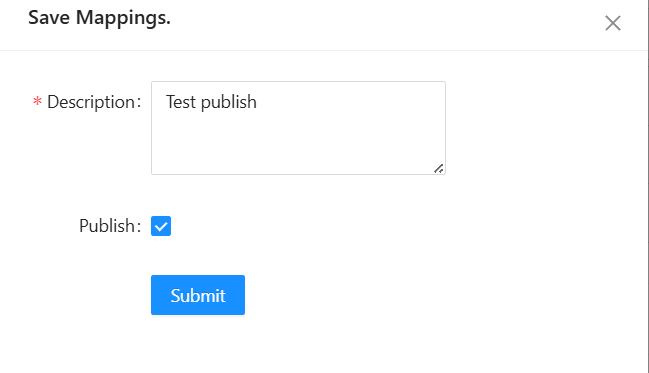
The last thing you need to do is to Publish to push your changes to the cloud. To push your changes to the cloud, click Save Mapping
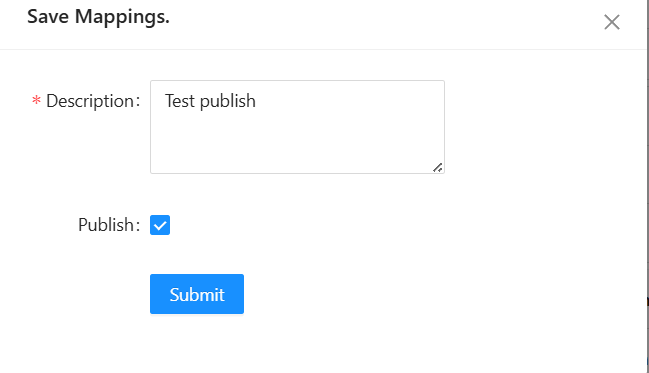
Fill in the required description and click on the publish button. This will trigger the publish towards production.
Adding rows
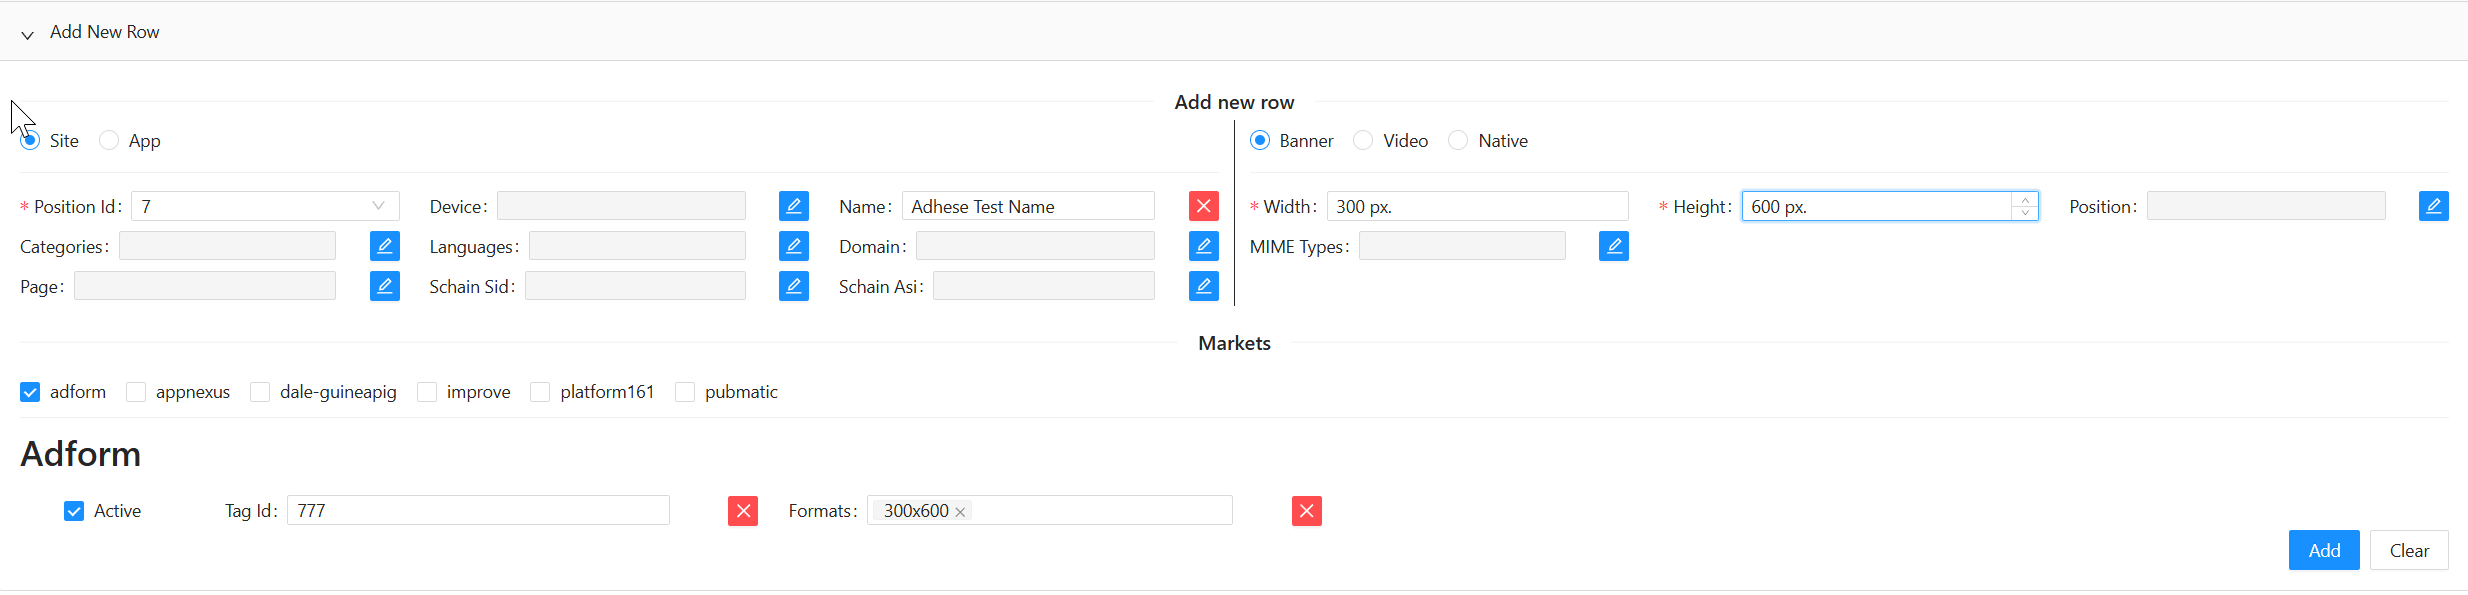
Click the black bar labelled Add New Row. The Add New Row form opens:

Similar to the Editing form, most fields are disabled by default and require toggling on. However, a few required fields are enabled by default and cannot be disabled.
Furthermore, each row must have at least one market instance assigned. If you add a row with the same position ID, ensure that its device type and content type differ from the original.
Width and Height are required fields unless the content type is neither Banner nor Video.
After making all necessary edits, click the Apply button to add the row to the model:
A pop-up notification will appear once the row has been successfully added.

Save your changes
To permanently save your changes, click the Save Mapping button in the top-middle of the Wikan UI.
Please note: this does not publish your changes to production, it only saves your progress.

Publish your changes
As your final step, you need to Publish to push your changes to the cloud. To push your changes, you need to be in Write mode and click the Publish button on the top right; this will publish the changes and end your Write mode session.
Importing and exporting mappings with Wikan
To import data into Wikan in bulk, use the import function. Alternatively, you can export the data and edit it as a spreadsheet.
Exporting mapping data into a spreadsheet format.

Click the Export as XLSX button to download all your mapping data as an XLSX spreadsheet.
The spreadsheet will be formatted identically to the one used for importing. You can use it as a starting point for importing mappings.
Uploading the spreadsheet file to Wikan
Click the Import XLSX button to bring up the menu.
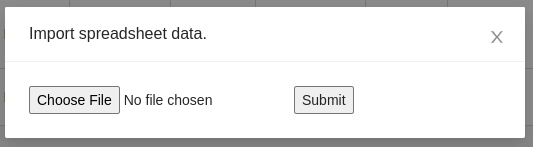
Select the spreadsheet file and click Submit:
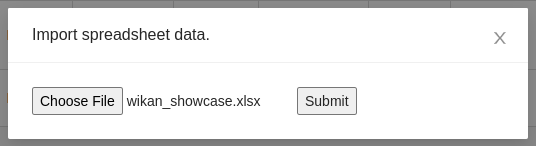
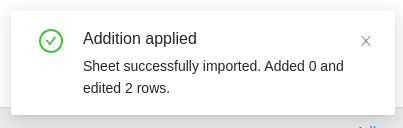
If the operation is successful, the system will add new rows and update existing ones. A notification in the bottom right corner indicates the number of new rows added and the number of existing rows updated.
Spreadsheet Fields and Examples
Below is a non-exhaustive list of the fields in an import/export spreadsheet.
|
\*\*Field name\*\* |
\*\*Type\*\* |
\*\*Example\*\* |
\*\*Key\*\* |
|---|---|---|---|
|
Position Id |
Integer |
55 |
profile.sl |
|
Device |
String |
desktop |
profile.dt |
|
Name |
String |
Dominos |
site.name, app.name |
|
Categories |
String Array |
IAB1-4,IAB2 |
site.cat, app.cat |
|
Languages |
String Array |
fr,nl |
site.wlang, app.wlang |
|
Domain |
String |
test.com |
site.domain, app.domain |
|
Page |
String |
test.com/product |
site.page |
|
site\\\_or\\\_app |
String |
site |
|
|
banner\\\_or\\\_video |
String |
video |
|
|
Width |
Integer |
300 |
imp.banner.w, imp.video.w |
|
Height |
Integer |
600 |
imp.banner.h, imp.video.h |
|
Position |
Integer |
4 |
imp.banner.pos, imp.video.pos |
|
banner MIME Types |
String Array |
image/jpg,image/gif |
imp.banner.mimes |
|
video Delivery Methods |
Integer Array |
4,5 |
imp.video.delivery |
|
video Protocol Ids |
Integer Array |
3,4 |
imp.video.protocols |
|
video MIME Types |
String Array |
video/mp4,video/flv |
imp.video.mimes |
|
video Min Duration |
Integer |
3 |
imp.video.minduration |
|
video Max Duration |
Integer |
30 |
imp.video.maxduration |
|
video Linearity |
Integer |
1 |
imp.video.linearity |
|
\*\*All market instances share the following fields. Replace <market instance> with the appropriate market instance and its name.\*\* |
|||
|
<market instance> active |
Boolean |
true |
|
|
<market instance> site/app\\\_id |
String |
3485929 |
site.id, app.id |
|
<market instance> banner Formats |
Format Array |
300x240,400x200 |
imp.banner.format |
|
\*\*The following fields are specific to certain market instances.\*\* |
|||
|
<market instance> Custom Targets |
Multimap |
value1=result2,value2=placeholder |
|