
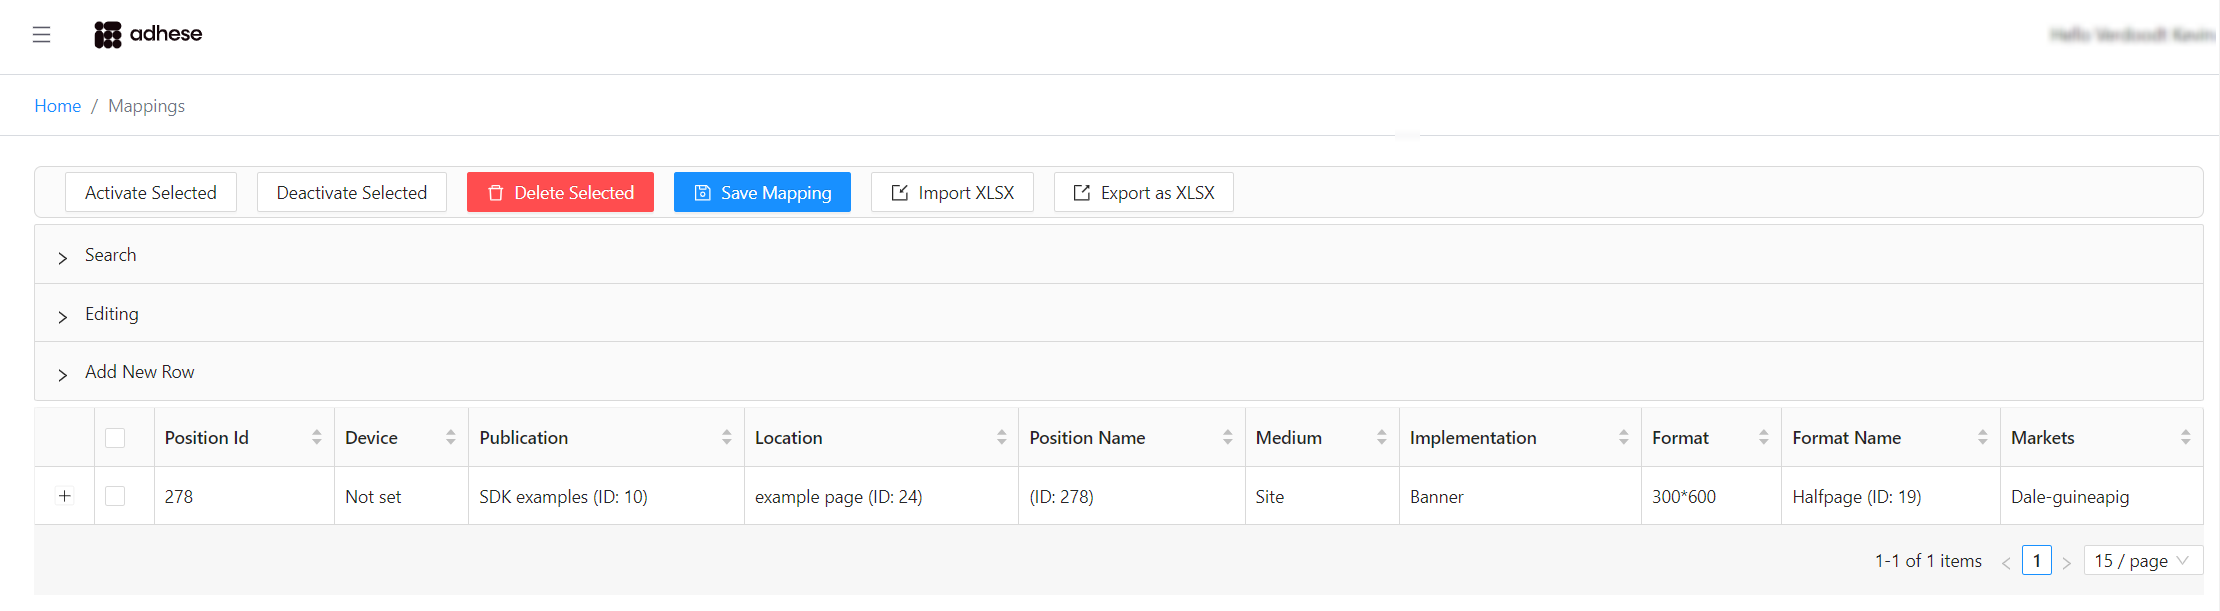
Gateway configuration
Wikan
Wikan is a web-based application that is used to modify the configuration of the Adhese Gateway.
You can access Wikan at:https://[customer].adhese.org/tools/cubeui/mappings
Searching and filtering
Click the light grey bar labelled Search to expand the search form:
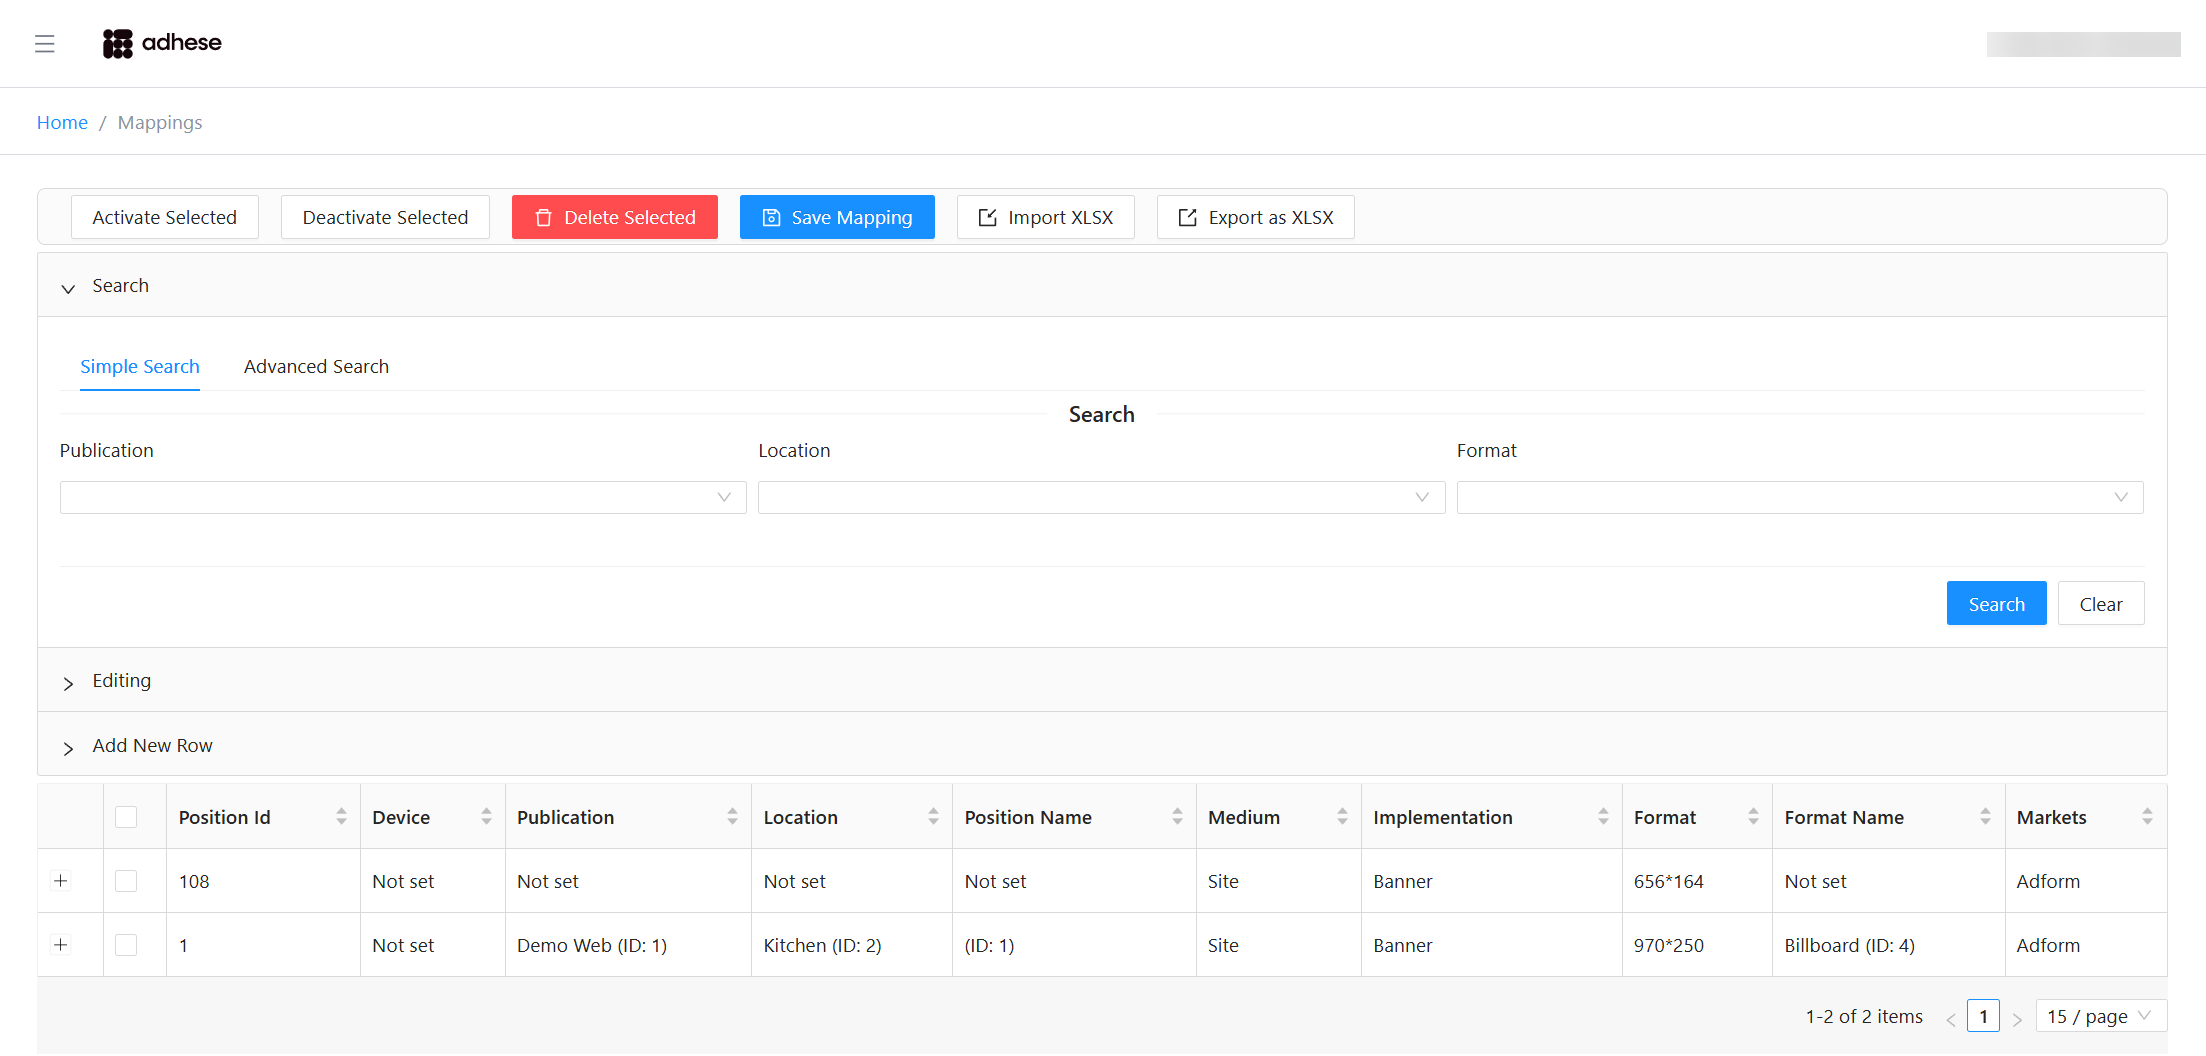
You can perform:
- Simple Search (Publication, Location, Format)
- Advanced Search
To filter the table, fill in one or more fields and click Search. Empty fields are ignored.
In Advanced Search:
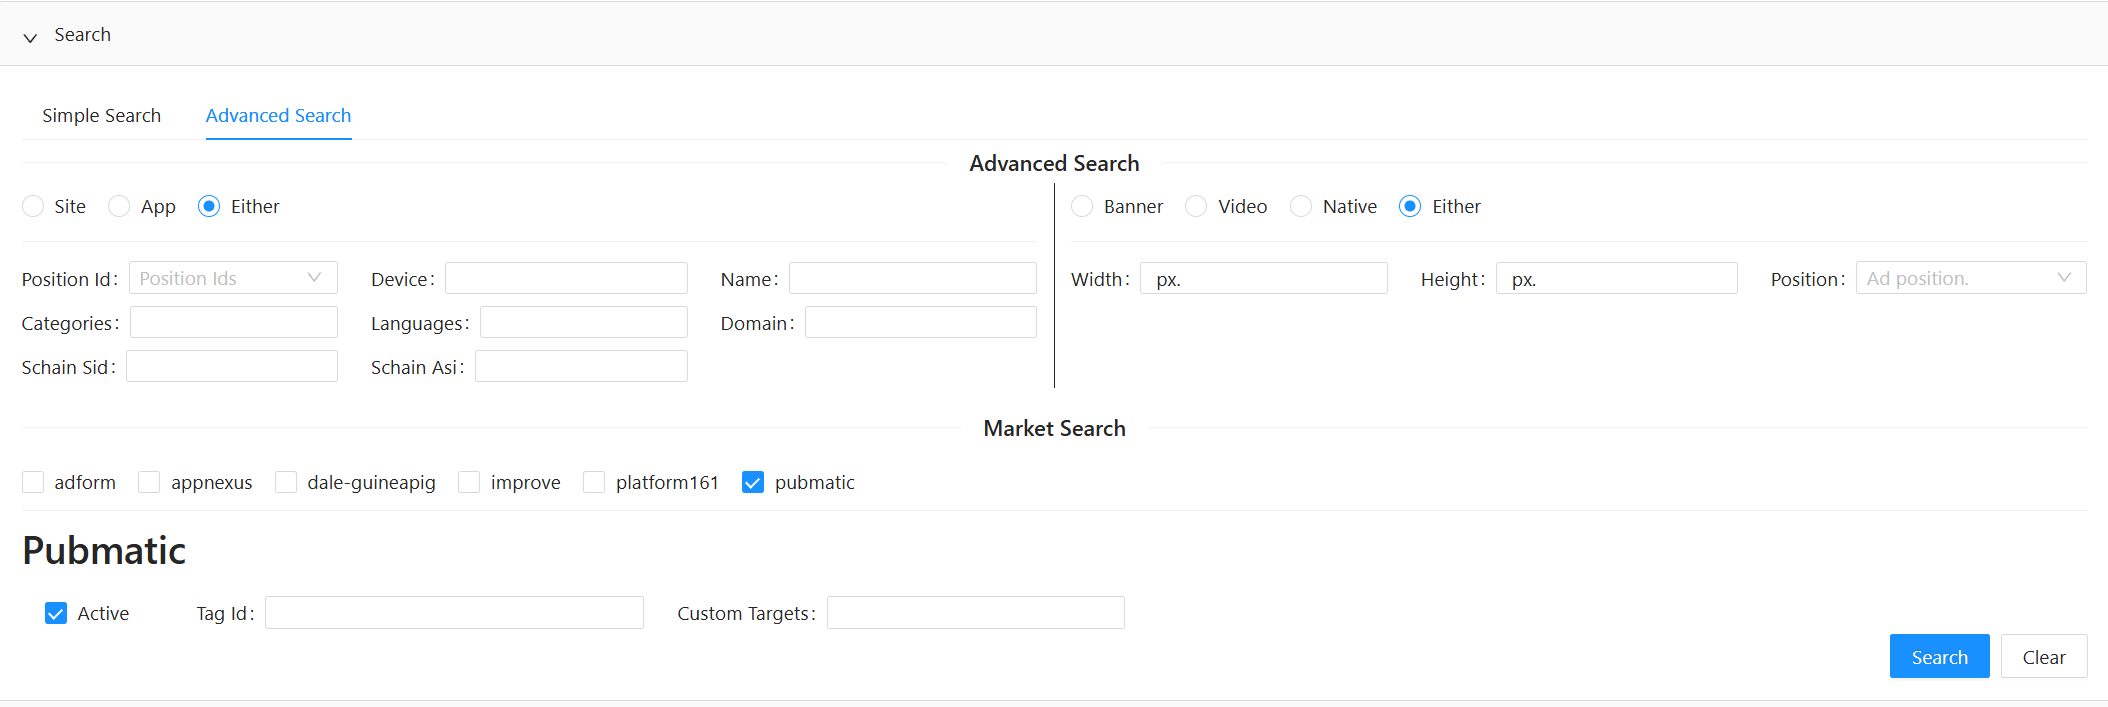
Click Search to apply your filters.
Click Clear to reset all fields and remove the current filter.
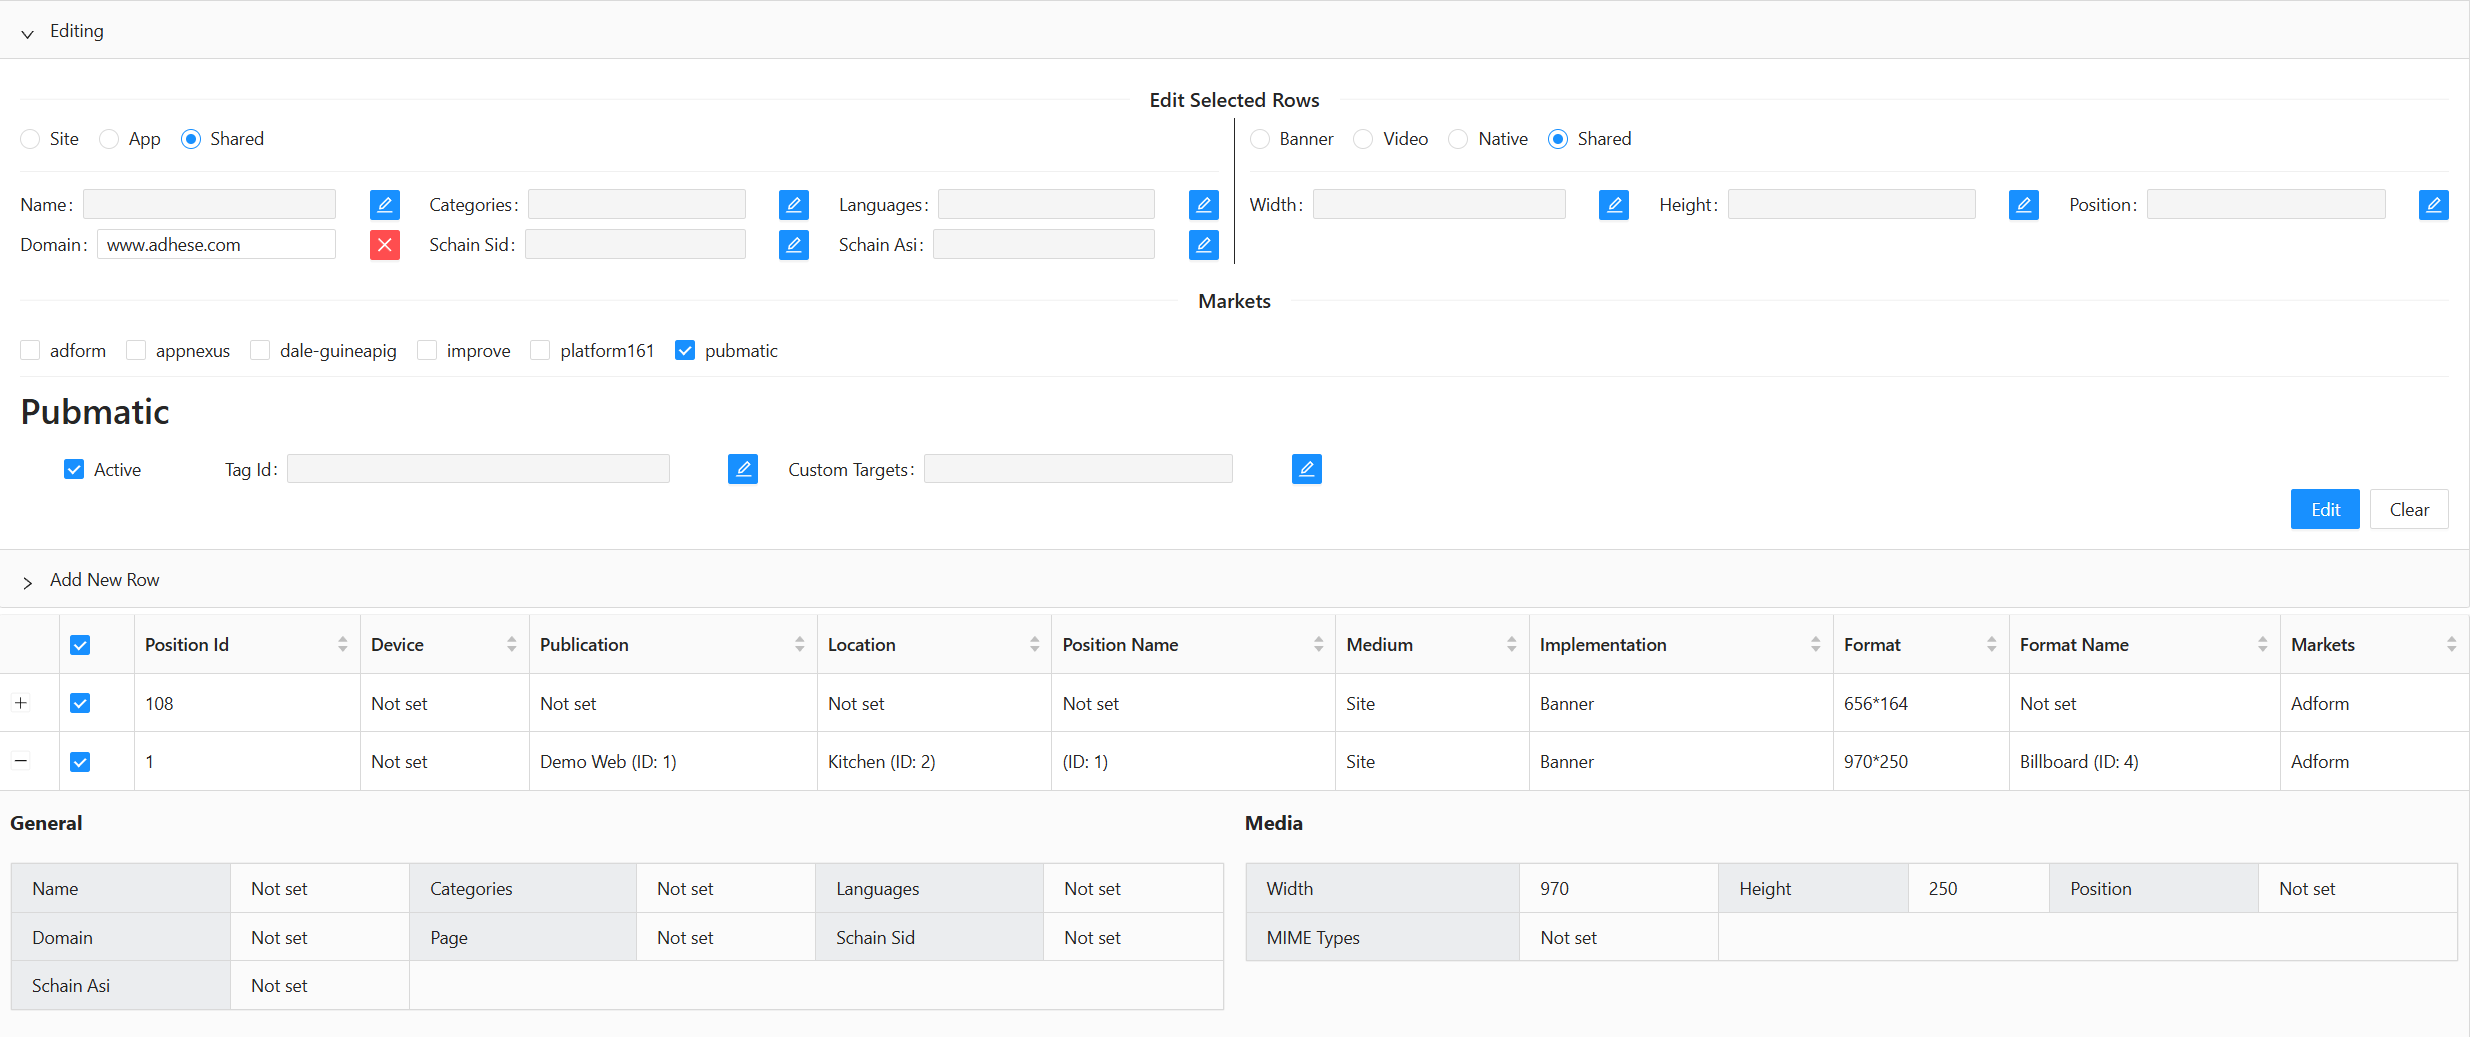
Editing rows
Click the grey bar labelled Editing to open the Editing form
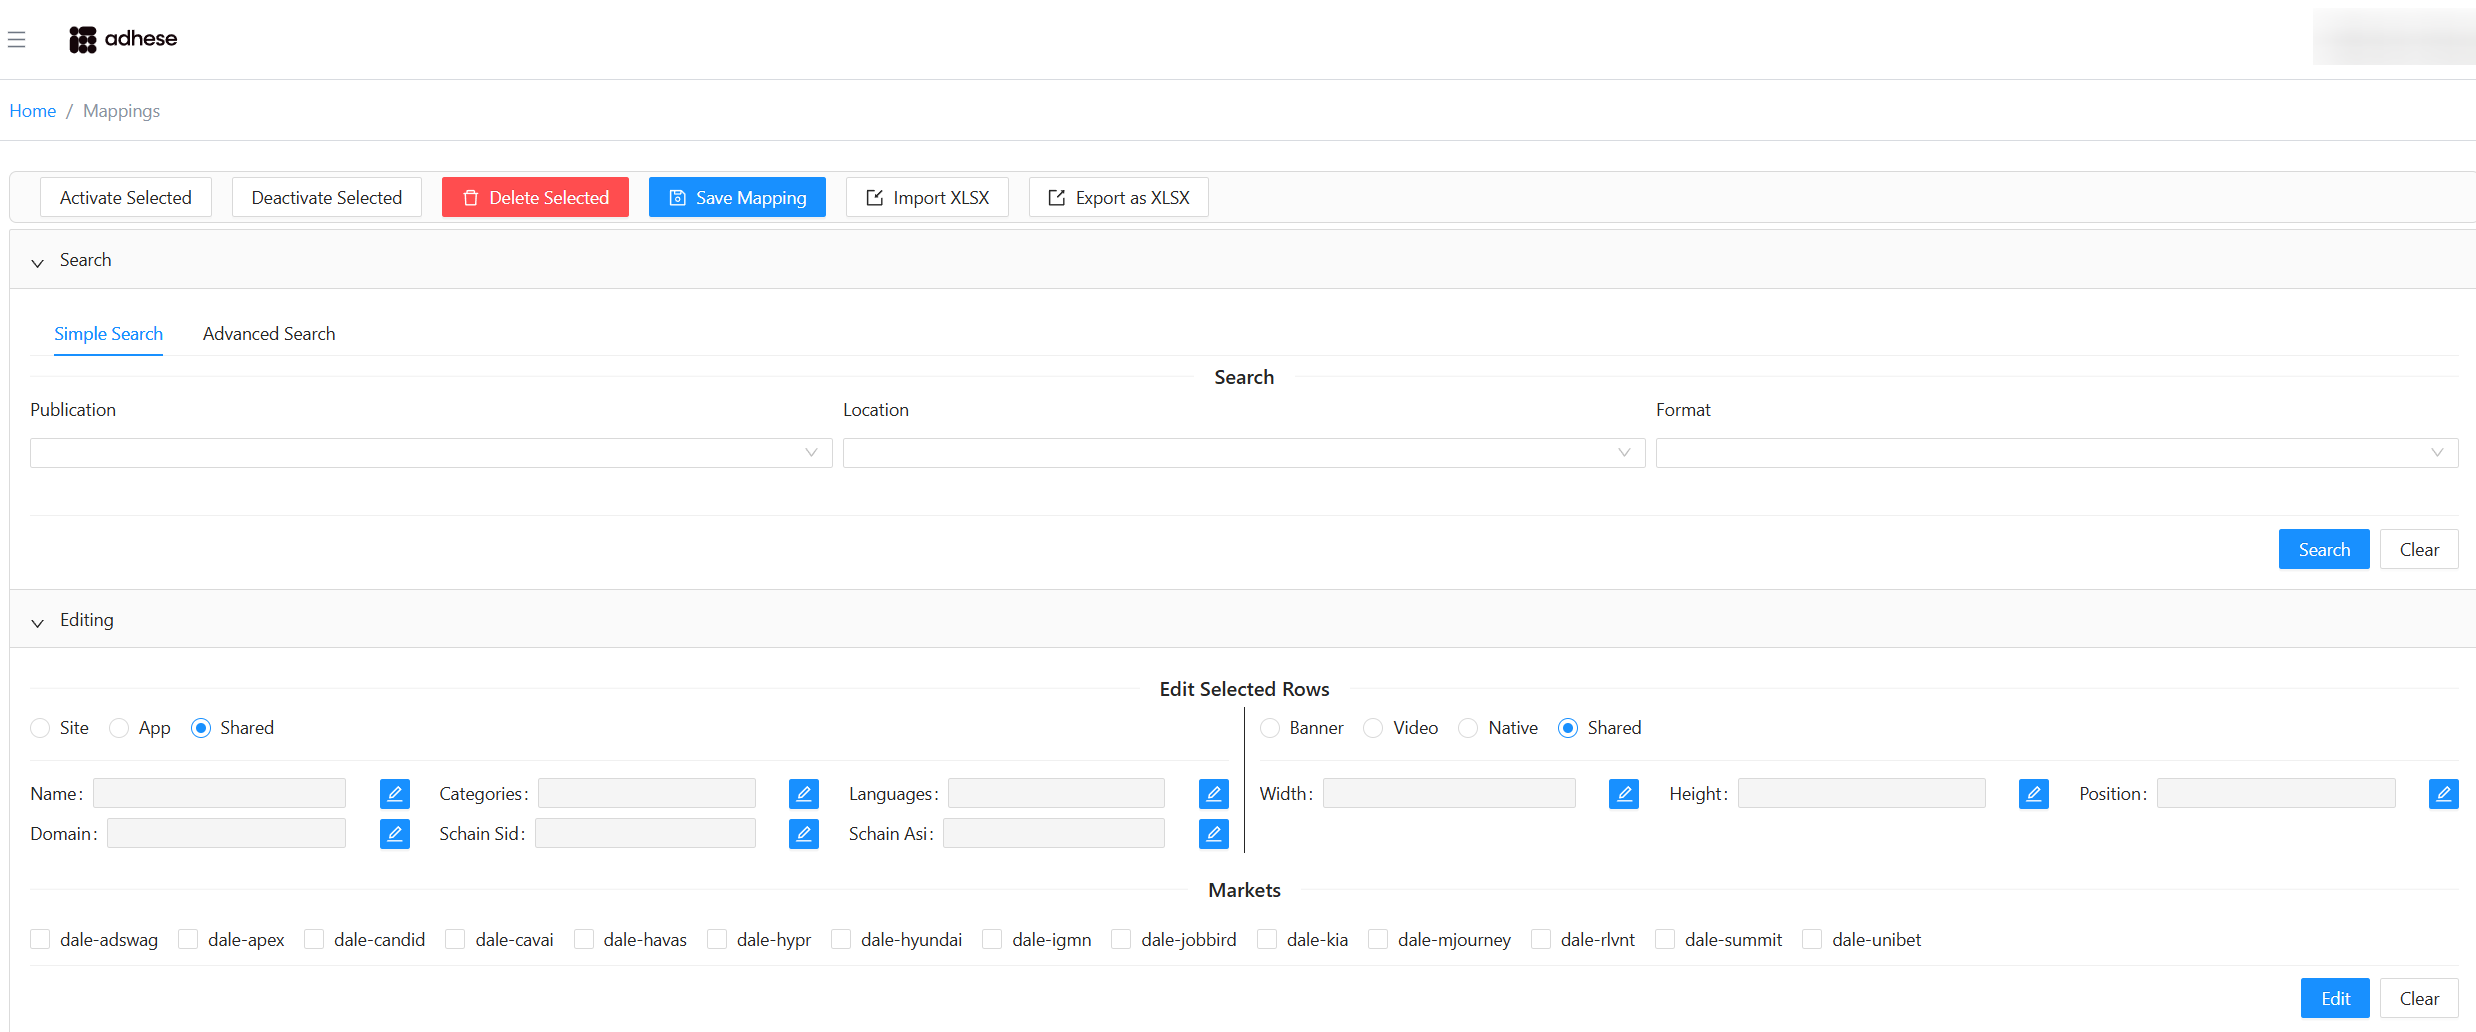
All fields are disabled by default (shown in grey). Enable a field by clicking the blue toggle next to it.
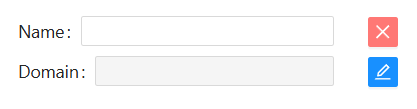
A disabled field is ignored when applying edits:
- If the field already has a value, it will remain unchanged.
- If the field is empty, it will not be overwritten with an empty value.
This prevents accidental data removal.
You can also enable market‑specific sections by selecting their checkboxes

Editing multiple rows
- Select one or more rows in the table
- Click Edit
- Modify the enabled fields
- Click Apply

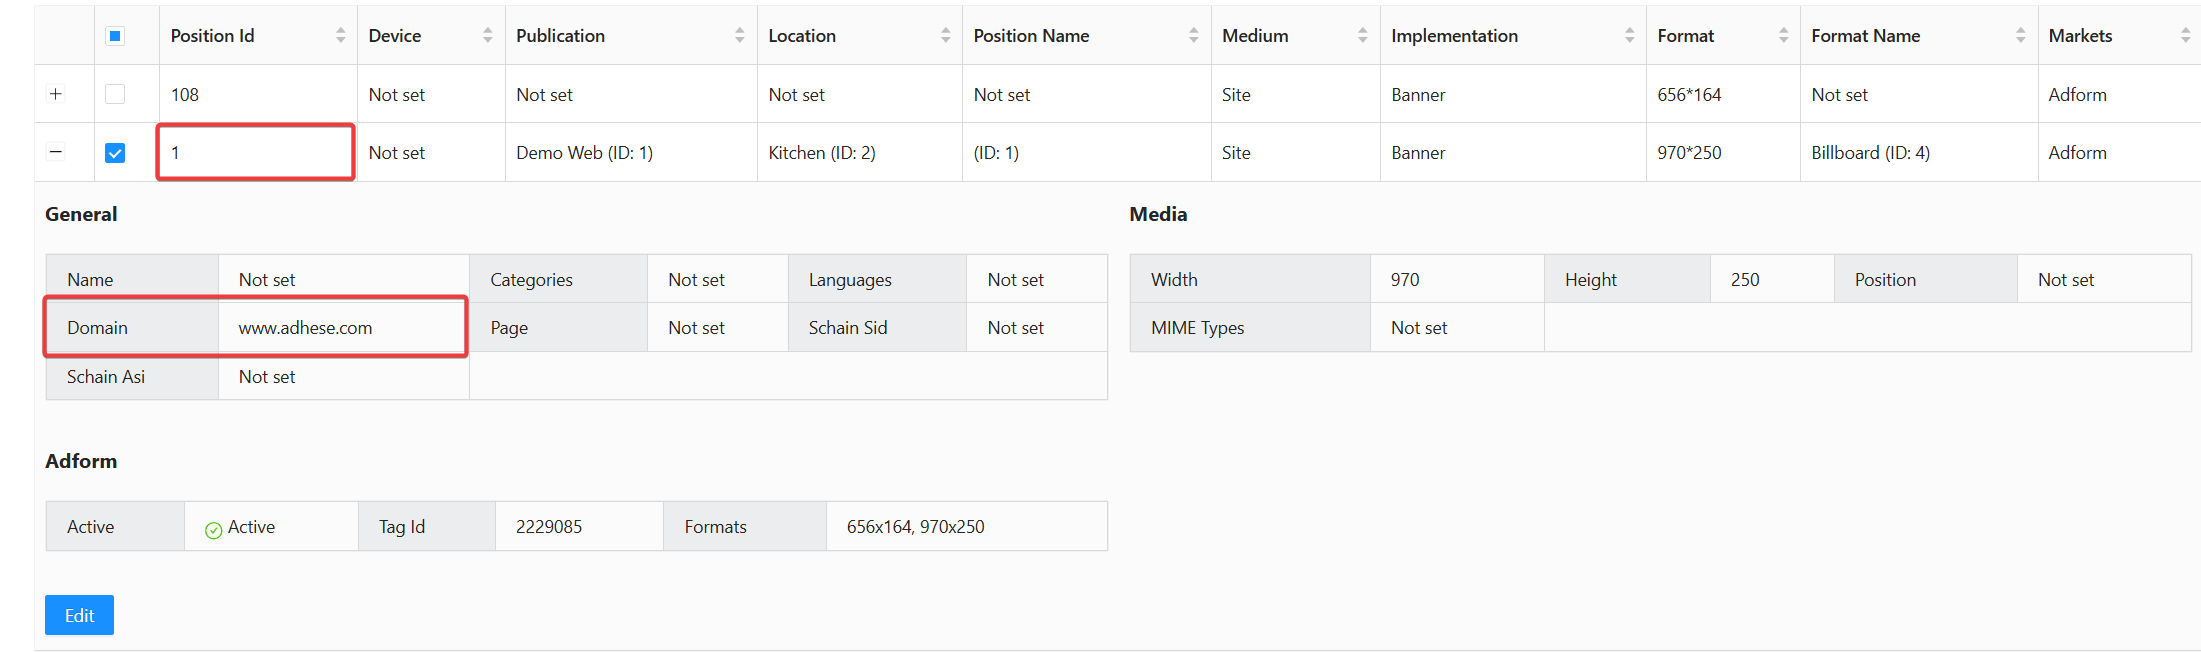
Editing a single row
- Expand the row
- Click Edit
- Update the desired fields
- Click Apply
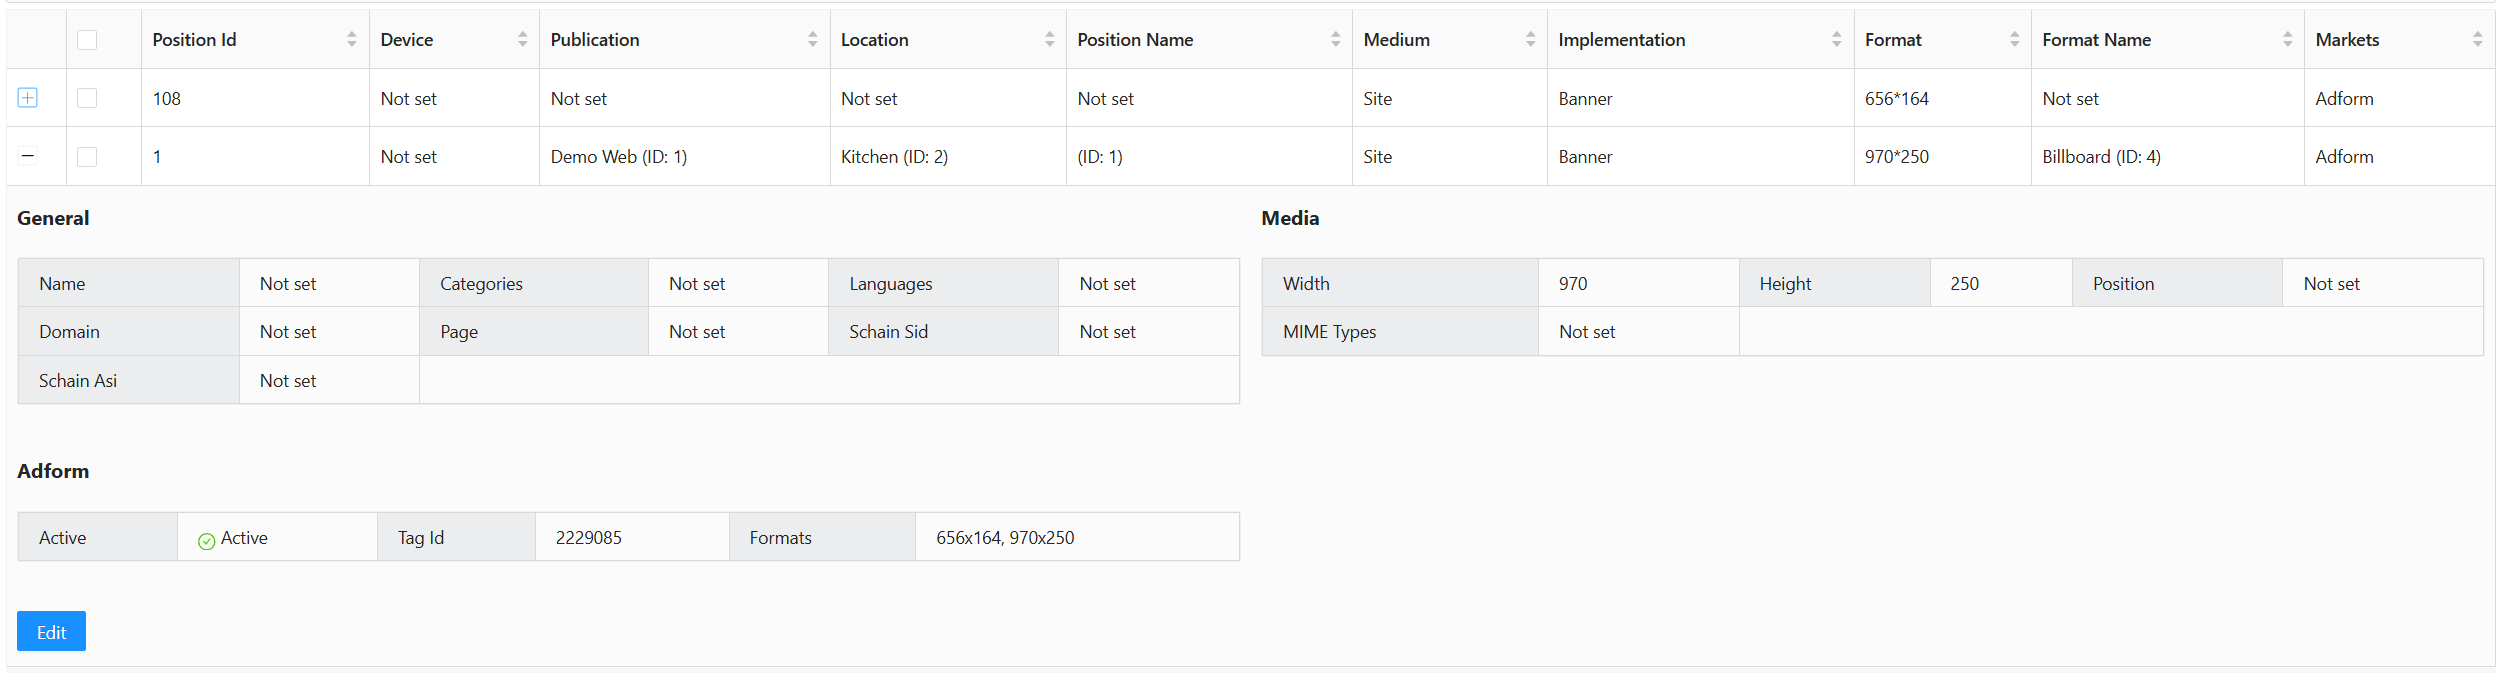
Click the Edit button, and for instance, now change the name field
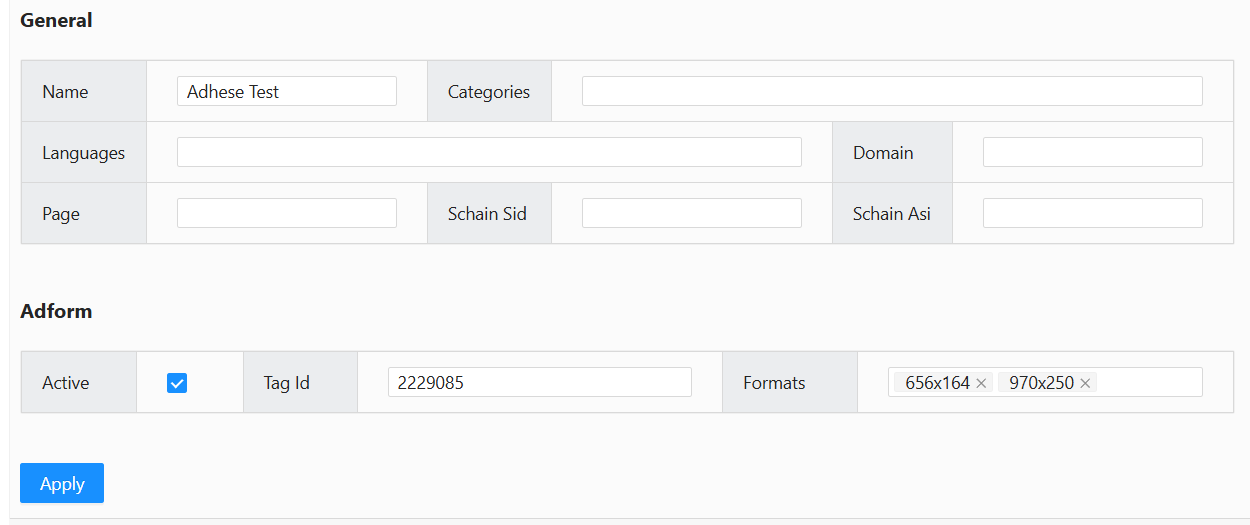
Once you click apply the changes will take effect
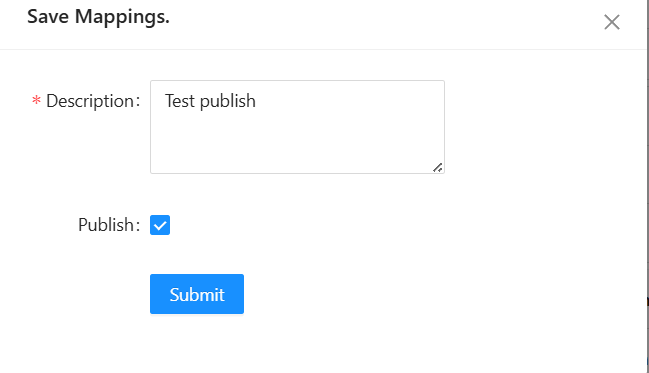
Saving and Publishing Changes
This saves your changes but does not publish them to production.


Publish
After saving, click Publish to push your changes to the cloud.
You must be in Write Mode to publish.
Enter a short description and click Publish.
This final step deploys the changes to production and ends your Write Mode session.
Adding Rows
Click the black bar labelled Add New Row to open that section.

However:
- Required fields are enabled automatically and cannot be disabled.
- Each new row must include at least one market instance. If adding a row with an existing position ID, ensure device type and content type differ from the original.
- Width and Height are required unless the content type is neither Banner nor Video.
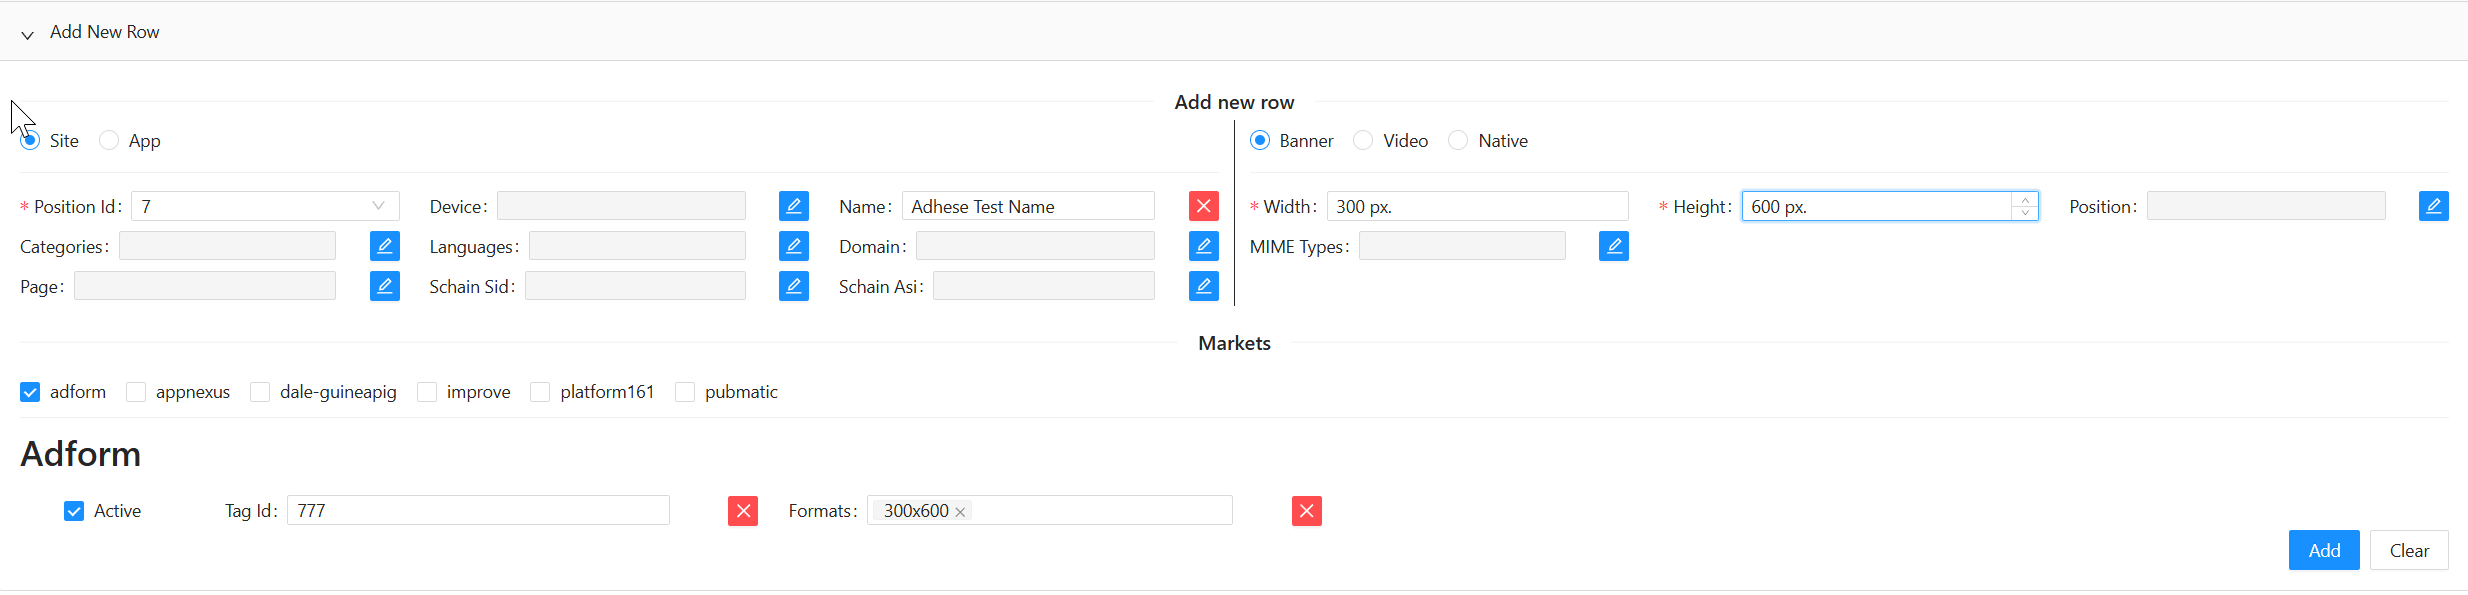
After completing the form, click Apply. A confirmation notification will appear.

Save your changes
To permanently save your changes, click the Save Mapping button in the top-middle of the Wikan UI.
Please note that this does not publish your changes to production; it only saves your progress.


Publish your changes
As your final step, you need to Publish to push your changes to the cloud. To push your changes, you need to be in Write mode and click the Publish button in the top right corner; this will publish the changes and end your Write mode session.
Importing and Exporting Mappings
Export
Click Export as XLSX to download all mapping data as a spreadsheet.
The exported format matches the structure used for importing.

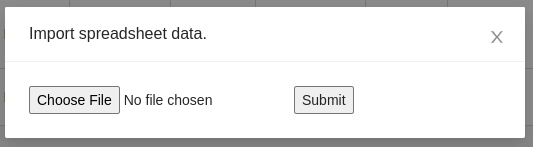
Import
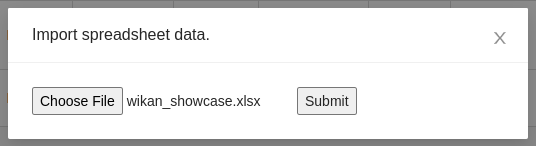
Click Import XLSX, select your file, and click Submit.
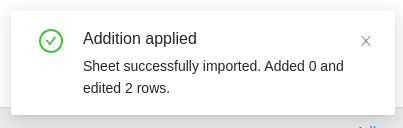
If the import succeeds:
- New rows are added
- Existing rows are updated
A notification in the bottom‑right shows the number of changes made.
Select the spreadsheet file and click Submit:
If the operation is successful, the system will add new rows and update existing ones. A notification in the bottom right corner indicates the number of new rows added and the number of existing rows updated.
Spreadsheet Fields and Examples
Below is a non-exhaustive list of the fields in an import/export spreadsheet.
|
Field name |
Type |
Example |
Key |
|---|---|---|---|
|
Position Id |
Integer |
55 |
profile.sl |
|
Device |
String |
desktop |
profile.dt |
|
Name |
String |
Dominos |
site.name, app.name |
|
Categories |
String Array |
IAB1-4,IAB2 |
site.cat, app.cat |
|
Languages |
String Array |
fr,nl |
site.wlang, app.wlang |
|
Domain |
String |
test.com |
site.domain, app.domain |
|
Page |
String |
test.com/product |
site.page |
|
site_or_app |
String |
site |
|
|
banner_or_video |
String |
video |
|
|
Width |
Integer |
300 |
imp.banner.w, imp.video.w |
|
Height |
Integer |
600 |
imp.banner.h, imp.video.h |
|
Position |
Integer |
4 |
imp.banner.pos, imp.video.pos |
|
banner MIME Types |
String Array |
image/jpg, image/gif |
imp.banner.mimes |
|
video Delivery Methods |
Integer Array |
4,5 |
imp.video.delivery |
|
video Protocol Ids |
Integer Array |
3,4 |
imp.video.protocols |
|
video MIME Types |
String Array |
video/mp4, video/flv |
imp.video.mimes |
|
video Min Duration |
Integer |
3 |
imp.video.minduration |
|
video Max Duration |
Integer |
30 |
imp.video.maxduration |
|
video Linearity |
Integer |
1 |
imp.video.linearity |
|
All market instances share the following fields. Replace <market instance> with the appropriate market instance and its name. |
|||
|
<market instance> active |
Boolean |
true |
|
|
<market instance> site/app_id |
String |
3485929 |
site.id, app.id |
|
<market instance> banner Formats |
Format Array |
300x240,400x200 |
imp.banner.format |
|
The following fields are specific to certain market instances. |
|||
|
<market instance> Custom Targets |
Multimap |
value1=result2,value2=placeholder |
|
No comments to display
No comments to display