Formats
A format specifies the requirements, such as file size and dimensions, that a creative must meet to prevent errors when uploading the creative file. A format does not have to be limited to online banner ads; it can also be a native ad or a video ad. All formats are acceptable as long as they fit within your inventory structure, website design and strategy.
Refer to the Appendix Appendix Online advertising formats for a definition of the most important formats and a representation within their environment. The overview is not exhaustive. A publisher can implement custom formats as well.
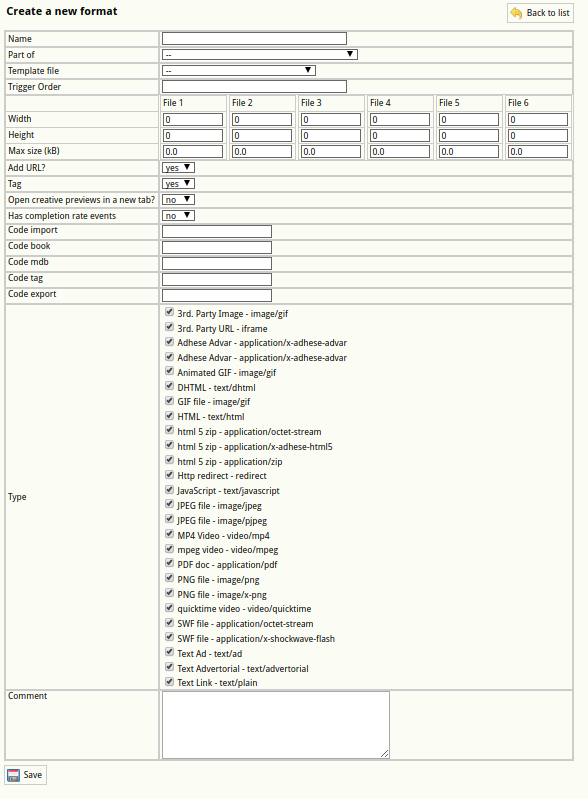
Create a format
To create a new format:
- Click Admin in the left navigation menu. This opens the Administration screen.
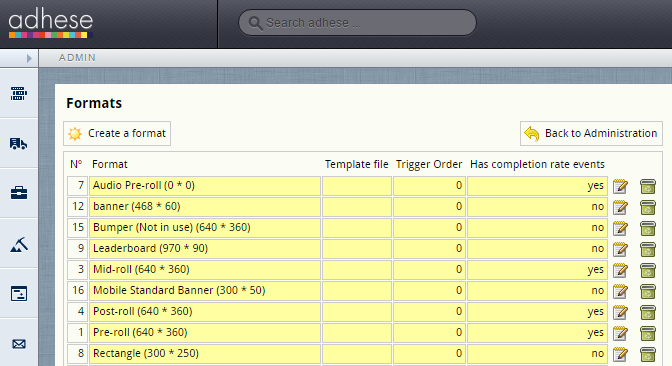
- Click Formats. The Formats screen opens:
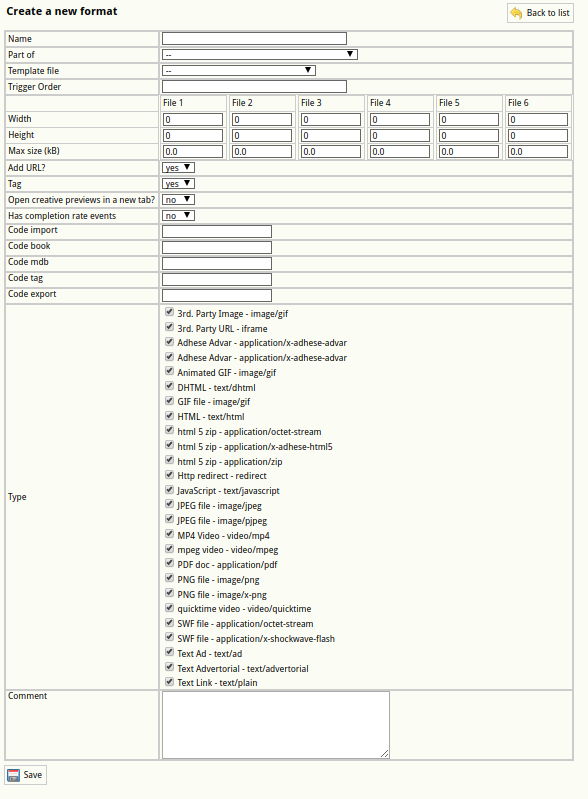
For more information about theFormatsFormats screen, refertoto Formats. - Click the Create a format button. This opens the Create a new format screen.
- Enter a name in the Name field. Choose a clear and logical name, such as Leaderboard or Interstitial.
-
Determine whether the format is part of a stack
A Stack format sends a list of ads that are available for display for that position. A stack is always a client-specific implementation.
- (Optional) Select a JavaScript template file in the Template file drop-down. Refer
toto Templates for more information about template files. -
If you choose to deliver multiple campaign bookings simultaneously (see Delivery multiples), you will need to specify the order of the formats on the web page. In the Trigger Order field, enter a number that indicates the position of the format within the sequence of formats.
-
Enter the dimensions of the format in pixels in the Width and Height fields.
You can configure a format to contain up to six images.
- Enter the maximum file size of the format in kiloBytes in the Max size (kB) fields.
- Skip the next property (Add URL?) as it is of no significance anymore.
- In the Tag drop-down:
-
Select yes if the format is the main format.
Do not forget to enter a code tag in
thethe Codetagtag field (step 15), as a new tag is necessary for the main format. -
Select no if the format is a subformat.
Do not forget to refer to the main format in
thethe Codebookbook field (step 13).
-
- Open creative previews in a new tab? The default setting is no. When set to yes, the preview of a creative is shown in a new tab.
- Select yes or no from the Has completion rate
eventsevents drop-down to activate video reporting for the new format. - (Optional) Specify the foreign key of the format in the Code Import field to link Adhese to an existing external CMS.
-
Enter the name of the tag variable in
thethe Codebookbook field. If the format is a subformat, enter the tag code of the main banner. (Optional) - The Code MDB field is deprecated
-
Enter the name of the tag variable in
thethe Code tag field. The code tags themselves are usually defined in the setup stage.A code tag is only required if the format is the main format (step 11). For example, if your main format runs on the BANNER tag, the tag code is BANNER.
-
(Optional) Provide a key in the Code export field to establish a link with an external database.
The following table gives a few examples of completing the Code tag and Code book input fields for main and sub formats.
Format name Format type Code tag Code book Leaderboard Main format leaderboard leaderboard Homepage takeover (leaderboard + wallpaper) Sub format leaderboard Medium rectangle Main format rectangle rectangle Large rectangle Sub format rectangle - Specify the Type of the format, such as a third-party URL or image, video, animated GIF, or text ad. As a format can take many forms, you can select more than one type.
- (Optional) Enter a comment in the Comment field.
- Click the Save button beneath the form to save your new format.
You must save the main format again after creating a new subformat. For all existing main format positions, subformat positions will also be available on the booking screen.
Edit a format
To edit a format:
- Go to the Administration screen. Click Admin in the left navigation menu.
- Click Formats.
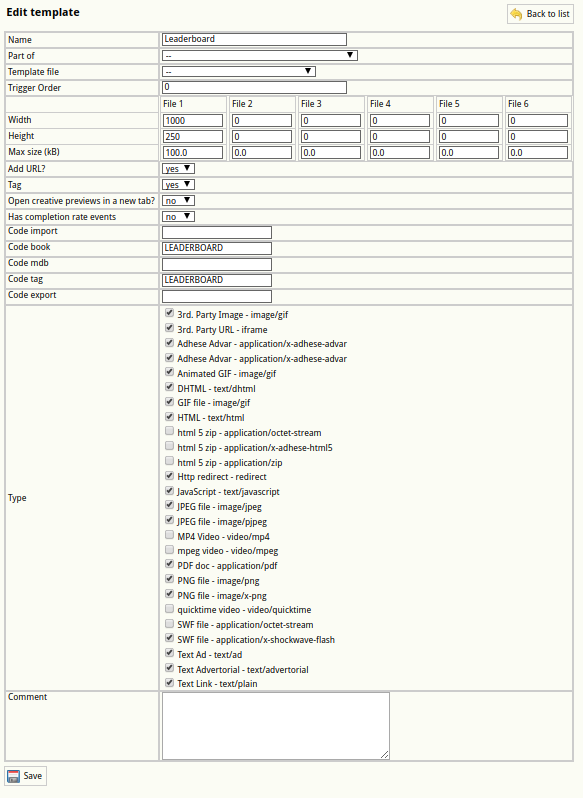
- In the list of formats, click the format's name or click the edit icon
 for the format you want to edit. The Edit template screen opens:
- Change any of the format’s details.
- Click Save.
Stacked format
A Stack format sends a list of ads available to display for that position. The client (browser) decides which ad(s) to display. An example of a stacked format is a text link ad.
To create a stacked format, add a new format:
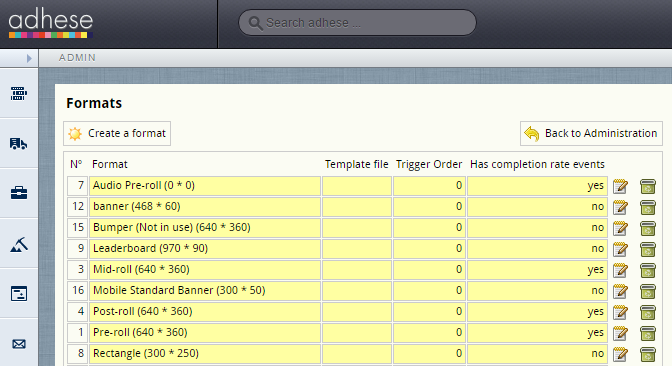
ClickClickAdminAdmin in the left navigation menu. This opensthethe AdministrationClickClick Formats. TheFormatsFormats screen opens:
- Click
thethe Create aformatformat button.TheThe Create a new format screen opens:
- Define the following properties that are necessary for the correct implementation of a stacked format:
- From
thethe Part-ofselectselect Stack -
Select the correct JSON template from
thethe Template fileanan Advar template to return a JSON object. -
Indicate
thethe Type of the format, such as a third-party URL or image, video, animated GIF, or text ad.
- From
- Click
thetheSaveSave button beneath the form to save yournewnew format.
