
Adhese ServiceDesk
From Zendesk to ServiceDesk
Adhese Support was previously hosted on Zendesk. As of May 2025, Adhese Support has moved to our Jira ServiceDesk instance. There will be changes for customers using our support portal, but the email workflow will remain the same. If you send emails to support@adhese.com, they will arrive at the new ServiceDesk portal instead of Zendesk.
The new ServiceDesk portal allows users to follow up on tickets and add comments, similar to what was possible with Zendesk.
ServiceDesk
The Adhese Support Team is dedicated to answering all your questions, resolving any issues and helping you to become familiar with the ins and outs of Adhese.
Before sending a request to the Support Team, we advise you to consult the Adhese documentation. You will find a Help button in the top right corner of the Adhese interface, which will redirect you to the documentation of the Adhese platform. Check if your question or problem has already been reported or solved.
When contacting support, please try to provide as much information as possible.
How to get help?
Adhese Support portal
To submit a request via our Support Portal:
- Visit the Adhese Support portal.
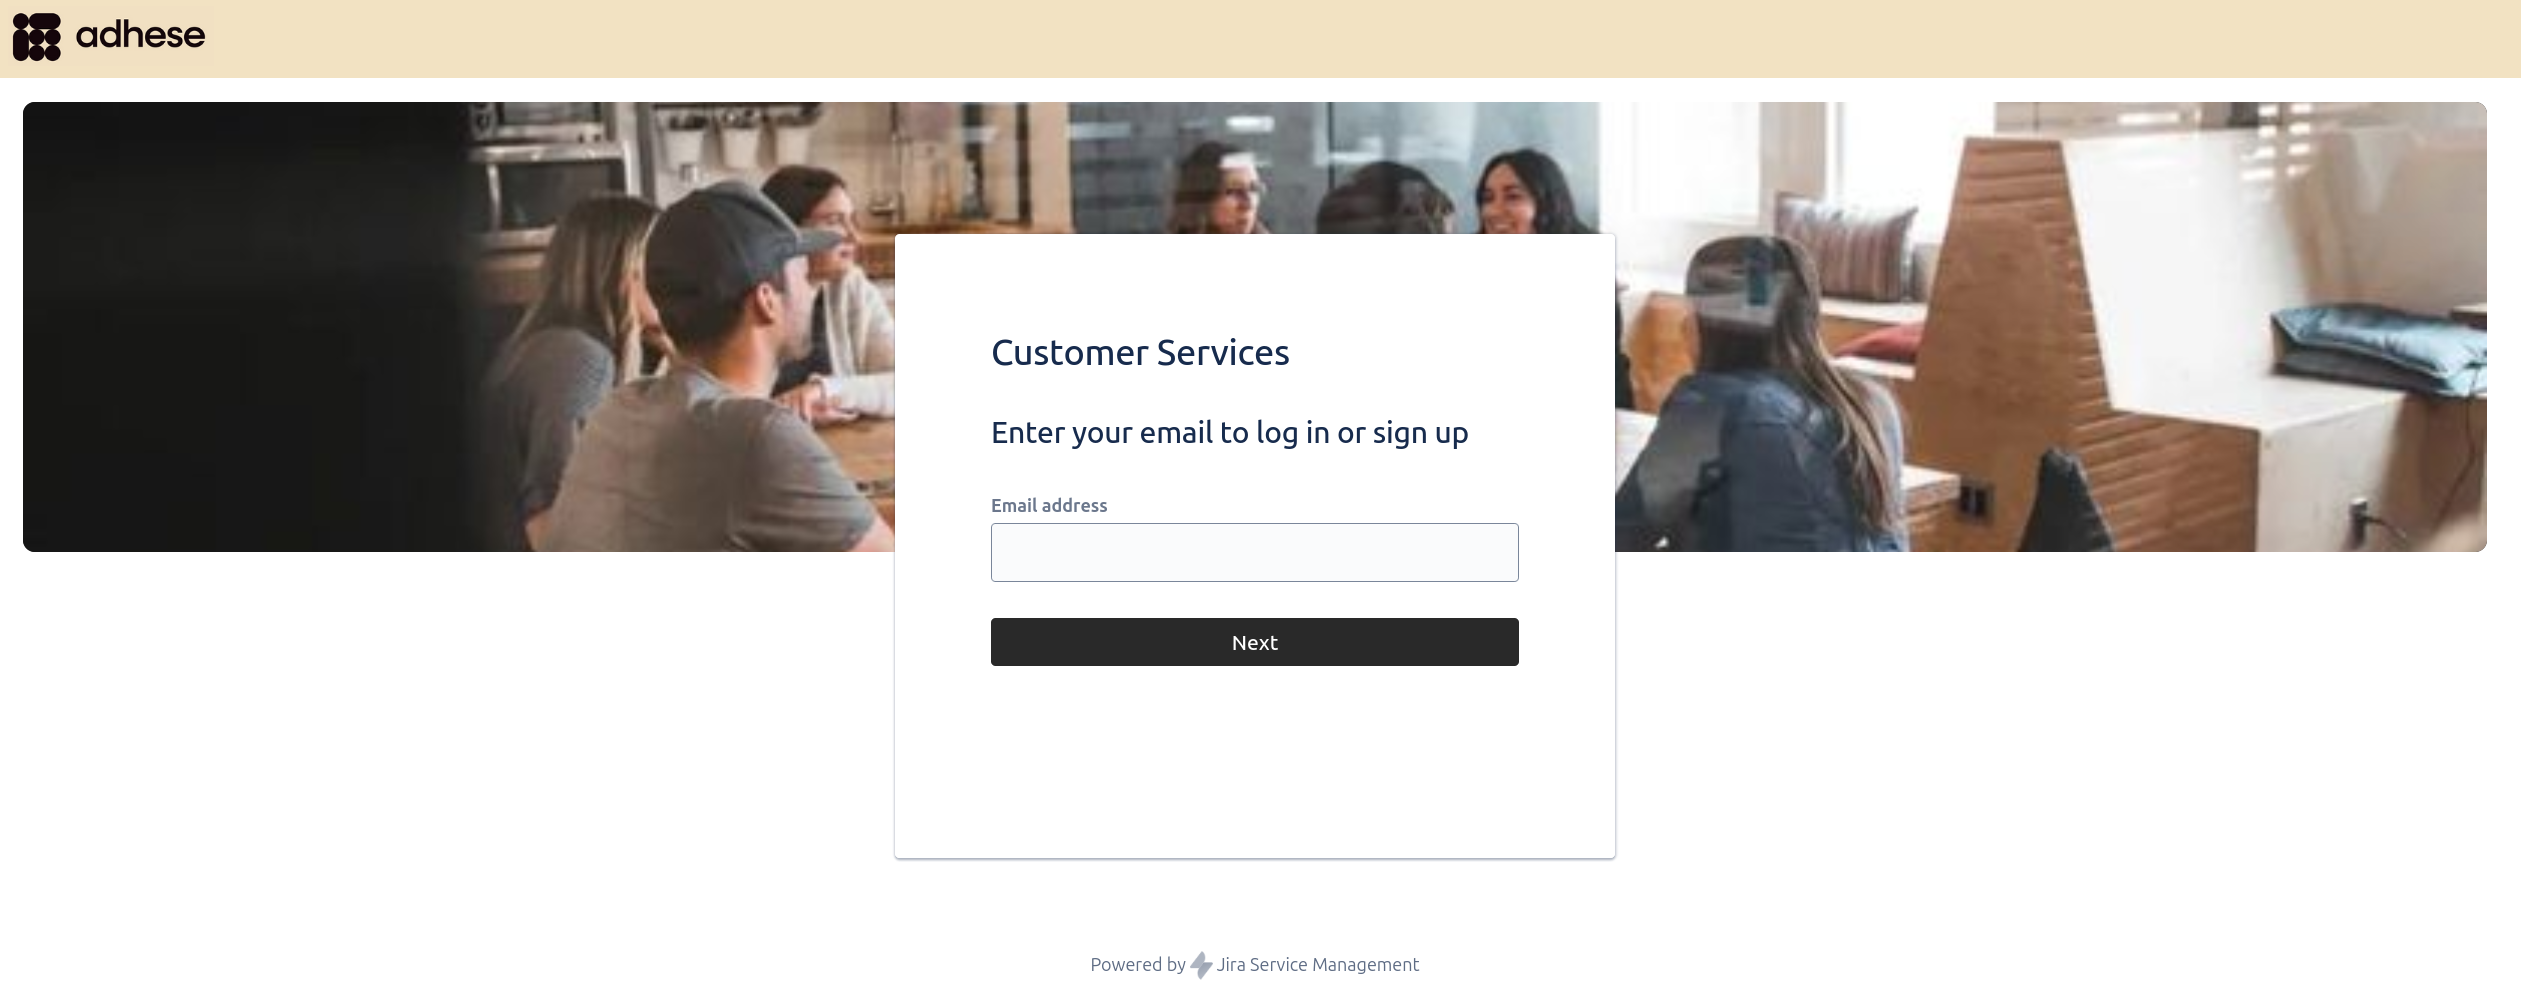
- After entering your email address, you will be prompted to enter your password or create a password if this is your first time logging in.
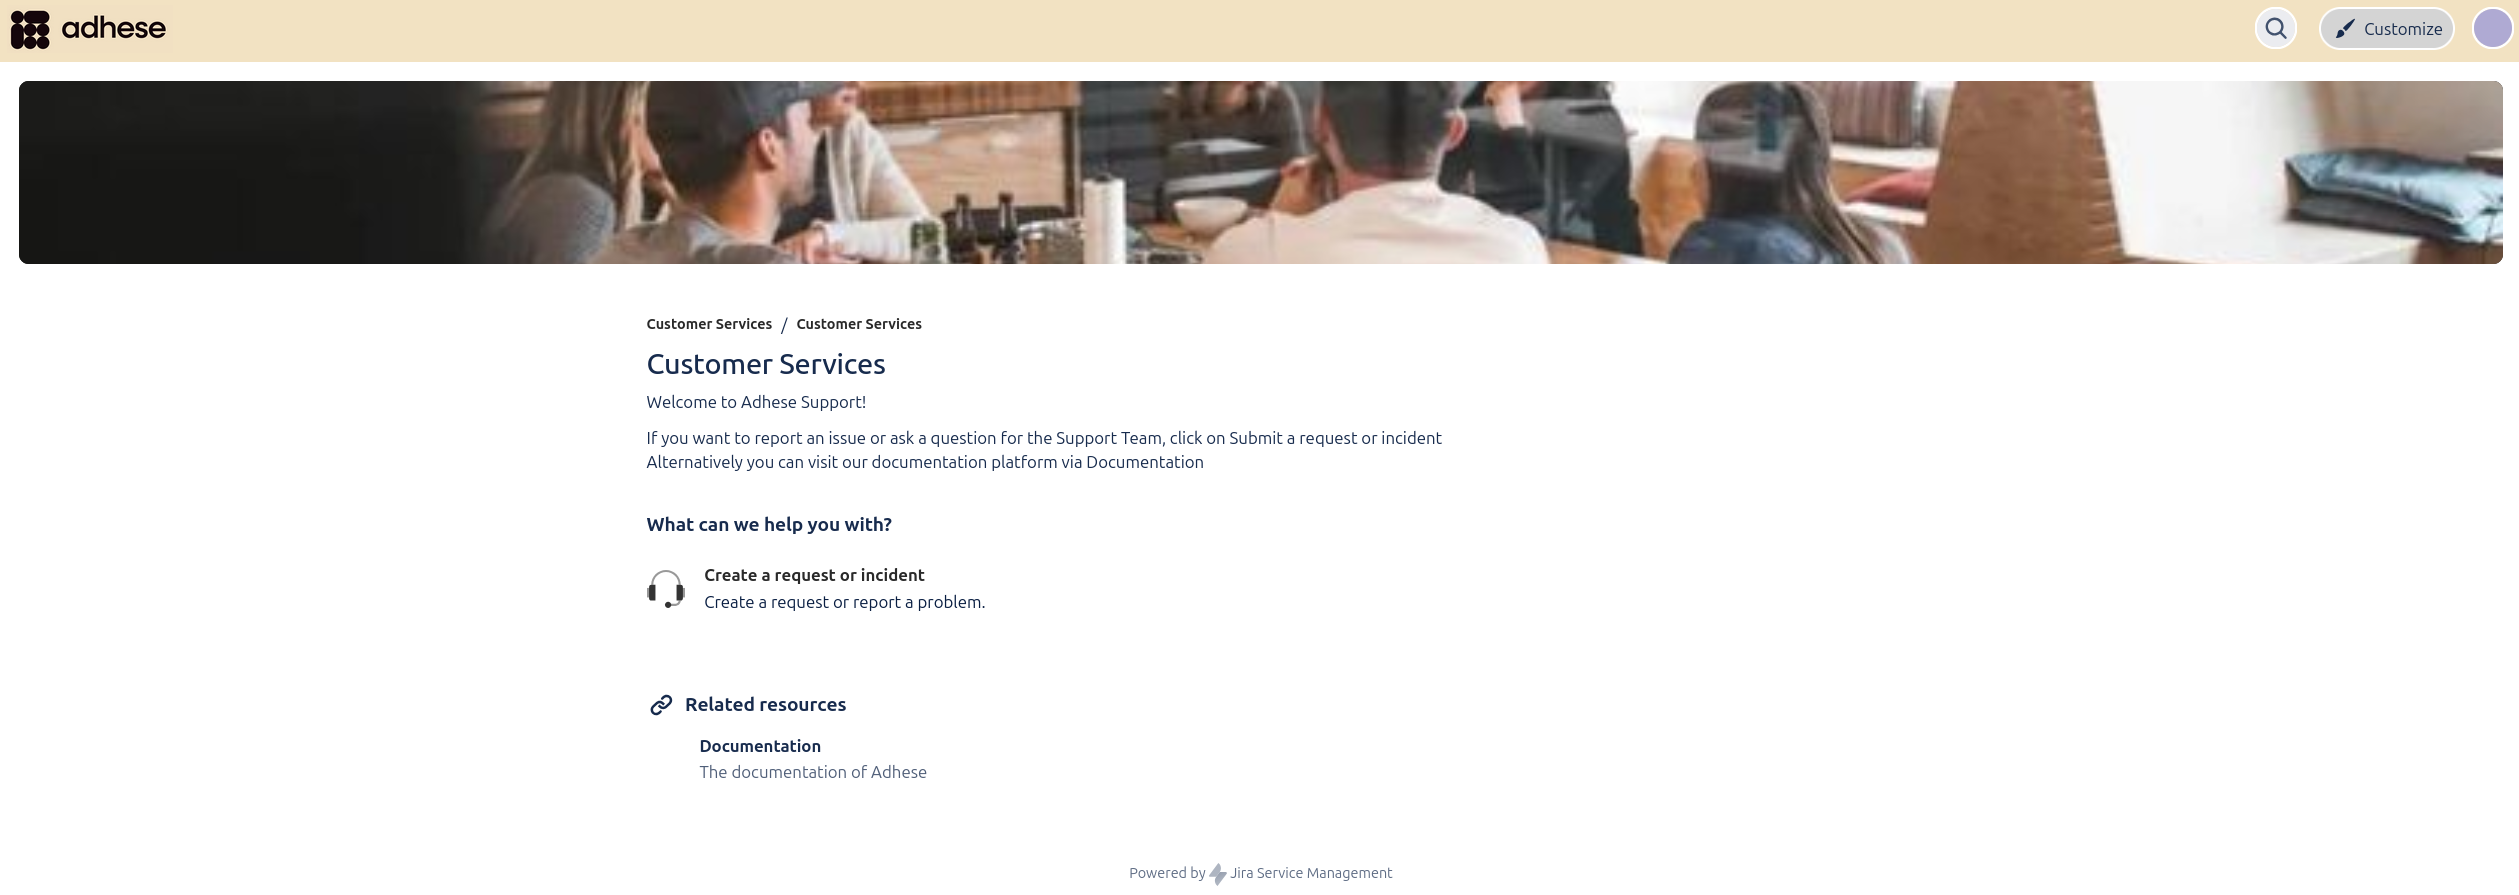
You will now be taken to the Adhese Customer Service portal. From here, either create a support ticket or follow the link back to the documentation.
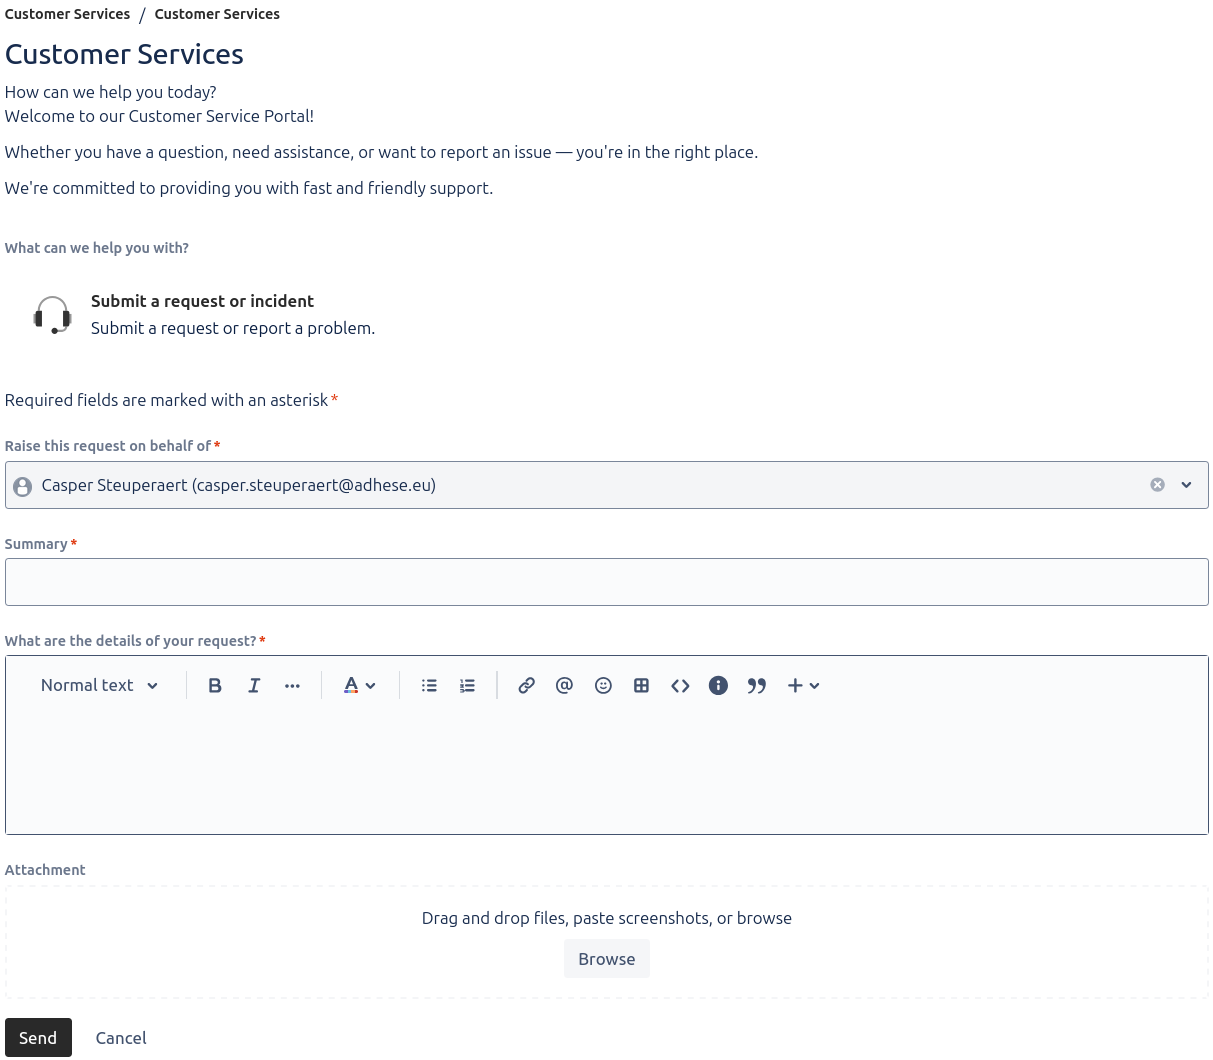
- When you click on Submit a request or incident, a form will open. Here, you can give your request a title (summary of the problem) and a more detailed description. You can also attach screenshots, recordings, and other files.
Please provide the following information when relevant:- The ID of the Campaigns/Bookings/Creatives in question
- Screenshots or screen recordings when describing visual problems or bugs, either inline or as an attachment
- Actions that may have been taken in an attempt to resolve the problem
- Once you have completed your request, click Send, and your request will be delivered to Adhese Support.
- Your request will become a ticket, and you will receive an email confirming your support request. The confirmation contains:
- Your request.
- A ticket number for this request.
- A URL that will redirect you to your request on our Support portal.
- You will be notified by email when your ticket is updated or resolved.
- Your request will become a ticket, and you will receive an email confirming your support request. The confirmation contains:
Adhese support by email
Send an email to our team of Support Engineers at support@adhese.com. Your request will automatically become a ticket in the support portal, and the support team will be notified immediately. Please follow these guidelines when making a Support request by email:
- Choose a short and comprehensive subject line.
- Add the ID and name of the campaigns, bookings or creatives into the body of your mail.
- Add a short but clear description of your request.
The description should include the actions you or your staff have taken to ensure that the issue is not caused by your infrastructure, coding, or recent system changes.
- Attach relevant screenshots or recordings.
- Send your email. Your request will become a ticket, and you will receive an email confirming your support request. The confirmation contains:
- Your request.
- A ticket number for this request.
- A URL that will redirect you to your request on our Support portal.
- You will be notified by email when your ticket is updated or resolved.
When sending an email, you can add other people from your company in the CC field. If the support ticketing system recognises the email address (i.e., if the person has an Adhese support account), they will also receive any further communication regarding the request.
Managing your account information
In the top right-hand corner of the Support Portal, you will find an icon that will take you to your Support Profile settings. Click on the icon and then on Profile:
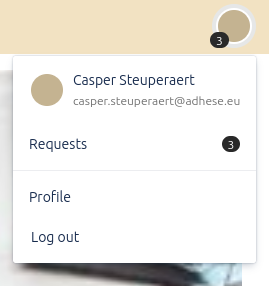
On the profile page, you will see two options: Manage your account and Edit account preferences.
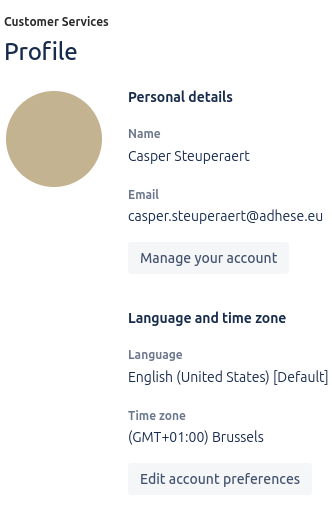
Manage your account
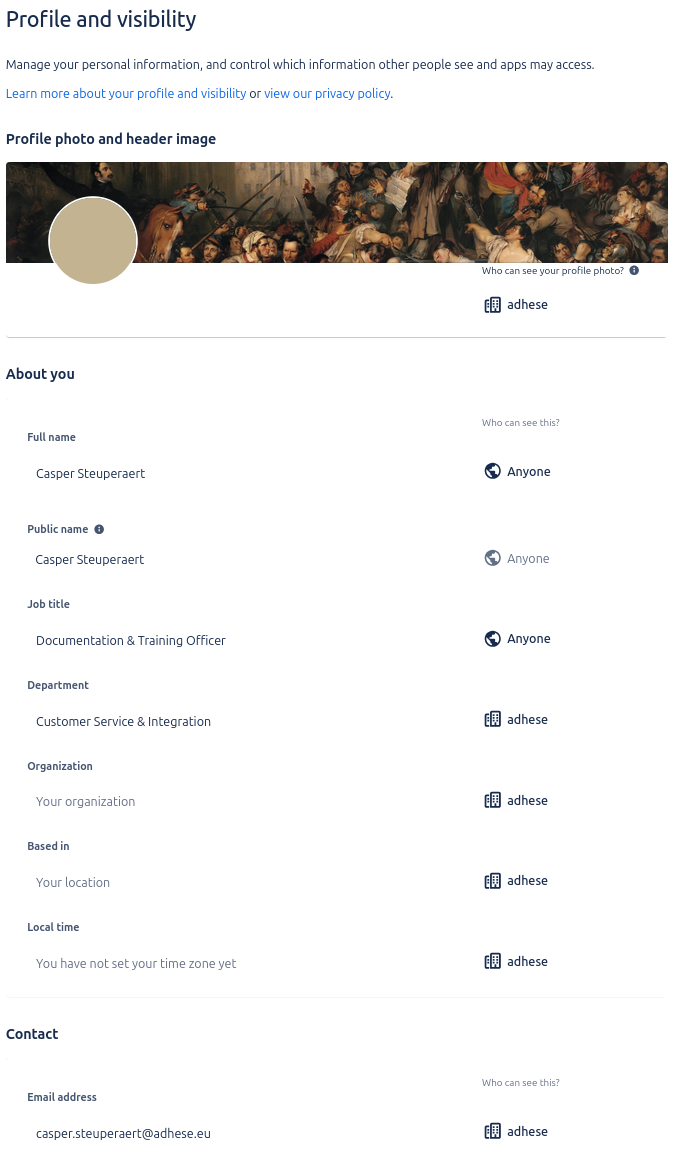
Selecting Manage your account on the Profile page will take you to the Profile and visibility page.
Here you can edit your personal and professional information and set a header image and profile photo..
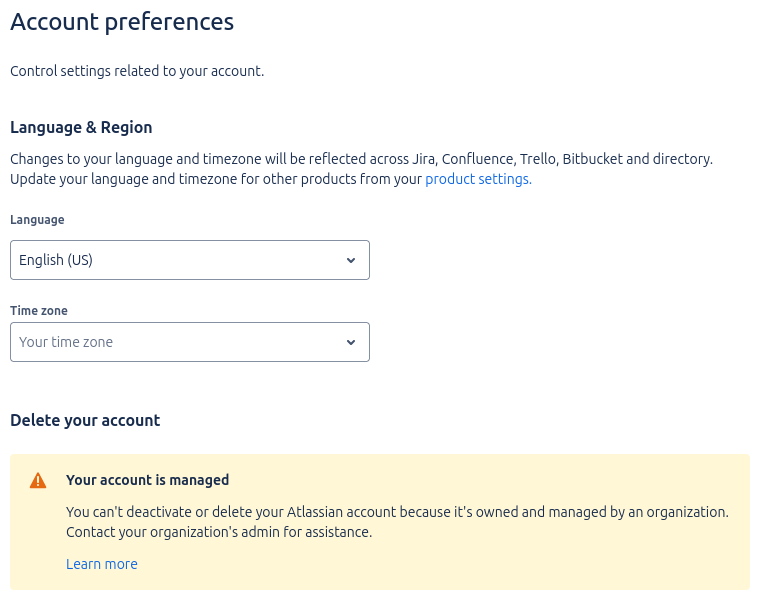
Edit account preferences
Selecting Edit account preferences on the Profile page will take you to the Account preferences page. Here you can edit your language and time zone settings.
Requests
To view your active requests, click your profile icon in the top right corner and select Requests. This will take you to the Requests page, where you can view the status of your requests.
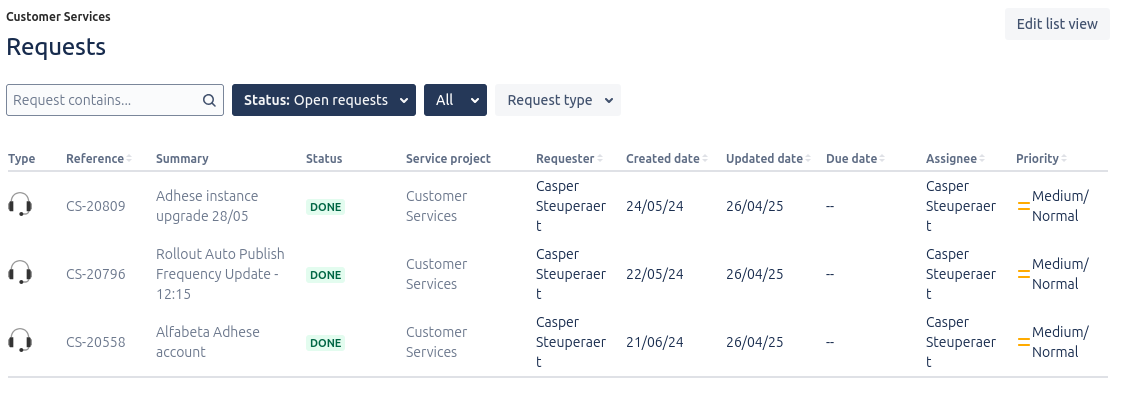
A request can have several statuses:
- To Do: Support has yet to pick up the ticket.
- In Progress: The ticket has been picked up by support and is being worked on.
- Pending: This ticket awaits a response from the requester.
- Done: Support has solved the ticket.
No Comments