
User Management
There are two ways to create new users in Adhese:
Using the Keycloak Admin UI
- Log into the Adhese Keycloak UI
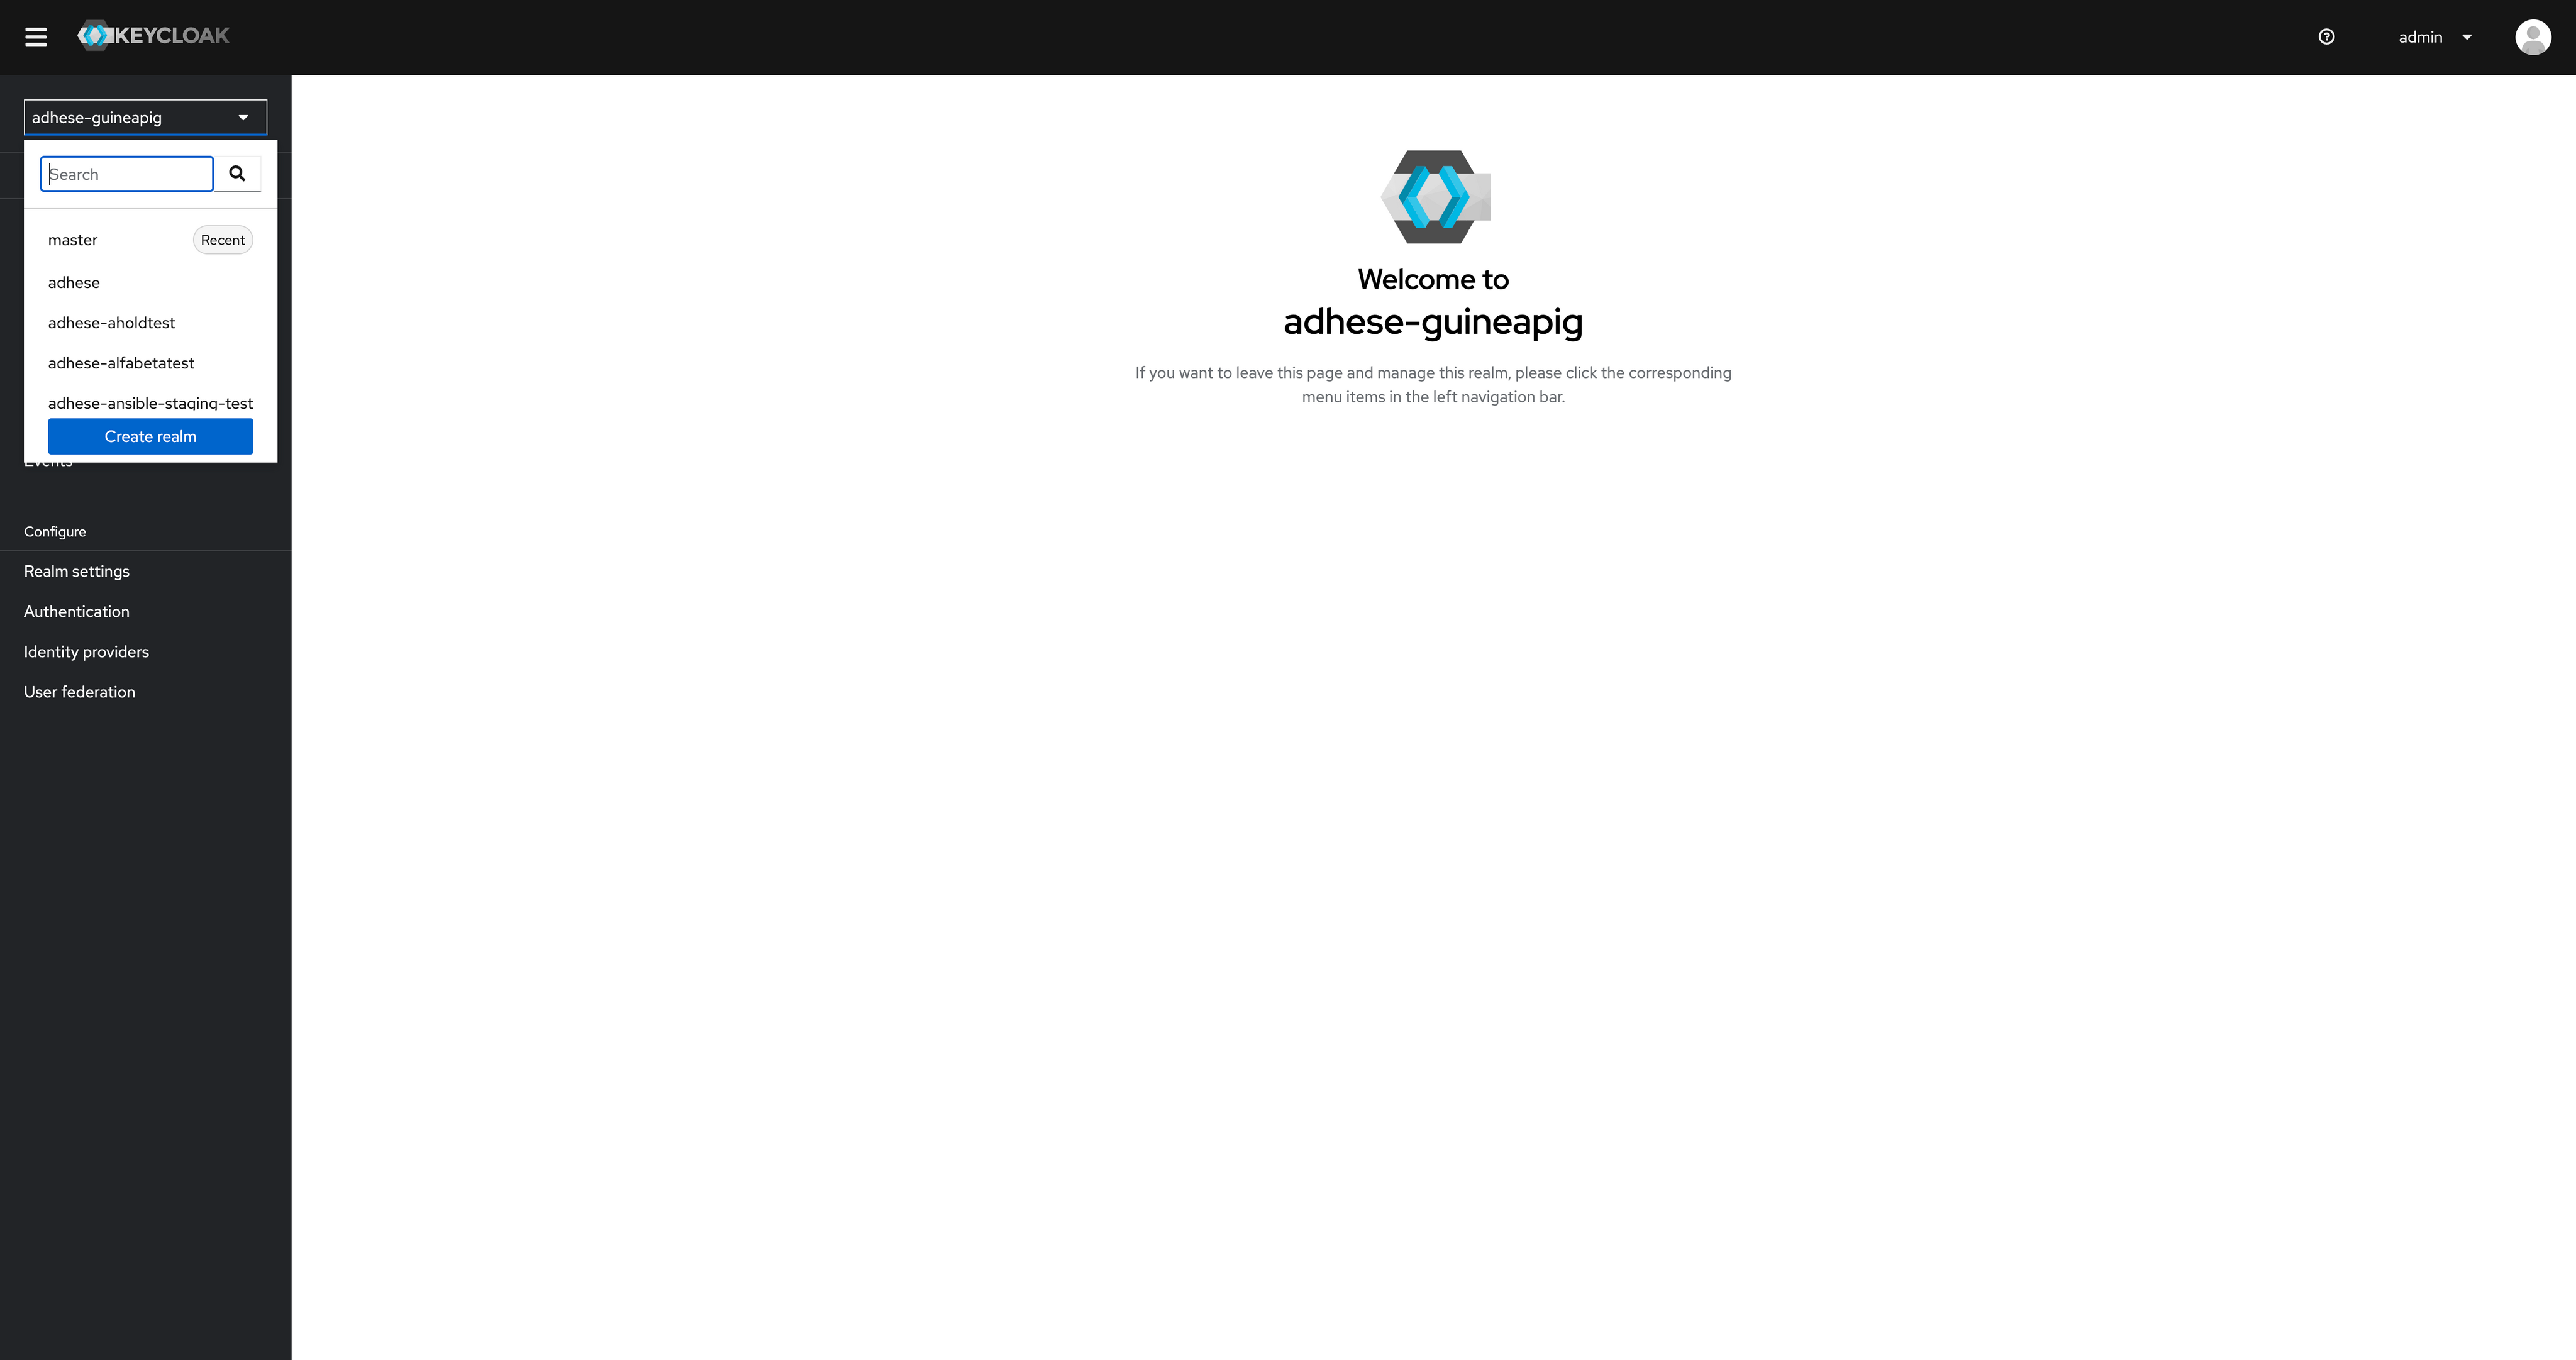
- Select the desired Realm in the upper left corner
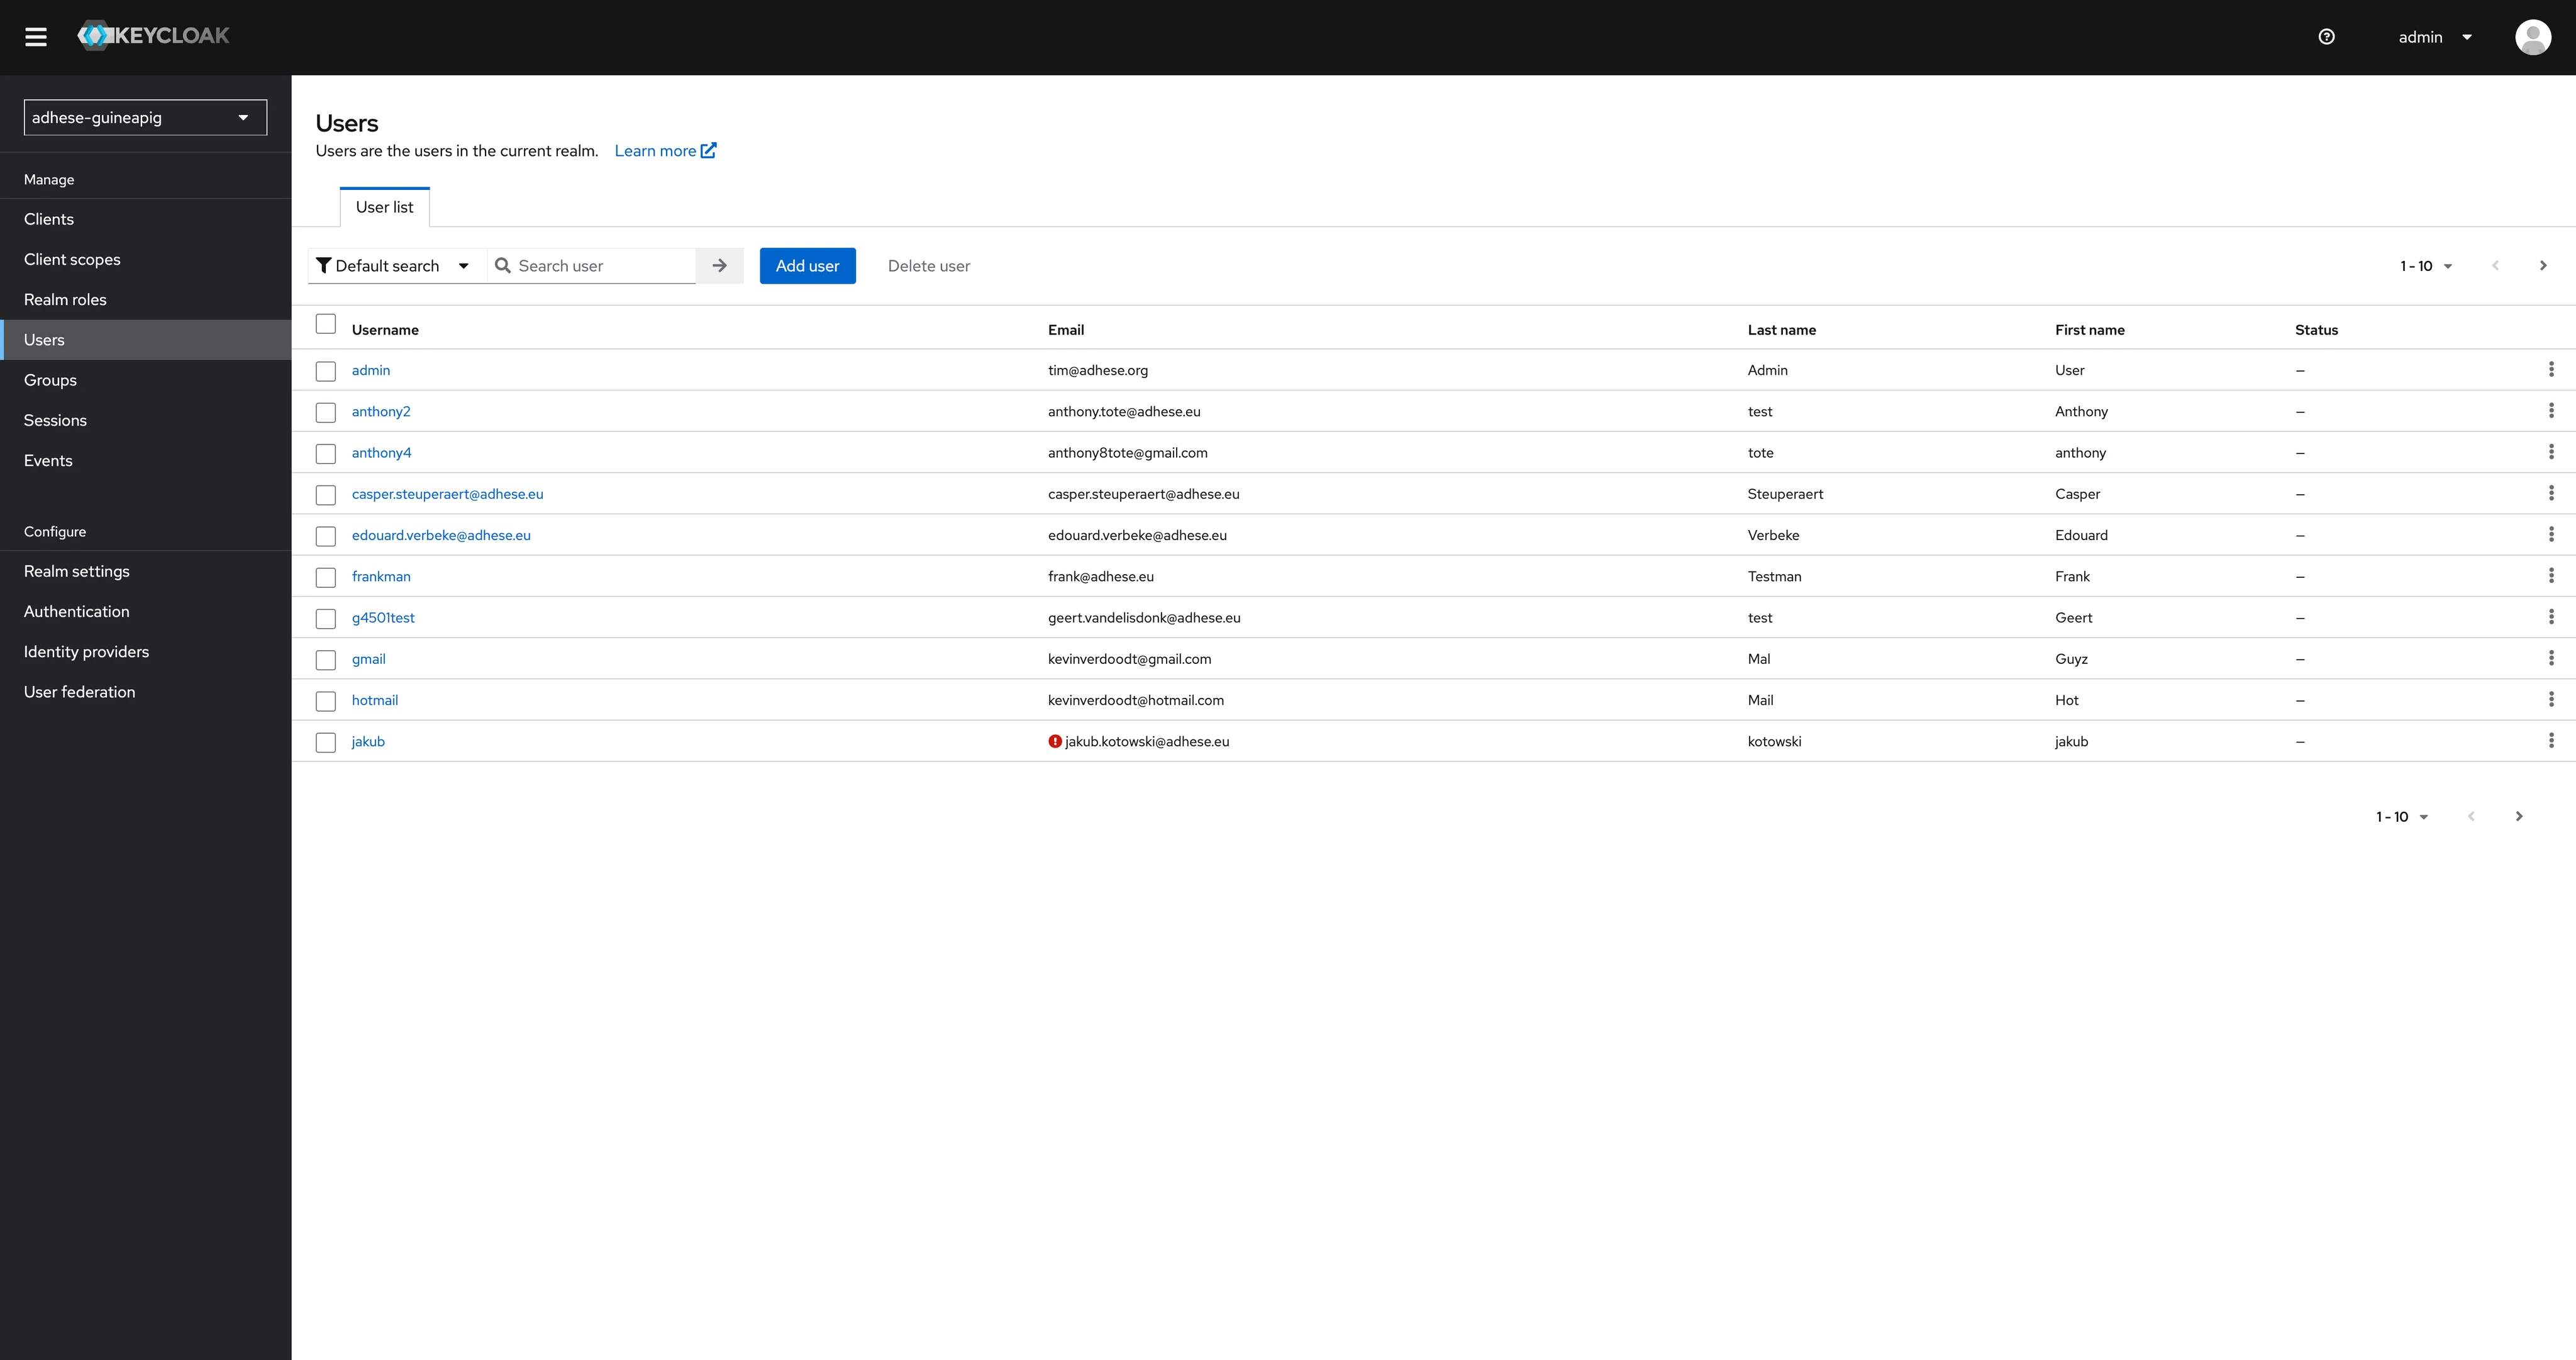
- Manage users (create a new user, edit or remove existing users)
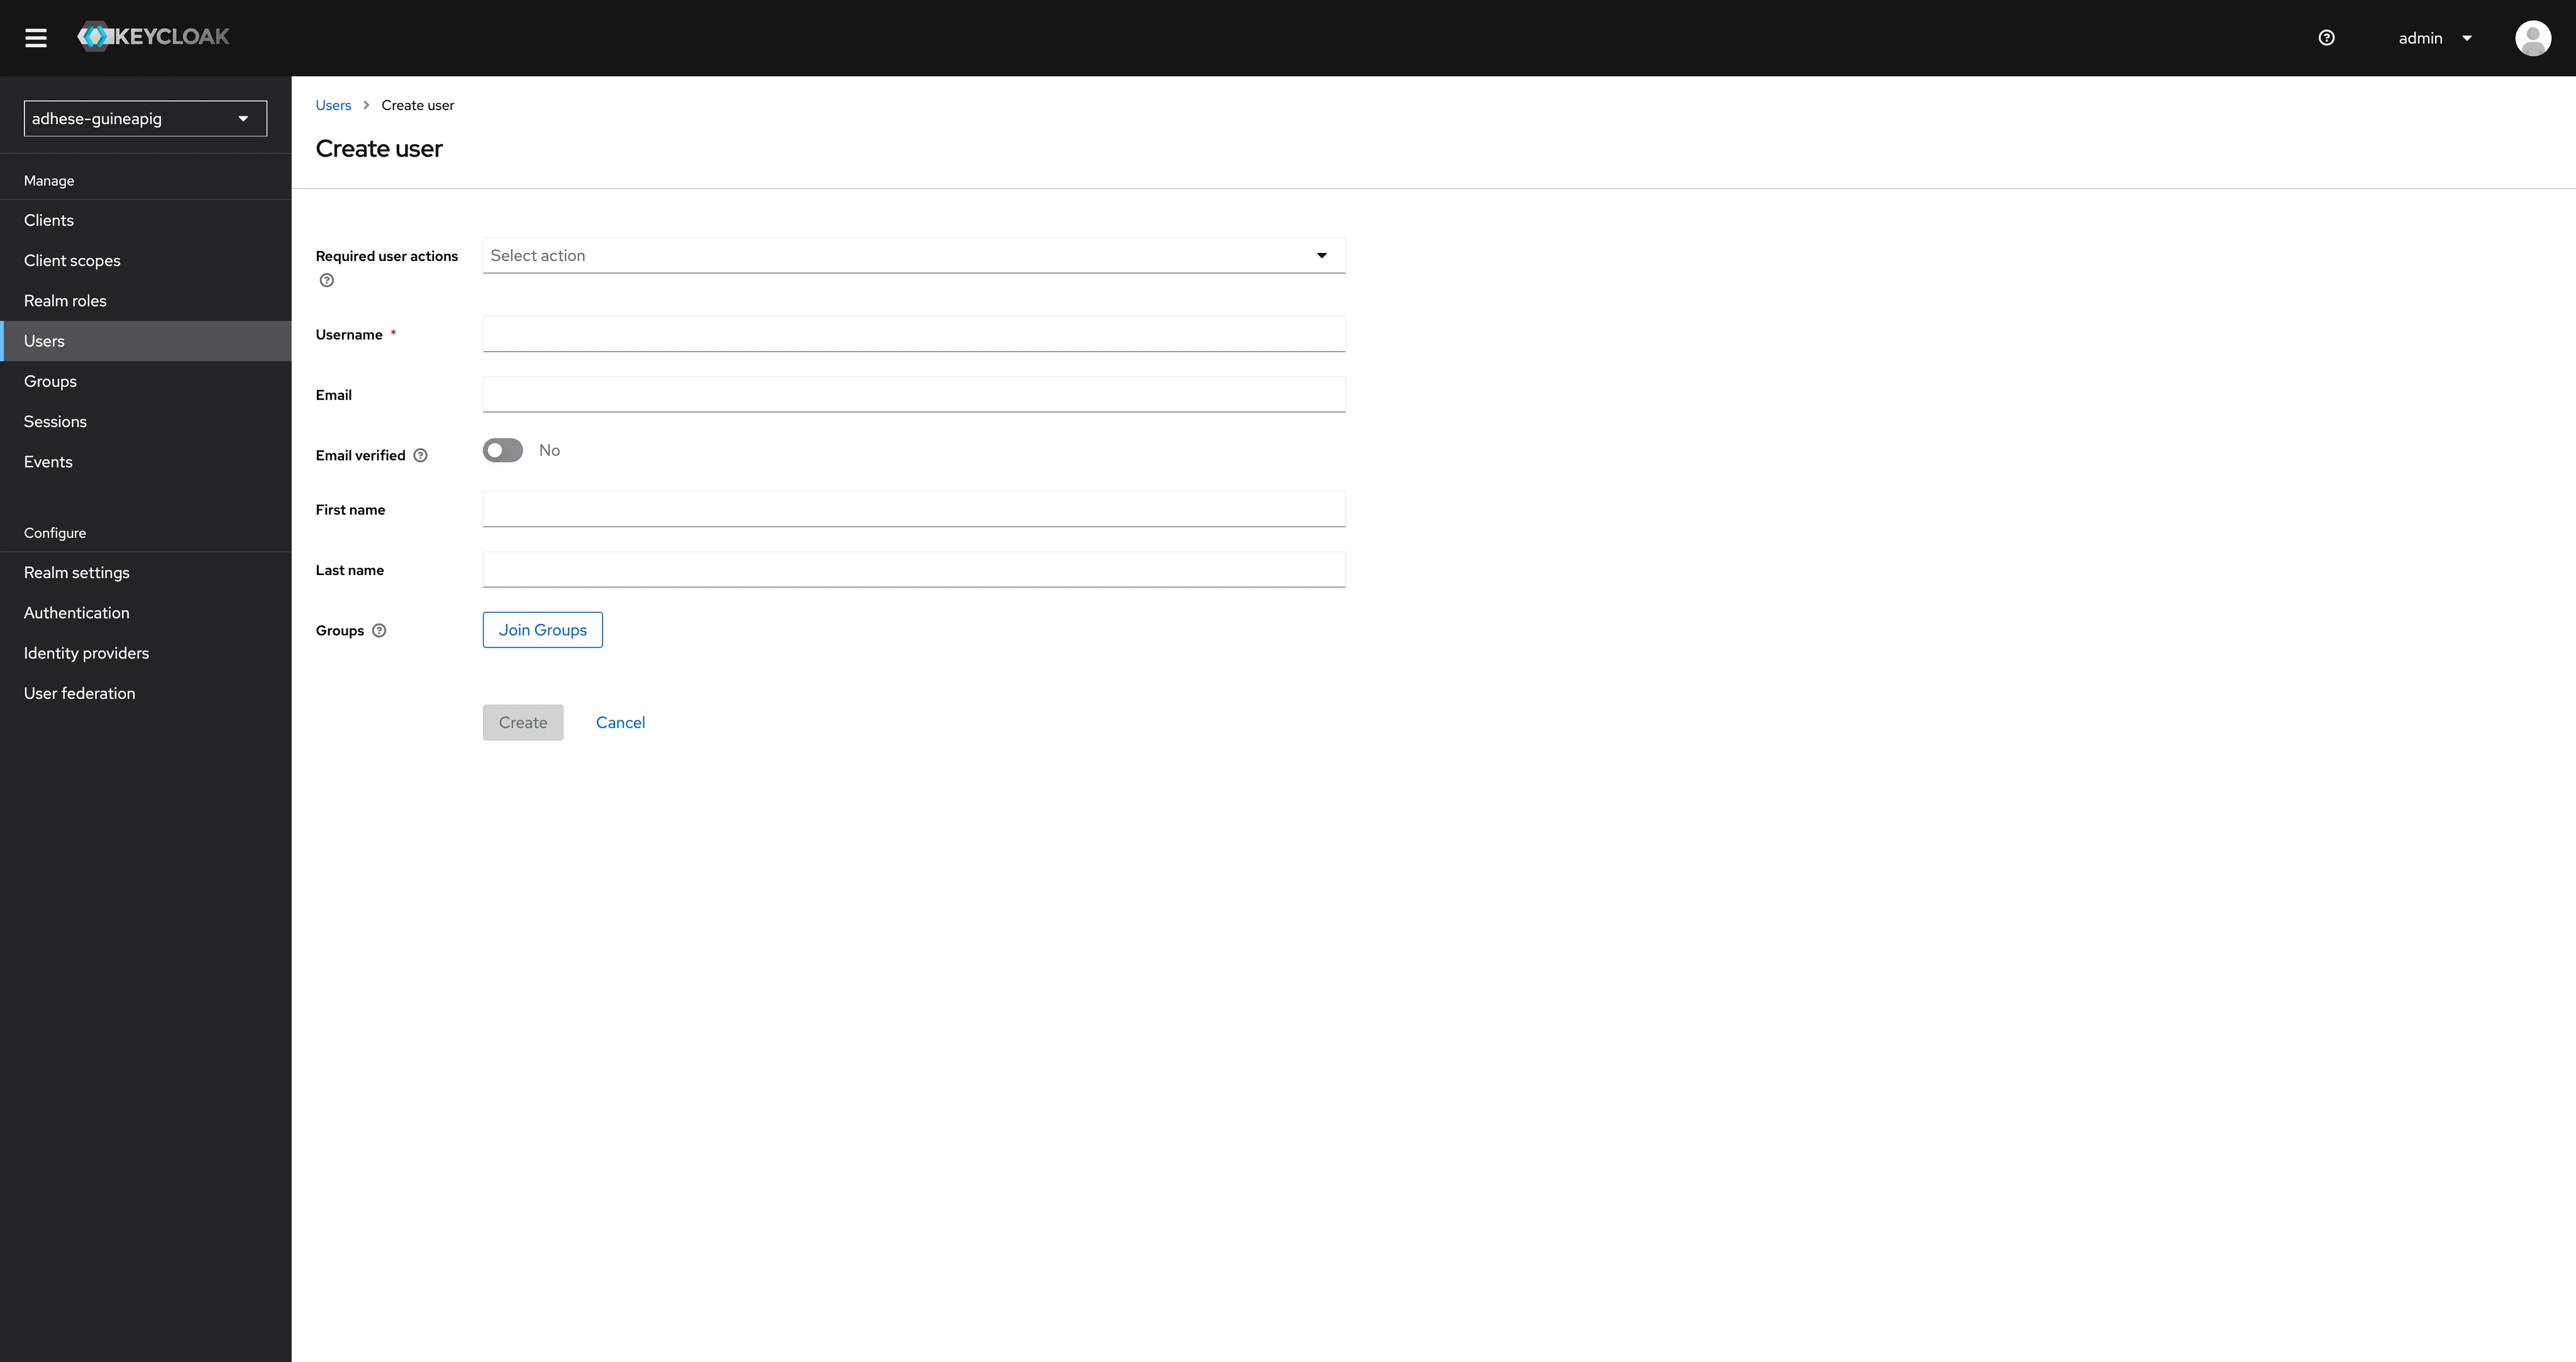
When creating a new user, the following information is required:
- Username
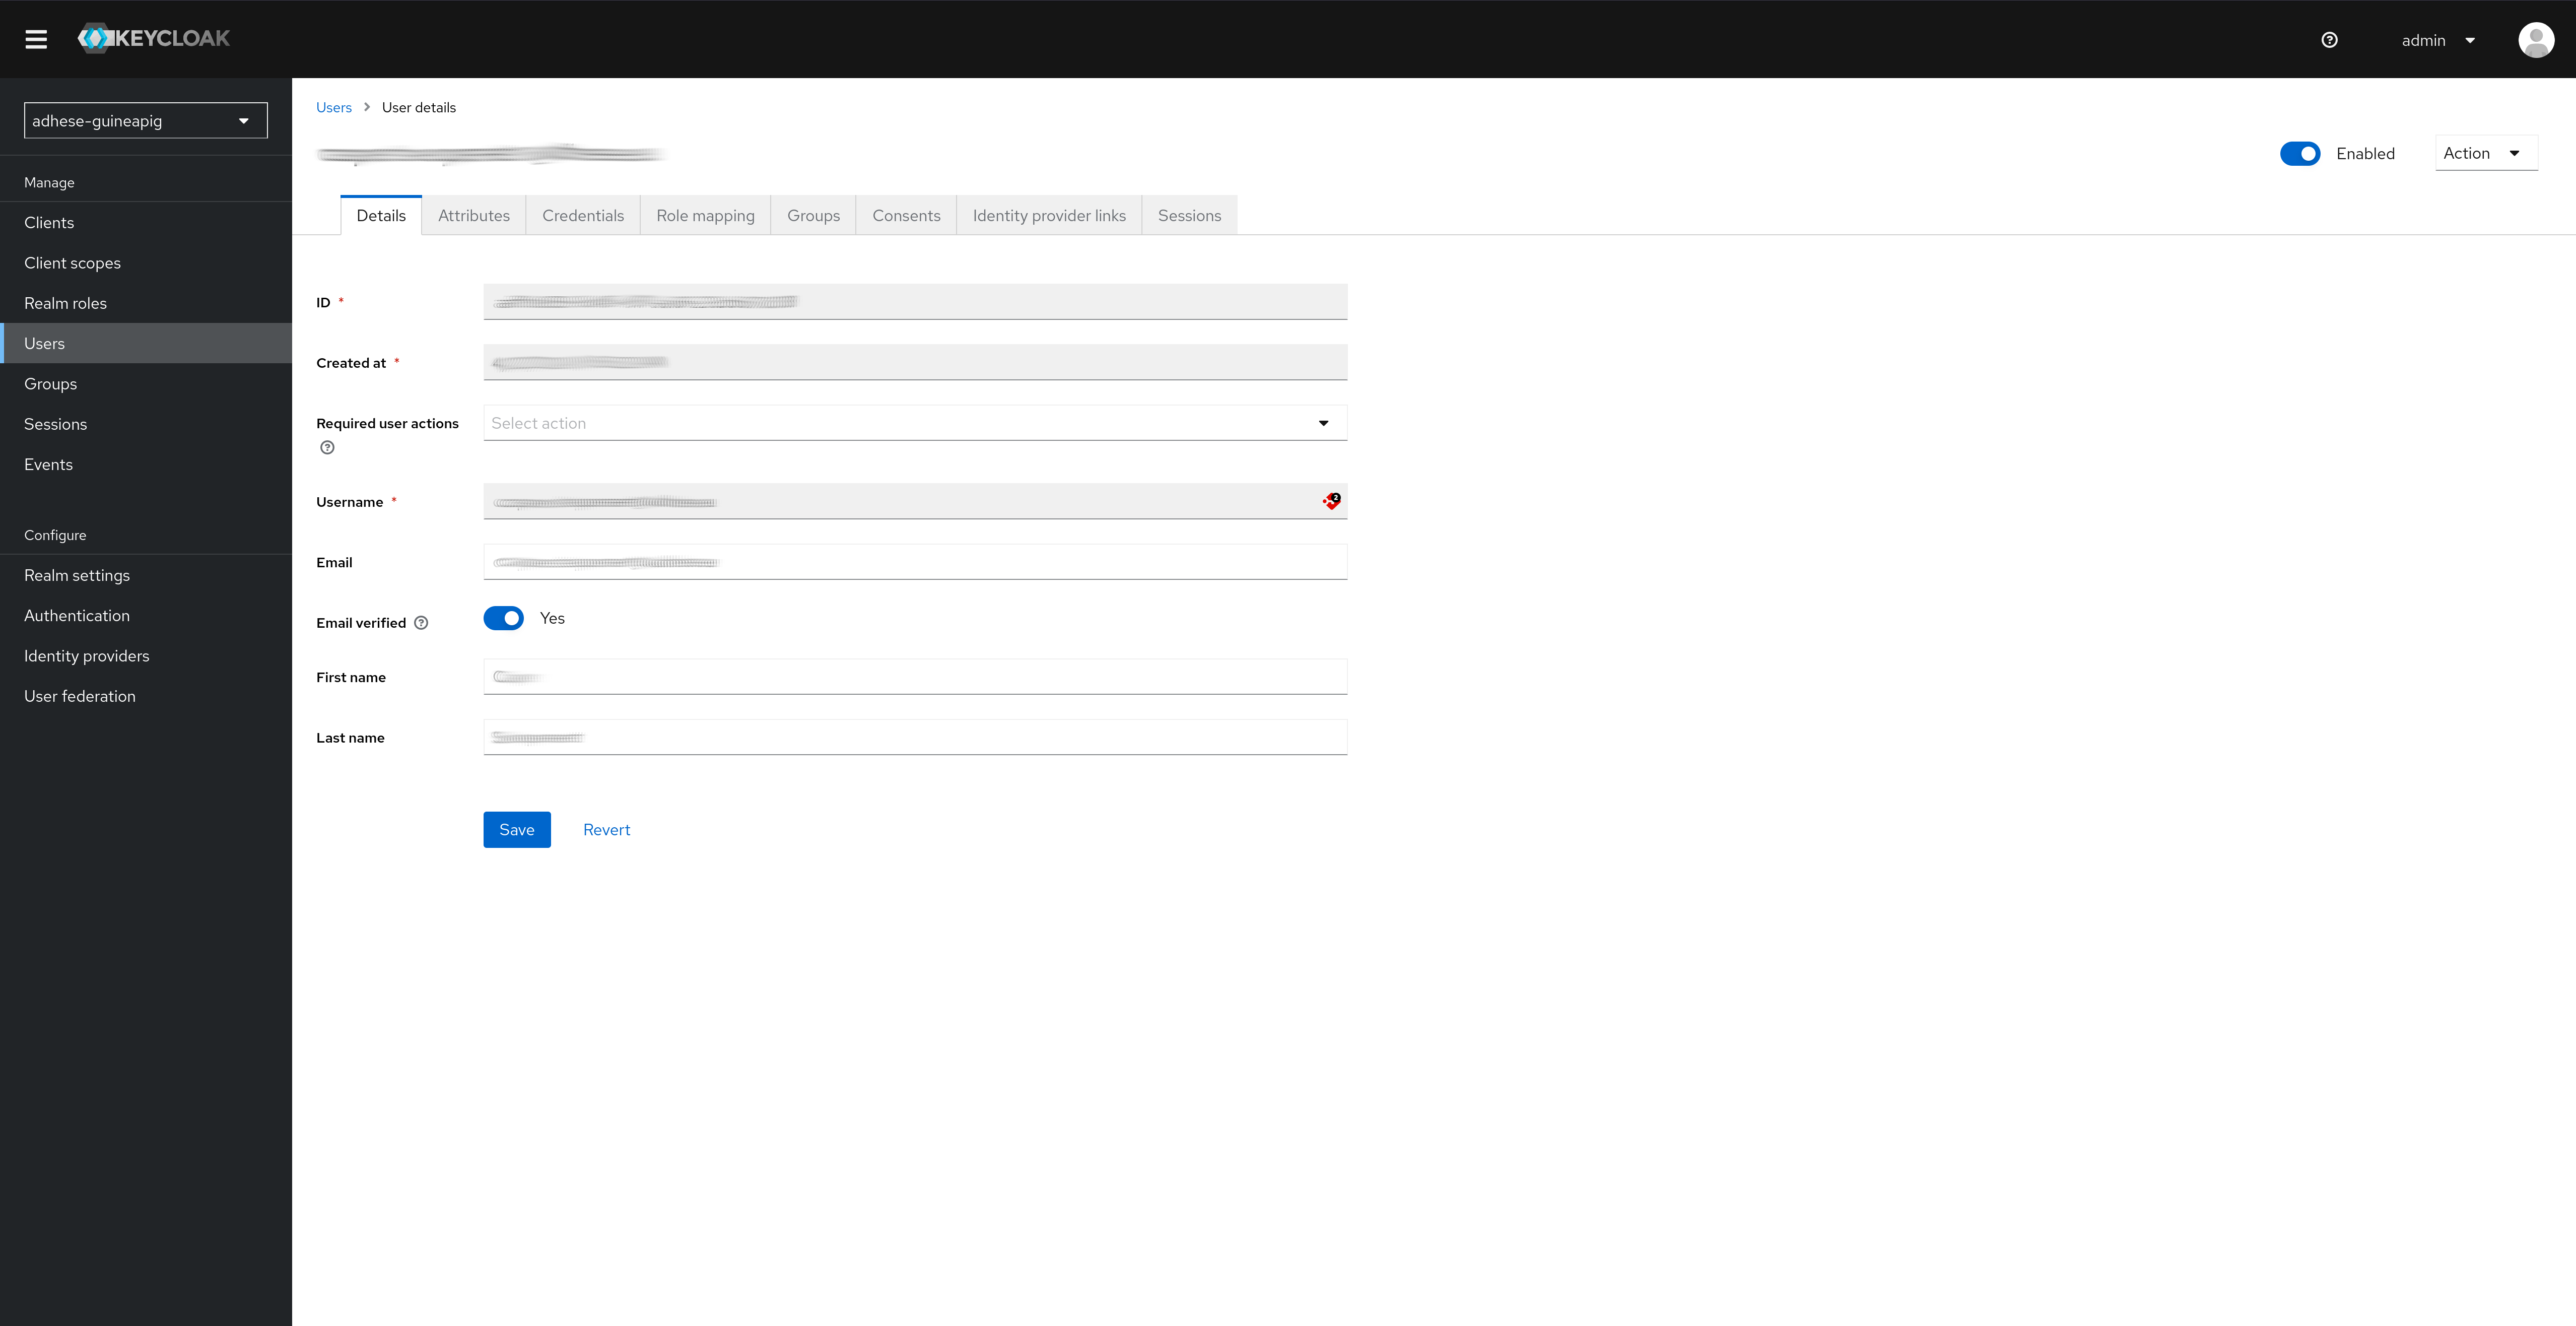
After creating a new user, go to the Credentials tab
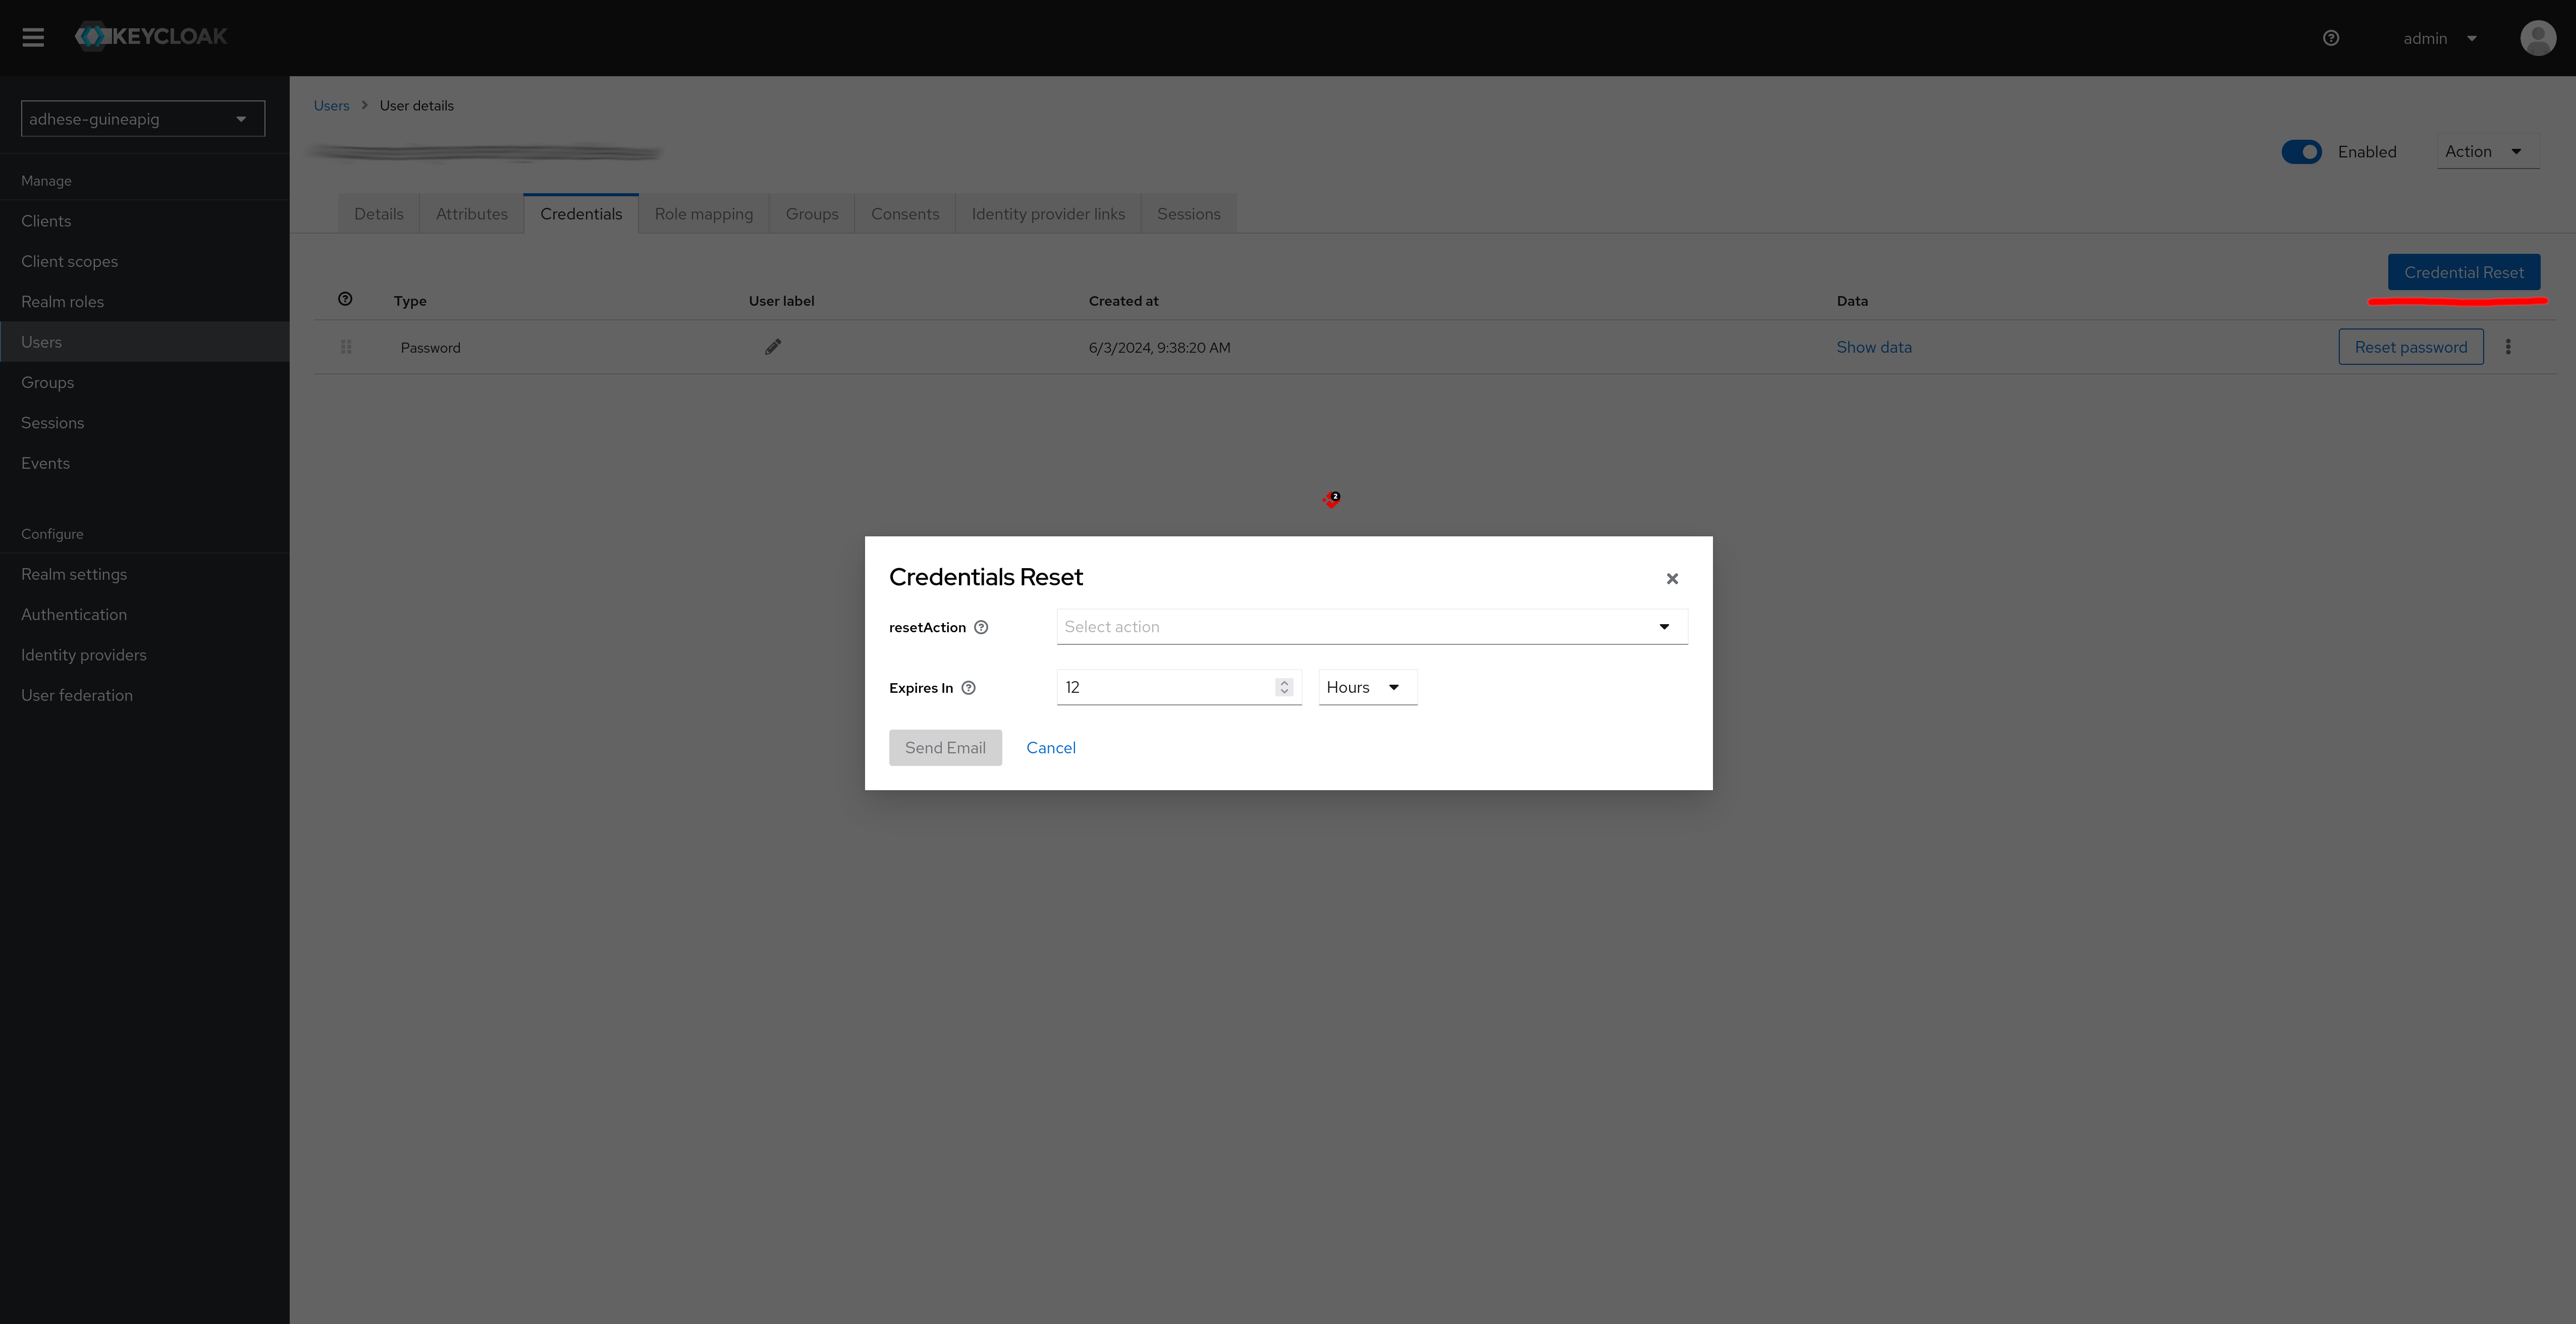
- Click Credentials Reset and choose one of the following actions:
Update Password/Update ProfileandVerify Email. - Set an expiry value for the link.
You should first create a new user and save before sending the credentials mail or the mail will not be sent.
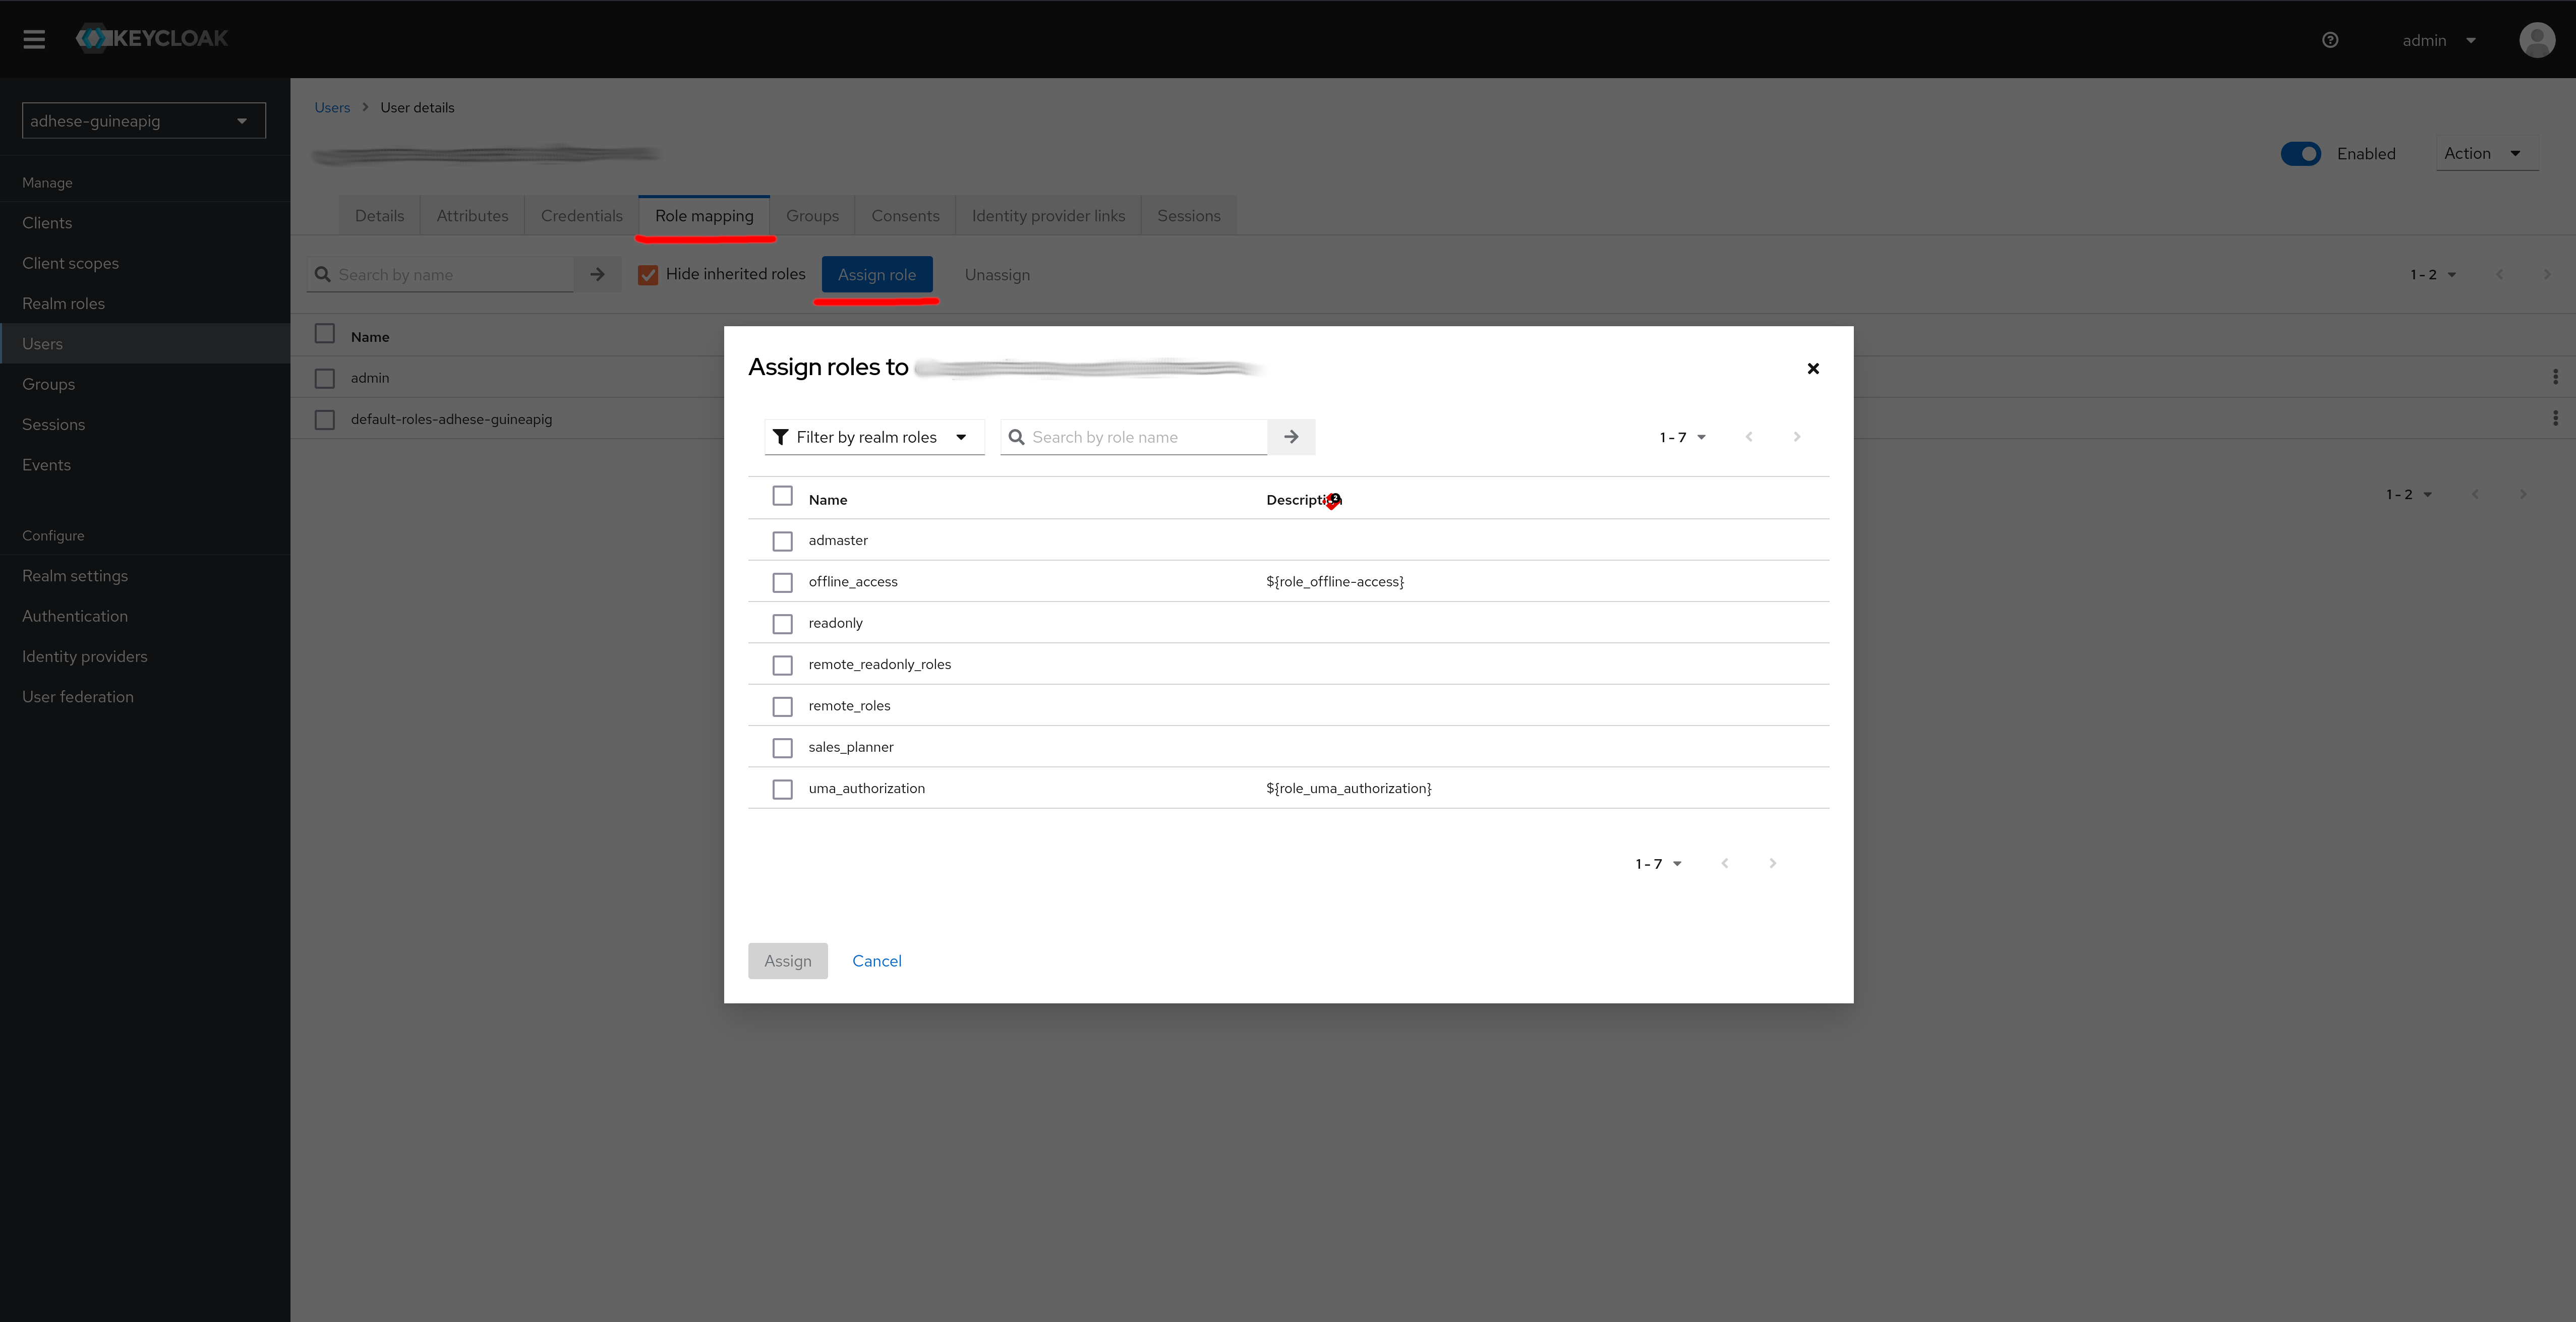
Go to the Role mapping tab and assign the new user a role.
Via the Adhese UI
The Administration screen can only be accessed by administrators. Users with other access levels are not authorized to perform the described actions.
Users with a prefix in their Login* field under Edit User are managed externally and not by Adhese directly.
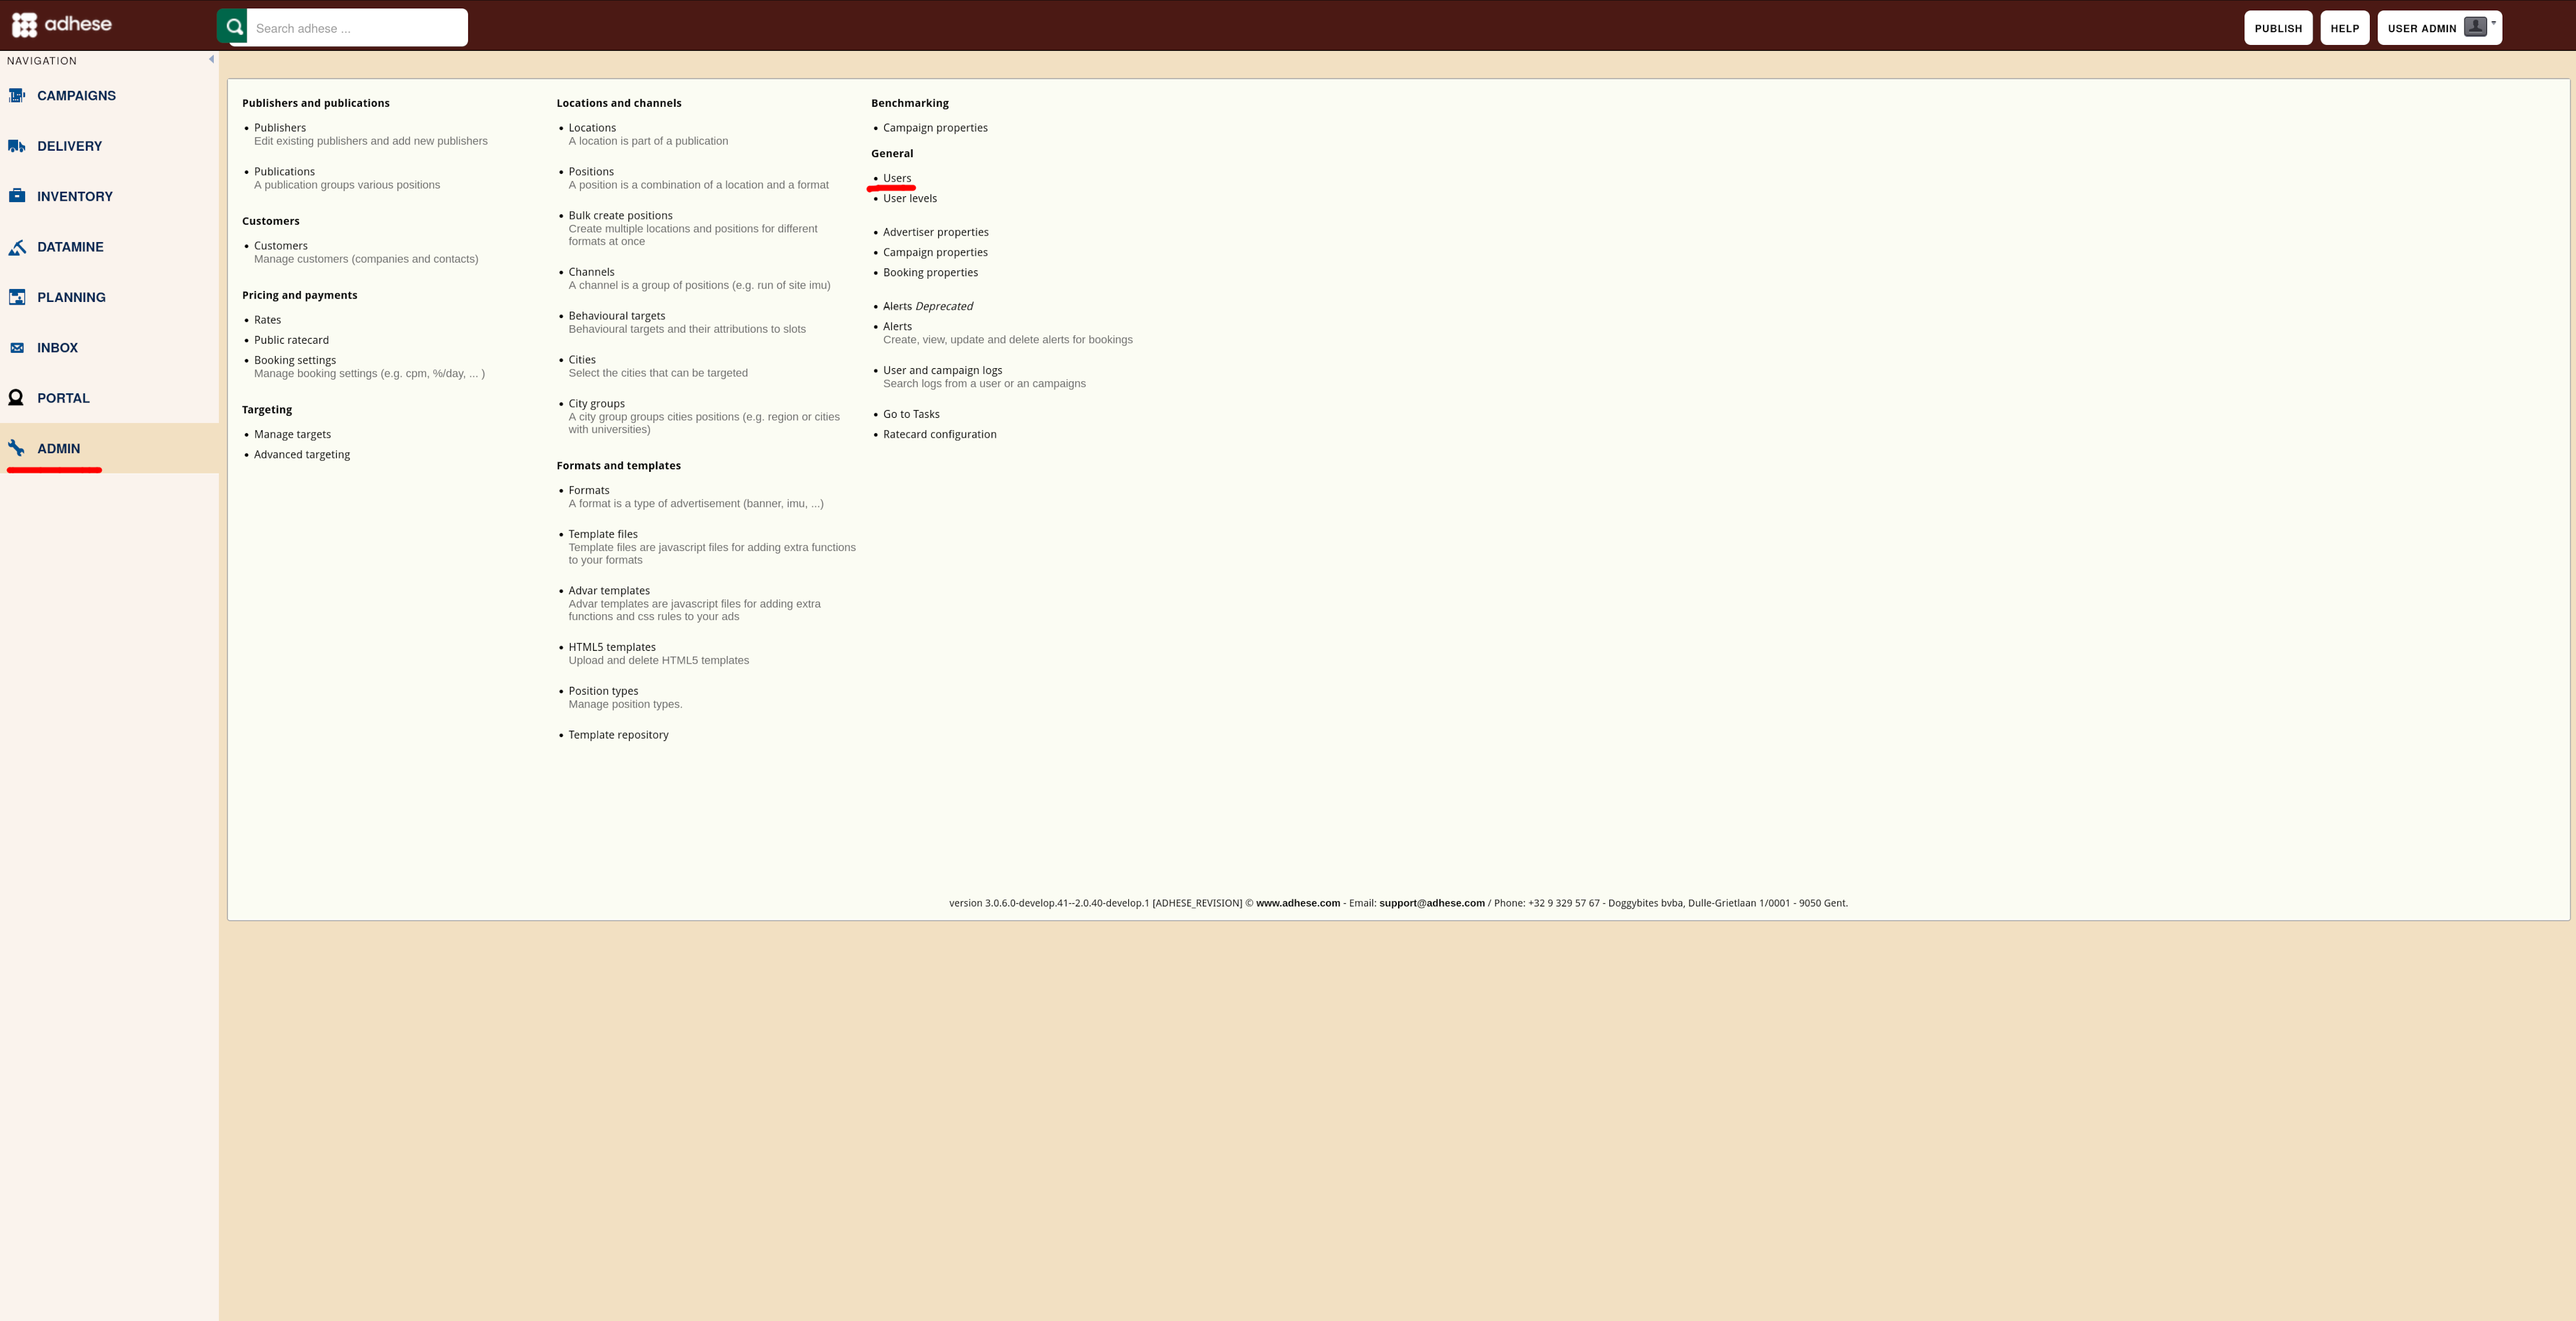
- Log in to your Adhese instance.
- Navigate to Users in the Admin panel. You will be redirected to the Users tab in Keycloak in the Realm corresponding to your instance
Legacy User Management
The following is User management documentation from before Keycloak. It should be considered Legacy documentation and is only relevant for accounts on older versions of Adhese.
Users
Users are the people who perform tasks in Adhese.
The Users screen shows the users who have access to your Adhese account.
The Users screen presents a table with four columns:
To create a new user, click the Create a new user button.
To edit a user, click the name of the user to modify or use the edit icon .
User levels
Administrators can define user groups or user levels such as administrators, salespersons, or traffickers. Each group has its own set of access and usage rights for Adhese.
We are currently updating and improving this feature. Contact Support if you wish to create a new user level or edit an existing user level.
Create a new user
To create a new user:
For more information about the Users screen, refer to Users. Click the Create a new user button. The Create a new user screen opens.
Edit a user
To edit a user:
Deactivate or delete a user
Before you are going to delete a user, you should first consider changing its status from active to inactive. To deactivate the status of a user, refer to Edit a User and change the Active field from yes to no in the Edit User screen.
To thoroughly delete a user: