
Campaign screen
The user interface of Adhese has several components that make it easy to navigate, search, perform actions, etc.
It depends upon the context and the user permissions, what actions you can perform and which elements are visible in the interface.
Search bar
You find a search bar located at the top of each screen within the Adhese user interface. Use this search bar to quickly navigate to a specific campaign, booking, or creative.

If you click the search bar, the results box becomes visible.
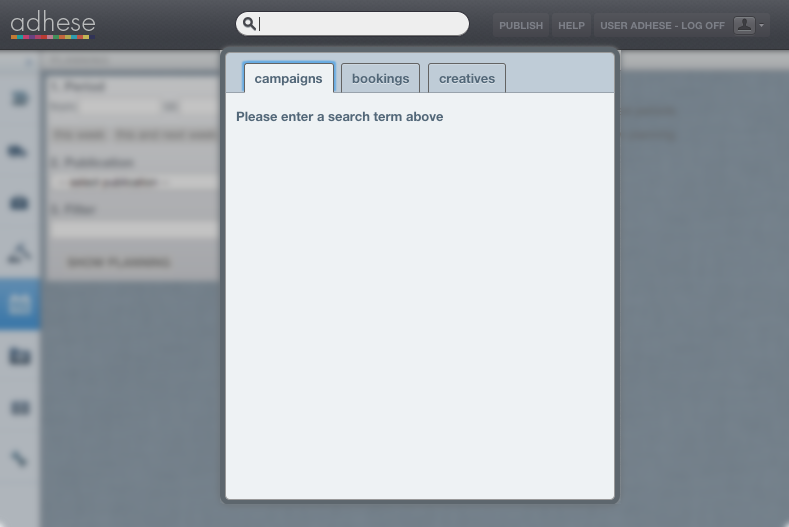
Select a category to search (campaigns, bookings, or creatives) and enter a search term in the search bar.
Main navigation
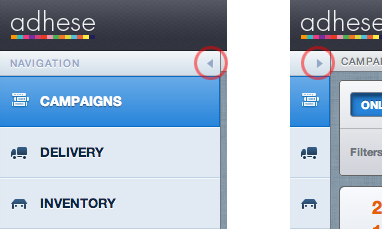
Access the main screens using the main navigation on the left. You can collapse the menu by clicking the left arrow at the top of the bar, leaving only the icons visible.
Tabulated overviews
Adhese displays the campaign management data in tabulated overviews for the publishers and/or sub-publishers to which you are assigned.

In such an overview, a row represents an individual entity (i.e. campaign, booking, or creative), and a column represents an attribute or property of the entity.
You can customise these overviews by personalising the table columns or using the campaign filter.
Campaign filter
A campaign filter is available in some of the overviews.

The campaign filter allows you to select different kinds of campaigns. The content of the overview will change according to the chosen campaign attributes.
Breadcrumb
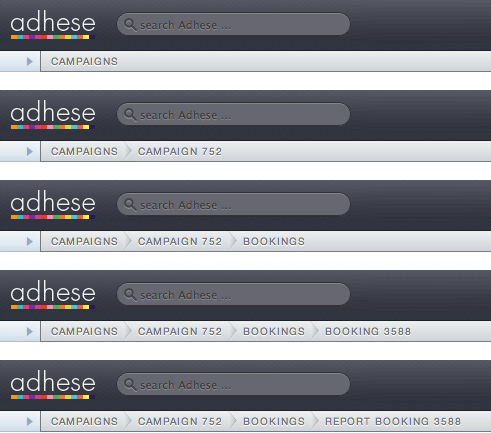
The Adhese interface offers a breadcrumb trail to show you where you are in the navigation structure. Click on any breadcrumb to navigate to the corresponding screen.
Tab navigation

Drop-down navigation
To switch between campaigns, bookings, or creatives, simply use the drop-down menu located in the upper right corner of each overview. Click inside the box to reveal the available options.
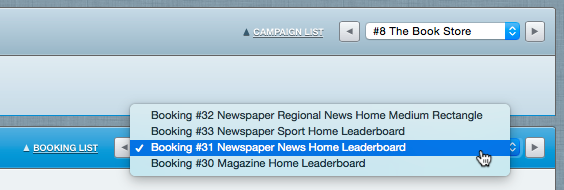
Click the arrows next to the drop-down menu to go to the next or previous campaign, booking, or creative.
If you have filtered the Campaign overview through the campaign filter, the Campaign drop-down menu will only show the filtered campaigns.
Next to the above drop-down menu, you will find a link that says Campaign list, Booking list, or Creatives list. Click this link to go back to the Campaign overview, Booking overview, or Creative overview, respectively.
Actions

Customise the Adhese user interface
Adhese offers several features to customise the Adhese user interface.
Campaign filter
Note that the specific contents of the campaign filter may be different for other types of Adhese users.
The general Campaign overview and the Delivery overview both have a campaign filter.

The campaign filter allows you to select different kinds of campaigns. The content of the overview will change according to the chosen campaign attributes.
You can select only one of the five buttons.
are underdelivering;
The underdelivering campaign filter takes only running bookings into account.
are booked with auto as delivery method;
the logged-in user has created; have no uploaded creatives or no trafficked creatives and bookings; have a high priority; recently used campaigns (campaigns you created, worked on or watched in the last 72 hours) are team campaigns; are offers.It is possible to combine the above filters to obtain a more granular section of campaign inventory.
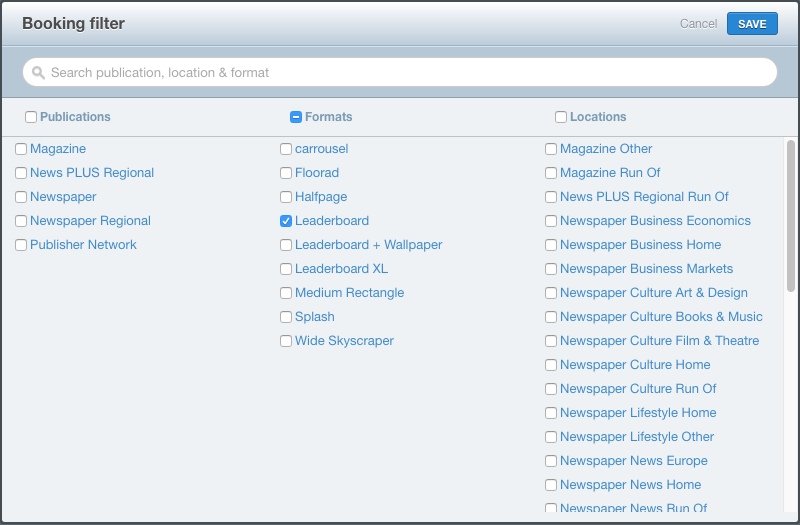
Besides, the campaign filter also has a search bar.
Sort table columns
You can sort each overview based on a column variable. To perform this action, look for two stacked triangles. To sort the overview, simply click on the column heading.




Personalise table columns
Each overview displays a table beneath the dashboard. Every row represents an individual campaign, booking, or creative – depending on the overview you are referring to. The columns represent the properties of a campaign, booking, or creative. You can decide which columns must be visible, set the display sequence, and change the name of a column's heading.
Refer to Table columns in the Adhese interface for a complete overview and definition of available table columns per overview.
To change the table columns:
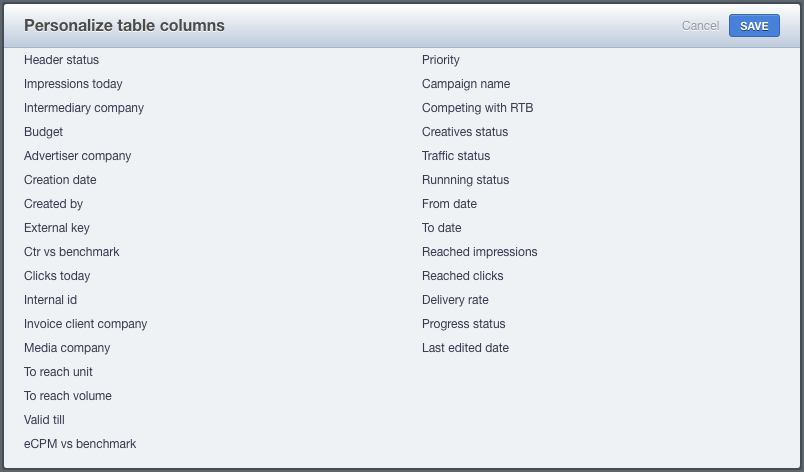
To change the name of a table column heading:
Click the label of the table column of which you want to change the name.
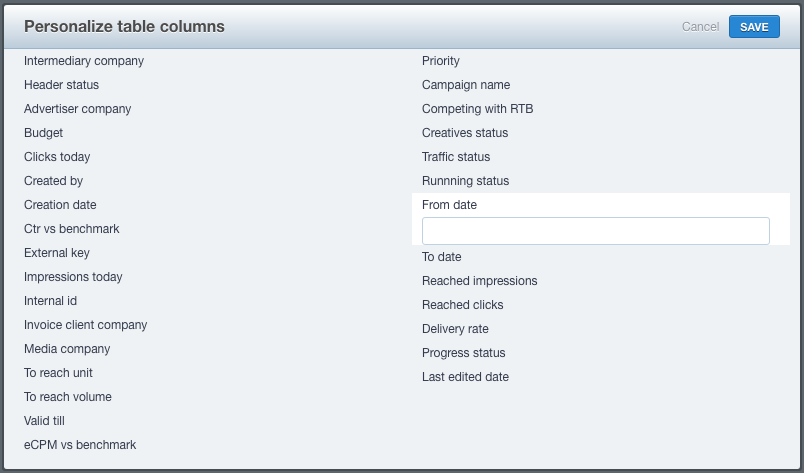
Enter the new name and press enter.
Click the Save button.